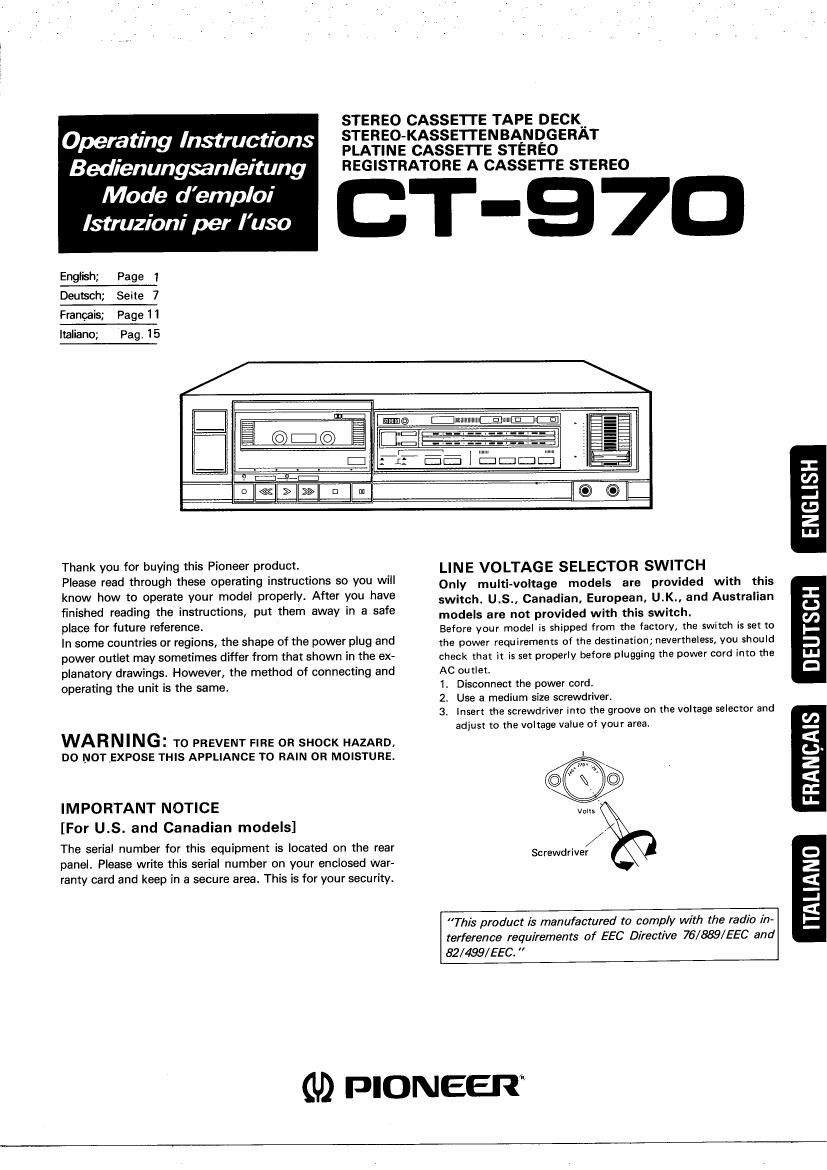
Pioneer ct 970 owners manual
This is the 18 pages manual for pioneer ct 970 owners manual.
Read or download the pdf for free. If you want to contribute, please upload pdfs to audioservicemanuals.wetransfer.com.
Extracted text from pioneer ct 970 owners manual (Ocr-read)
Page 1
Operating Instructions
Bedienungsanleitung
Mode demploi
Istruzioni per Iuso
English; Page 1
Deutsch; Seite 7
Franoais; Page 1 l
ltaliano; Pag_ 15
L2
Thank you for buying this Pioneer product.
Please read through these operating instructions so you will
know how to operate your model properly. After you have
finished reading the instructions, put them away in a safe
place for future reference.
In some countries Or regions, the shape of the power plug and
power outlet may sometimes differ from that shown in the ex-
planatory drawings. However, the method of connecting and
operating the unit is the same.
WARNING: To PREVENT FIRE 0R SHOCK HAZARD,
DO NOT ,EXFOSE THlS APPLIANCE TO RAIN on MOISTURE.
IMPORTANT NOTICE
[For U.S. and Canadian models]
The serial number for this equipment is located on the rear
panel. Please write this serial number on your enclosed War-
ranty card and keep in a secure area. This is for your security.
SE
STEREO CASSETrE TAPE OECK__
STEREO-KASSETTENBANOGERAT
PLATINE CASSETTE STEREO
REGISTRATORE A CASSETI'E STEREO
T-97D
CECE!
LINE VOLTAGE SELECTOR SWITCH
Only multi-voltage models are provided with this
switch. U.S., Canadian, European, U.K., and Australian
models are not provided with this switch.
Before your model is shipped from the factory, the switch is set to
the power requirements of the destination; nevertheless, you should
check that it is set properly before plugging the power cord into the
AC on (let.
1. Disconnect the power cord.
2. Use a medium size screwdriver.
3. Insert the screwdriver into the groove on the voltage selector and
adjust to the voltage value of your area.
mg
© "° \_
©
Vans
Screwdriver
This product is manufactured to comply with the radio in-
terference requirements of EEC Directive 76/889/EEC and
82/499/ EEC.
(U) PIONEER
I
U
V)
.-
D
l-I-l
G
Page 2
READ INSTRUCTIONS - All the safety and
operating instmctioha should be told balm the
appliance is operated.
RETAIN INSTRUCTIONS - The operating insulte-
tiont lhould be r-tained lor future reference.
NEED WARNING - All wamirtus on the appliance
and in the operating instructions should be adhered
to.
FOLLOW INSTRUCTIONS - All operating and use
instructions should be followed.
WATER AND MOISTURE - The appliarIDe should
not be used near water , lor example, near a
bathtub, washbowl. kitchen sink, laundry tub, in a
wet basement, or near a swimming pool, etc.
LOCATION - The appliance should he innalled in a
stable location.
WALL 0R CEILING MOUNTING - The appliance
should not be mounted to a wall or ceiling
VENTILATION 7 The appliance should be situated so
that its location or position does not interfere with
its proper ventilation. For example, the appliance
should not be situated on a bed, cote, rug, or
similar surface that may block the ventilation open-
inns; or, placed in a built-in installation, such as a
books-n or cabinet that may imp-d: the flow OI
air through the ventilation wanings.
HEAT - The appliance should be situated away from
heat sources such as radiators. heat registers,
stoves, or other appliances (including amplifiers)
that produce heat.
POWER SOURCES - The appliance should be con-
nected to a power supply only of the type describ-
ed in the operating instructions or as marked on the
appliance.
POWER-CORD PROTECTION - Power-supply Cmds
should be routed st: that they are not likely to be
walked on or pinched by items placed upon or
against them, paving particular attention to cards
at plugs, convenience receptacles, and the point
where they exit Irom the appliance.
POLARIIATION _ ll your purcneaed product is pro-
vided with a polarized power plug, please read the
following instructions. This product is equipped
with a polarized alternating current line plug la plug
having one blade wider than the other). This Dlug
will fit into the power outlet only one way. This is a
safety feature. If you are unable to insert the plug
rully into the outlet, try reversing the plug. it the
plug should still Iail to fit, contact your electrician
to replace your obsolete outlet. Do not defeat the
alety purpose of the polarized plug.
CLEANING - The appliance should be cleaned only
with a polishing cloth or a soft dry cloth. Never
clean with Iumiture wax, banzine, insecticide: or
other volatile liquids since they may corrode the
cabinet.
SAFETY INSTRUCTIONS
POWER LINES - An outdoor antenna should be
located away from power lines.
NONUSE PERIODS - The power cord of the ep-
pliance should be unplugged Irotn the outlet when
left unused lot I long period of time.
OBJECT AND lIQUID ENTRV - Care should be
taken so that Dhiects do not Iell and liquids are not
spilled into the enclosure through openings.
DAMAGE REQUIRING SERVICE - The appliance
should be serviced by Pioneer authorized service
center or qualified service personnel when:
- The power-supply cord or the plug has been
damaged; or
I Objecm have fallen, or liquid he) been spilled into
the anpliance; or
' The ap l'anoe has been exposed to rain; or
- The appltanua does not appear to operate normally
or exhibits a marked change in performance; or
' The appliance has been dropped; or the enclosure
da fled.
SERVICING - The user should not attempt to service
the appliance beyond that demribad in the
operating instructions. For all other sewlclng, con.
tact the nearest Pioneer authorized service center.
stavrcr
tmntwcs
coNnucrorls
sum: or:
msuLAmrls p
enounp
I
I
I
f
r enouno
i i
it
CLAMPS
rower ssnyrrt
enouuoluo [LECIIDDE systm
il . mm nun on... earl
wine l,b H
ammo
WIIE . r.
aonplwb i
morn urn. .i
W " lr Item to
n tocu cums su
FIG .1! u «E: stench stint in
aurtuua
mew wtrlt
ro prowl mm... d)
rsanuAtsuFDRoDuct
anrtnua
DlScNAIGE urtrr e
OUTDOOR ANTENNA GROUNDING - II an
outside antenna is connected to the antenna
terminal, be sure the antenna system is
grounded so as to provide some protection
against voltage surges and built up static
charges.
In the U.5.A. section 510 of the National Elec-
trical Code, ANSI/NFPA No. 70-le pro-
vides information with respect to proper
grounding ol the mast and supporting struc-
ture, grounding of the lead-in wire to an anten-
na discharge unit, site at grounding conduc»
tors, location at antenna-discharge unit, con-
nection to grounding electrodes, and re-
quiremenls lor the grounding electrode. See
Fig. A.
3) Use No. 10 AWG [5.3 mm')
cuppa, No. B AWG (3.4
mml aluminum, No. I7
AWG ll .0 mm) copper
clad steel, bronze wire. or
larger as ground wire.
bl Secure antenna lead-in and
ground wires to house with
stand-oft insulawls spaced
from 4 feet (I .22 metersl to
5 feet (I .83 meters) apart.
6) Mount antenna discharge
unit as closely as possible to
where lead-in enters house.
Useiumper wire not smaller
than N046 AWG (13.3 mm)
copper or equivalent when
separate antenna-ground-
inp electrode is used.
IMPORTANT 1
The lightning llasn with arrowhead, within an
equilateral triangle, is intended to alert the user ot the
presence at uninsulated "dangerous vollage within the
product's enclosure that maybe orsulficient magnitude
to constitute a risk or electric shock to persons.
CAUTION
RlSK OF ELECTRIC SHOCK
DO NOT OPEN
CAUTION:
TO PREVENT THE RISK OF ELECTRIC SHOCK. DO
NOT REMOVE COVER IOR BACK). NO USER-
SERVICEAELE PARTS INSIDE. REFER SERVIC-
ING TO QUALIFIED SERVICE PERSONNEL.
The exclamation point within an equilateral triangle is
intended to alert the user bl the presence of important
operating and maintenance (servicing) instructions in
the literature accompanying the appliance.
I M PO RTANT 2
If the appatatus is fitted with AC mains power outlettsl.
see REAR PANEL FACILITIES for convenient connec-
tion of additional HivFi componentlsl. Make all games-
tions to the AC outletlsl and the signal terminals first.
Connect the plug to the wall socket lest, make sure that
the power switch is offt Disconnect the wall plug when
the equipment is not in (regular) use, e.g. when on
vacation.
FOR USE IN THE UNITED
KINGDOM
WARNING: Thi plug must only be connected to
electronic apparatus equipped with suitable
sockets.
If not. cut on the plug and fit an appropriate type
in iccordance with the instructlona below.
The who" plug must be disposed oI as an elec-
trical shack hazard could exist it connected to a
socket outlet. '
The wires in this mains lead are coloured In accordance
with the lollowing code:
Blue: Neutral
Brawn: Live
As the colours or the wires in the mains lead or this at)»
paratua may not correspond with the coloured marking
identilying the terminals in your plug proceed as
follows:
The wire which is coloured clue must be connected to
the terminal which is marked with the letter N or col.
oured black.
The wire which is coloured brown must be connected to
the terminal which is marked with the letter L or col-
oured red.
2