Pioneer ct 940 owners manual

This is the 72 pages manual for pioneer ct 940 owners manual.
Read or download the pdf for free. If you want to contribute, please upload pdfs to audioservicemanuals.wetransfer.com.

Page: 1 / 72
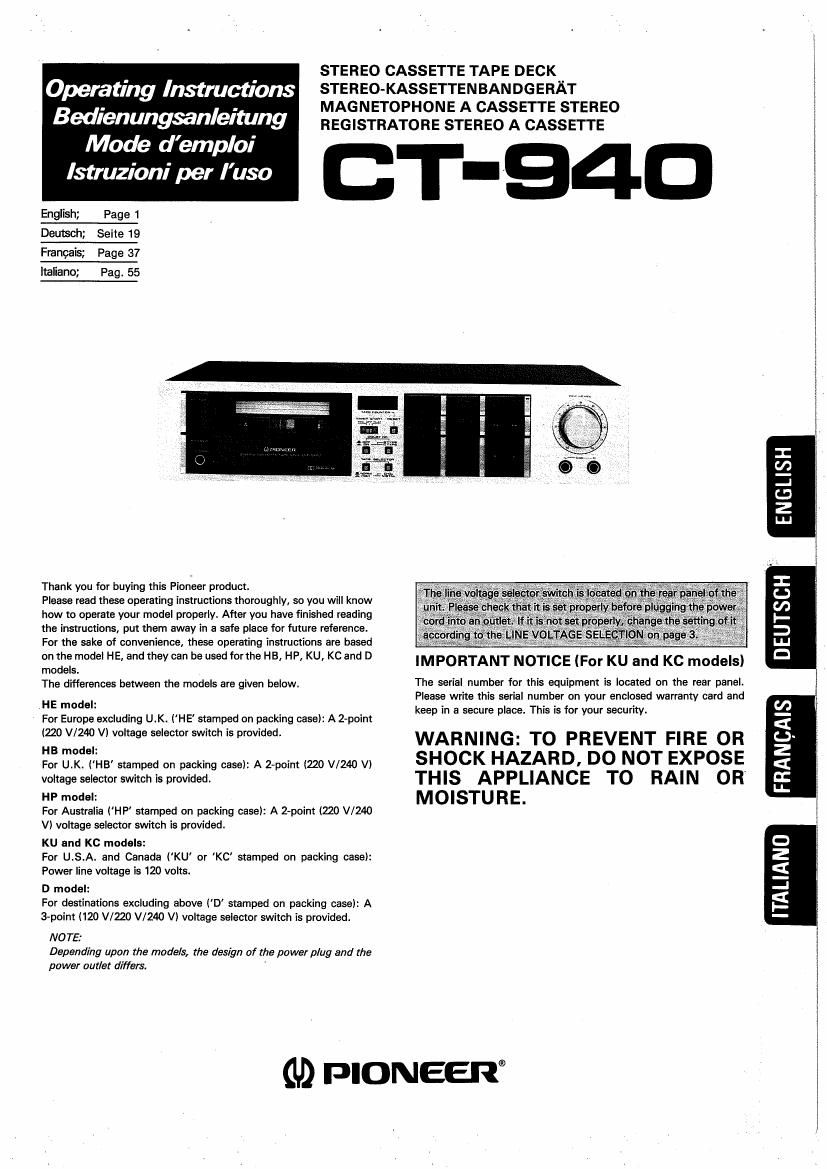
pioneer ct 940 owners manual

Extracted text from pioneer ct 940 owners manual (Ocr-read)


Page 1

Operating Instructions
Bedienungsanleitung

Mode demploi
Istruzioni per Iuso

English; Page 1
Deulsch; Selle 19
Frencais. Page 37
lmliano; Pag. 55

STEREO CASSETTE TAPE DECK
STEREO-KASSETTENBANDGERAT
MAGNETOPHONE A CASSETTE STEREO
REGISTRATORE STEREO A CASSETTE

T-94

Thank you for buying this Pioneer product.

Please read these operating instructions thoroughly, so you will know
how to operate your model properly. After you have finished reading
the instructions, put them away In a safe place for future reference.
For the sake of convenience, these operating instructions are based
on the model HE, and they can be used for the HB, HP, KU, KC and D
models.

The differences between the models are given below.

.HE model:

For Europe excluding U.K. ('HE stamped on packing case): A 2-point
(220 V/240 V) voltage selector switch is provided.

HB model:

For U.K. (HB' stamped on packing case): A 2-point (720 V/24O V)
voltage selector switch is provided.

HP model:

For Australia (HP' stamped on packing case): A 2-point (220 V/240
Vl voltage selector switch is provided.

KU and KC models:

For USA and Canada ('KU or KC stamped on packing case):
Power line voltage is 120 volts.

D model:

For destinations excluding above ('D stamped on packing case): A
3-point (120 V/ZZO V/240 V) voltage selector switch is provided.

NOTE:
Depending upon the models, the design of the power plug and the
power outlet differs. '

IMPORTANT NOTICE IFor KU and KC models)

The serial number for this equipment is located on the rear panel.
Please write this serial number on your enclosed warranty card and
keep in a secure place. This is \or your security.

WARNING: TO PREVENT FIRE OR
SHOCK HAZARD, DO NOT EXPOSE

THIS APPLIANCE TO RAIN OR

MOISTURE.

GD ploweew

2
<
u
2
<
I
H.

ITALIANO

Page 2

SAFETY INSTRUCTIONS [FOR KU MODEL]

READ INSTRUCTIONS - All the eatery and
operating instructions should-be road lesions the
appliance is operated.

RETAIN INSTRUCTIONS ~ The operating instruc-
tions should be retained tor lurure reierence.
NEED WARNING - All warnings on the appliance

and in the operating insrructicns should be adhered

to.

FOLLOW INSTRUCTIONS - All operating and use
instructions should be followed.

WATER AND MOISTURE - The appliance should
not be used near water - Ior example, near a
bathtub, washbowl, kitchen sink, laundry tub, in a
wet basement, or near a swimming pool, etc.

LOCATION - The appliance should be Installed in a
stable location.

WALL 0R CEILING MOUNTING - The appliance
should not b. mounted to a wall or ceiling.

VENTILATION - The appliance should be situated so
that its location or position does not interfere with
its proper ventilation. For example, the appliance
should not be situated on a bed, sma, rug, or
similar surface that may block the ventilation open~
lngs; or, placed in a built-in installation, such as a
bookcase or cabinet that may impede the flaw of
air through the ventilation openings.

HEAT - The appliance should be situated away lrom
heat sources such as radiators, heat registers,
stoves, or other appliances (including amplifiers)
thlt produce heat.

POWER SOURCES - The appliance should be con-
nected to a power supply only at the type describr
ed in the operating instructions or as marked on the
appliance.

POWERCORD PROTECTION 7 Power-supply cards
should be routed so that they are not likely to be
walked on or pinched by items placed upon or
against them, paying pamcular attention to cords
at plugs, convenience receptacles. and the point
where they exit Irorn the appliance.

CLEANING -- The appliance should be cleaned only
with a polishing cloth or a salt dry cloth. Never
clean with furniture wax, Dsnllne. insecticides or
other volatile liquids since they may corrode the
cabinet.

POWER LINES - An outdoor antenna should be
located away from power lines.

NONUSE PERIODS 7 The power cord of the ap-
pliance should be unplugged from the outlet when
left unused Ior a long period 0' time,

OBJECT AND LIQUID ENTRY ~ Care should be
taken so that objects do not (all and liquids are no!
spilled into the enclosure through openings.

DAMAGE REQUIRING SERVICE - The appliance
should be serviced by Pioneer authorized service
center or qualilied service personnel when:

- The powerrsupply cord or the plug has been
damaged; or

- Objects have fallen, or liquid has been spilled into
the appliance; or

I The appliance has been exposed to rain; or

. The appliance does not appear to operate normally
or attribute a marked change in performance; or

' The appliance has been dropped: or the enclosure
damaged.

SERVICING 7 The user should not attempt to service
the appliance beyond that described in the
operating instructions. For all other servicing, con~
tact the nearest Pioneer authorized service center.

OUTDOOR ANTENNA GROUNDING 7 "an outside

antenna is connected to the antenna terminal, be
sure the antenna system is grounded so as to pro-
vide some protection against voltage surges and
built up static charges.
In the U.S.A. section all) or the National Electrical
Code, ANSI/NEPA No. 704%1, provides informa
tion with respect to proper groundig ol the mast
and supporting structure, grounding or the lead-in
wire to an antenna discharge unit, slle er grcun
ding conductors, location 01 anlenna~discharge
unit, connection to grounding electrodes, and re»
uuirernents Icr the grounding electrode, See Fig.
A.

EXAMPLE OF ANTENNA GROUNDING AS
PER NATIONAL ELECTRICAL CODE INSTRUC-
TIONS


Ground clamp

al. bl
Mast
ground
Wye To Antenna terminal
. 7 .
al. bl
Ground
wrre
Ground clamps
Grounding electrode
driven 8 into the earth
12 44 melersl
Fig A

al Use No II) AwG (5.3 mm') copper or No. a AWG
(EA mnr'l aluminum or No. I7 AWG ll,o mml
copperrclad steel or hrcnze wire, or larger as
ground wires Ior both mast and leadrin.

bl Secure lead-in wire from antenna to antenna
discharge unit and meal ground wire to house with
standofl insulators. spaced irorn 4 leer .22
meters) to s leer Ilse metersl apart.

cl Mount antenna discharge unit as closely as possi»
ble :0 where lead-in enters house.

IMPORTANT [FOR KU mooeu

The lightning flash with arrowhead,
within an equilateral triangle, is intended
to alert the user of the presence of
uninsuiated dangerous voltage within

CAUTION

RISK OF ELECTRIC SHOCK
DO NOT OPEN

CAUTION:

TO PREVENT THE RISK OF ELECTRIC SHOCK, DU
NOT REMDVE COVER [OR BACK). ND USER-
SERVICERBLE PARTS INSIDE. REFER SERVICING

exclamation point within an

equilateral triangle is intended to alert the

of the presence at important

the products enclosure that may be of
sufficient magnitude to constitute a risk
of electric shock to persons.

TD IIUALIFIED SERVICE PERSONNEL

operating and maintenance (servicing) in-
structions in the literature accompanying
the appliance

IMPORTANT

To prevent electric shock, do not remove cover. No user ser-
viceable parts inside, refer servicing to qualified service personnel.
Always disconnect all the equipment from the mains supply when
disconnecting the signal leads. The power cord should be con
nected last, make sure that the power switch is off.

Unplug the set from the wall socket when it is not to be used for an
extended period of time.

FOR USE IN UNITED KINGDOM
AND AUSTRALIA

CAUTION 240 V: Mains supply voltage is factory

adjusted at 240 V.

FOR USE IN UNITED KINGDOM

The wires in this mains lead are coloured in accordance with the
following cord:

Blue: Neutral

Brown: Live
As the colours of the wires in the mains lead of this apparatus may
not correspond with the coloured marking identifying the ter-
minals in your plug proceed as follows:
The wire which is coloured blue must be connected to the terminal
which is marked with the letter N or coloured black.
The wire which is coloured brown must be connected to the ter-
minal which is marked with the letter L or coloured red.