Pioneer ct 720 owners manual

This is the 16 pages manual for pioneer ct 720 owners manual.
Read or download the pdf for free. If you want to contribute, please upload pdfs to audioservicemanuals.wetransfer.com.

Page: 1 / 16
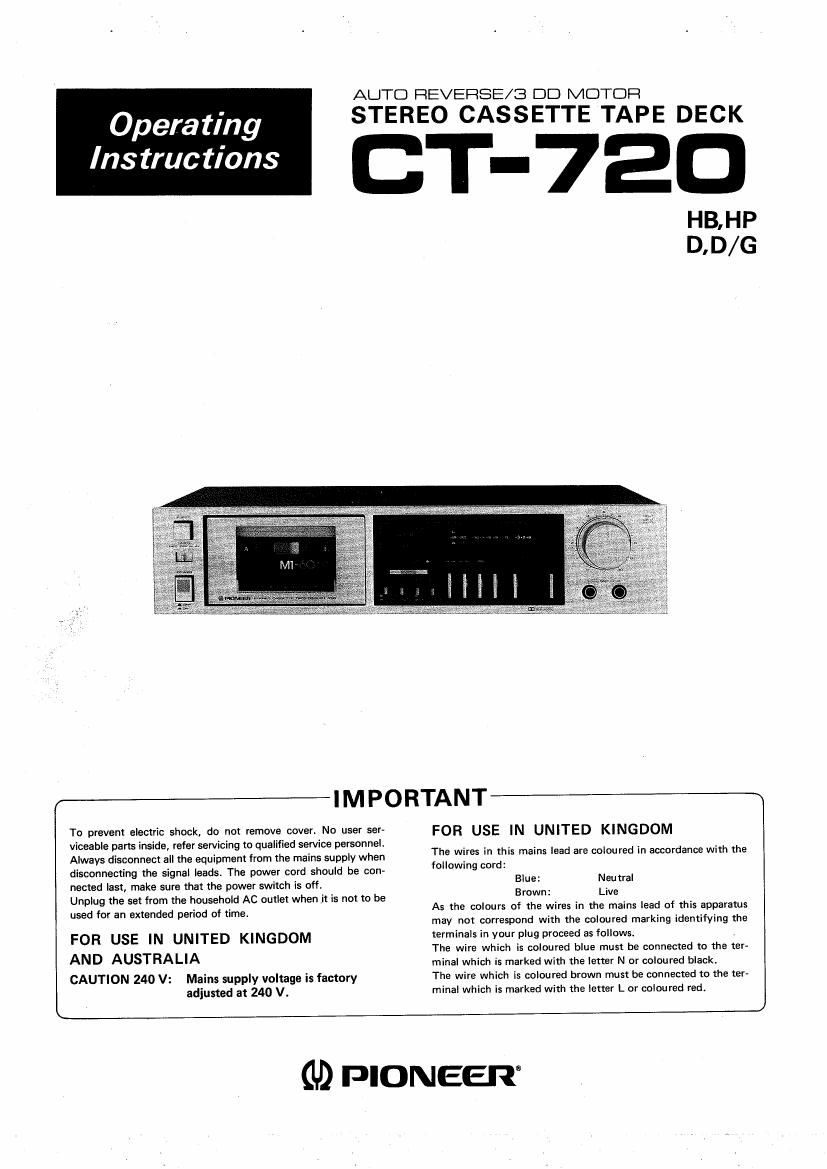
pioneer ct 720 owners manual

Extracted text from pioneer ct 720 owners manual (Ocr-read)


Page 1

AUTO REVERSE/3 DD MDTCJFI

STEREO CASSETTE TAPE DECK

T-7EO

HB.HP
D,D/ G

Opera ting

Instructions

IMPORTANT

To prevent electric shock, do not remove cover. No user ser-
viceable parts inside, refer servicing to qualified service personnel.
Always disconnect all the equipment from the mains supply when _
disconnecting the signal leads. The power cord should be con, followmg cord:

nected last, make sure that the power switch is off. 3|: Neutral

Unplug the set from the household AC outlet when .it is not to be A Brown: . _ Live _ d f h'
used for an extended period of time. s the colours of the Wires in the mains lea o t is apparatus

may not correspond with the coloured marking identifying the
FOR USE IN UNITED KINGDOM terminals in your plug proceed as follows.
AND AUSTRALIA

FOR USE IN UNITED KINGDOM

The wires in this mains lead are coloured in accordance with the

The wire which is coloured blue must be connected to the ter-
minal which is marked with the letter N or coloured black.
CAUTION 240 V: Mains supply voltage is factory
adjusted at 240 V.

The wire which is coloured brown must be connected to the ter-
minal which is marked with the letter L or coloured red.

GD PIONEER

Page 2

LINE-VOLTAGE VARIATIONS

These instructions apply to two models, one with a 2-position line voltage selector
and the other with a 3-position selector plug.

Before connecting the power cord to the AC outlet, check the power line voltage
which is used in your area and check that the marking on the line voltage selector
plug, located on the rear panel of the unit, tallies with this voltage. If it differs,
change the position of the selector by following the procedure below.

220V and 240V models (Fig. A) 120V, 220V and 240V models (Fig. B)
1. Disconnect the power cord. 1. Disconnect the power cord.
2. Use a Phillips screwdriver to loosen mounting screw, 2. Use a Phillips screwdriver to take out the fuse cap and
then remove selector plug. fuse.
3. Reinstall the selector plug with its out out section 3. Pullout the selector plug from the socket.
exposing the correct voltage indication. 4. Reinstall the selector plug with its out out section ex-
4. Tighten mounting screw. posing the correct voltage indication.

5. Change the fuse in accordance with the table.
6. Replace the fuse and fuse cap.

120V, 220V and 240V models

220V and 240V models

Fuse
Socket
Phillips
screwdriver
Selector plug w Selector plug
" (I, Fuse cap
6 Table
Phillips screwdriver r VOLTAGE FUSE
/ '3 120v
220v 2 A
240V
Mounting screw
Fig. A Fig. B