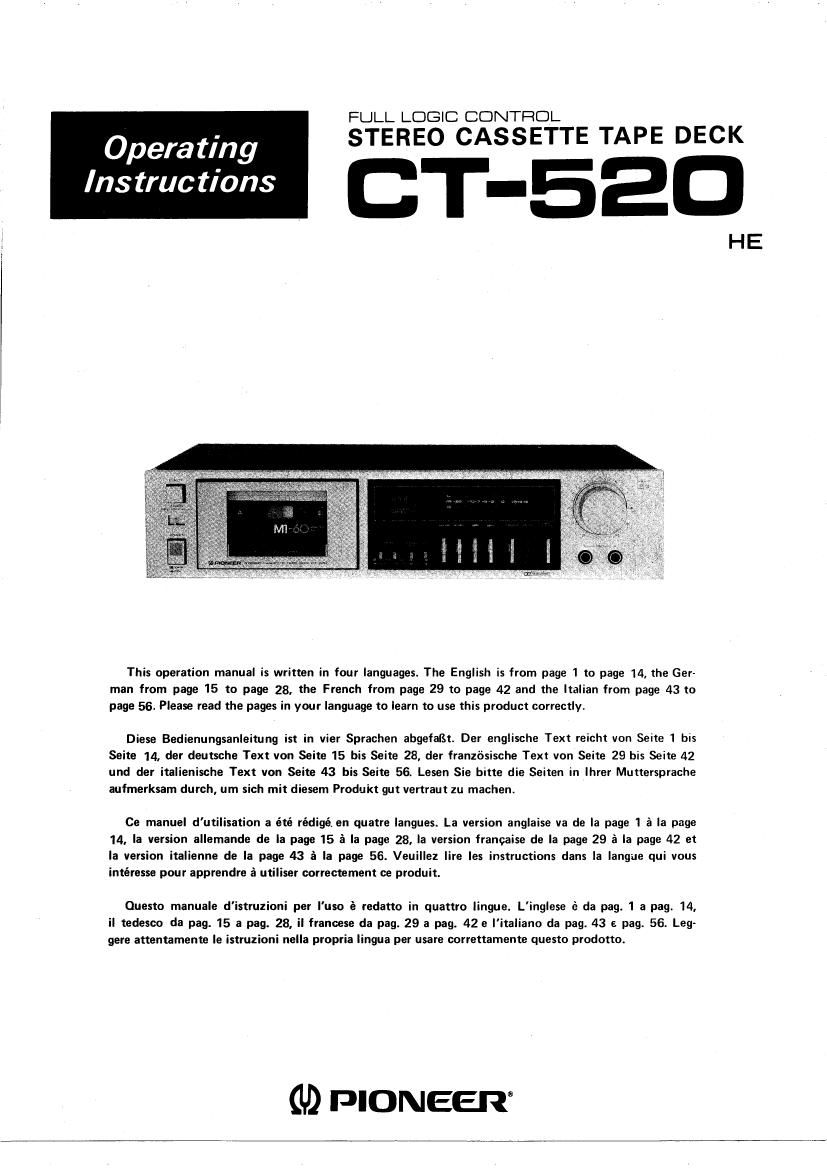
Pioneer ct 520 owners manual
This is the 14 pages manual for pioneer ct 520 owners manual.
Read or download the pdf for free. If you want to contribute, please upload pdfs to audioservicemanuals.wetransfer.com.
Extracted text from pioneer ct 520 owners manual (Ocr-read)
Page 1
FULL LOGIC CONTROL
STEREO CASSETTE TAPE DECK
Instructions I -520
HE
Operating
This operation manual is written in four languages. The English is from page 1 to page 14. the Ger-
man from page 15 to page 28, the French from page 29 to page 42 and the Italian from page 43 to
page 56. Please read the pages in your language to learn to use this product correctly.
Diesa Bedienungsanleitung ist in vier Sprachen abgefaflt. Der englische Text reicht von Seite 1 bis
Seite 14, der deutsche Text von Seite 15 bis Seite 28, der franzfisische Text von Seite 29 bis Seite 42
und der italienische Text von Seite 43 bis Seite 56. Lesen Sie bitte die Seiten in lhrer Muttersprache
aufmerksam durch, um sich mit diesem Produkt gut vertraut zu machen.
Ce manuel d'utilisation a été rédigé en quatre langues. La version anglaise va de la page 1 a la page
14, la version allemande de la page 15 a la page 28, la version franeaise de la page 29 a la page 42 et
la version italienne de la page 43 a la page 56. Veuillez lire les instructions dans la langue qui vous
intéresse pour apprendre a utiliser correctement ce produit.
Ouesto manuale d'istruzioni per luso é redatto in quattro lingue. L'inglese is da peg. l a peg. 14,
H tedesco da pag. 15 a peg. 28, ii francese da pag. 29 a pag. 42 e litaliano da pag. 43 e pag. 56. Leg
gere attentamente le istruzioni nella propria Iingua per usare correttamente questo prodotto.
M PIONEER
Page 2
LINE-VOLTAGE VARIATIONS
You will find the line voltage selector switch on rear panel.
This switch has positions for 220V and 240V power
sources.
Before your cassette tape deck is shipped from the factory,
the switch is set to the power requirements of the destina-
tion; nevertheless, you should check that it is set properly
before plugging the power cord into the outlet. If the
voltage is not properly set or if you move to an area where
the voltage requirements differ, adjust the selector switch
as follows. After adjusting, connect the power cord.
1. Use a Phillips screwdriver to loosen mounting screw,
then remove selector plug.
2. Reinstall the selector plug with its cut out section
exposing the correct voltage indication.
3. Tighten mounting screw.
Selector plug
6
Phillips screwdriver %
QM
/ \
Mounting screw
IMPORTANT
To prevent electric shock, do not remove cover. No user serviceable parts inside, refer servicing to qualified service
personnel.
Always disconnect all the equipment from the mains supply when disconnecting the signal leads. The power cord
should be connected last, make sure that the power switch is off.
Unplug the set from the wall socket when it is not to be used for an extended period of time.