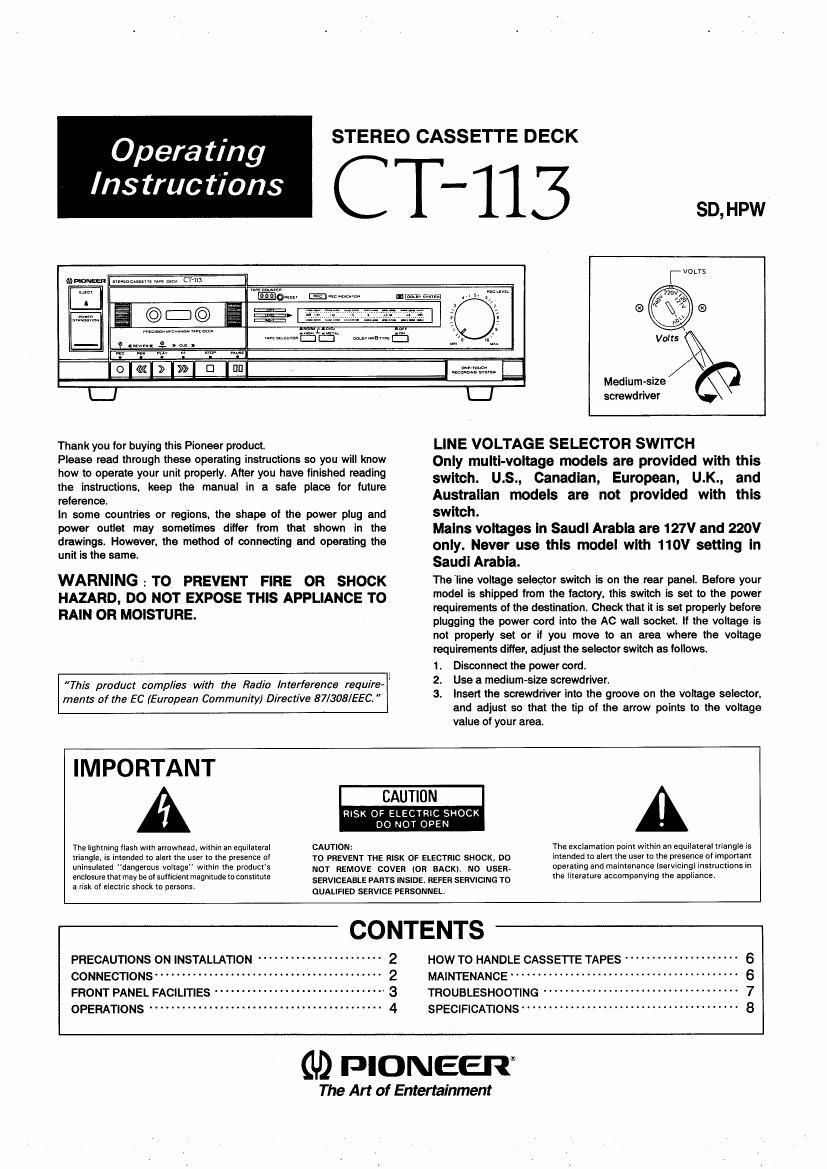
Pioneer ct 113 owners manual
This is the 8 pages manual for pioneer ct 113 owners manual.
Read or download the pdf for free. If you want to contribute, please upload pdfs to audioservicemanuals.wetransfer.com.
Extracted text from pioneer ct 113 owners manual (Ocr-read)
Page 1
Opera ting
Instructions
STEREO CASSETTE DECK
CT-113
«animus-an imam... m. Cruz
Mama El an..-
mam E>©lj© E _>
mums-D .-_-, a...
- (lawn-4r ° . u .
m n I... r. -g.
O(€»»)CII]EI
LJ
Thank you for buying this Pioneer product.
Please read through these operating instructions so you will know
how to operate your unit properly. After you have finished reading
the instructions, keep the manual in a safe place lor future
relerenoe.
In some countries or regions. the shape of the power plug and
power outlet may sometimes differ from that shown in the
drawings. However. the method oi connecting and operating the
unit is the same.
WARNING ; TO PREVENT FIRE OR SHOCK
HAZARD, DO NOT EXPOSE THIS APPLIANCE TO
RAIN OR MOISTURE.
This product complies with the Radio Interference require-
ments of the EC [European Community) Directive 87/308/EE .
Medium-size \\
screwdriver
LINE VOLTAGE SELECTOR SWITCH
Only mum-voltage models are provided with this
switch. U.S., Canadian, European, U.K., and
Australian models are not provided with this
switch.
Mains voltages In Saudi Arabia are 127V and 220V
only. Never use this model with 110V setting in
Saudi Arabia.
The'line voltage selector switch is on the rear panel, Before your
model is shipped from the factory. this switch is set to the power
requirements Of the destination. Check that it is set properly before
plugging the power eord into the AC wall socket. If the voltage is
not properly set or if you move to an area where the voltage
requirements differ, adjust the selector switch as follows.
1. Disconnect the pow-r cord.
2. Use a medium-size screwdriver.
3. Insert the screwdriver into the groove on the voltage selector,
and adjust so that the tip of the arrow points to the voltage
value of your area.
IMPORTANT
The lightning flash with arrowhead. within an equilateral
triangle, is intended lo alert the user in the presence or
uninsulated "dangerous voltage" within the products
enclosure that may be of sufficient magnitude to constitute
a risk of electric shock to persons.
CAUTION
RISK OF ELECTRIC SHOCK
DO NOT OPEN
CAUTION:
TO PREVENT THE RISK OF ELECTRIC SHOCK, DO
NOT REMOVE COVER (ON BACK). N0 USER»
SERVICEAELE PARTS INSIDE. REFER SERVICING TO
QUALIFIED SERVICE PERSONNEL.
The exclamation point within an equilateral triangle is
intended to alert the user (0 the presence of important
operating and maintenance (servicing) instructions in
the literature accompanying the appliance.
PRECAUTIONS 0N INSTALLATION ---------------------- 2
CONNECTIONS"""""""
FRONT PANEL FACILITIES
OPERATIONS .......... . . . . ..........
CONTENTS
HOWTO HANDLE CASSETTETAPES
2 MAINTENANCE""" ~-
-\ 3 TROUBLESHOOTING -
SPECIFICATIONS -----
OJNICDO)
(U) PIONEER
The Art of Entertainment
Page 2
PRECAUHONSCWHNSUHLAHON
HEAT
Do not place the unit neara heating device. on top of the amplifier
or in a location where it is exposed to direct sunlight. as excessive
heat may damage the finish and internal parts. Also, do not place a
cloth on top of the unit or block the provided ventilation openings in
any other way. Always make sure that the installation location
provides sufficient ventilation to prevent overheating.
HUMIDITY, CONTAMINATION
Do not install the unit in an excessively humid or dusty location, as
this may cause malfunctions and bmakdowns. Also. avoid placing
the unit next to kitchen counters or other locations where it is
subjected to 9in fumes.
CONNECHONS
CONNECTING THE CASSETTE TAPE DECK
TO AN AMPLIFIER
I Read through the operating instructions of the stereo
components which you intend to connect to this unit.
I Turn on the power only after all the connections are
completed.
I The top jacks are for the left (L) channel; the bottom lacks are
for the rig ht (H) Chan nel.
Make sure that the plugs are inserted securely. Improper
connection may generate noise.
I Avoid placing the unit directly on top of an amplifier since this
may cause humming or other noise.
I Avoid installing the unit too close to a TV set since humming
may occur during recording,
Connecting the in -
put/output cords
Connect the plugs properly.
Lefft channel
White plug
b\
@\
~ ~
Right channek
Red plug
Connection to an audio timer
For details on the connection to an audio timer. refer to the
instruction manual of the audio timer.
2
NOISE INTERFERENCE
When the unit is placed directly on top of the amplifier it may pick
up humming or other noise during recording. A turned-on TV set in
close vicinity may also cause noise.
DEW CONDENSATION
When the unit is moved from a cold to a warm environment. or
when the room temperature rises drastically. condensation forms
on parts of the tape transport mechanism. causing malfunctions
when the tape deck is operated immediately. To avoid this, allow
the tape deck to acclimate to the new temperature by waiting about
one hour before operating the unit.
CT-113
Recording
connection
Playback coonecfion
When pedomung unattended
recording or makeup playback
Supplied cords
TAPE iacks
a
r
I
I
I
l
I
e
o
-_-----..__--
l-
oooO
Stereo amplifier
POWER-CORD CAUTION
Handle the power cord by the plug. Do not pull out the plug by tugging
the cord and never touch the power cord when your hands are wet as
Household AC outlet
_ this could cause a short circuit or electric shock. Do not place the unit,
a piece of furniture, etc., on the power cord, or pinch the cord. Never
make a knot in the cord or tie it with other cords. The power cords
should be routed such that they are not likely to be stepped on. A
damaged power card can cause fire or give you an electrical shock.
Check the power cord once in a while. When you find it damaged, ask
your nearest PlONEER authorized service center or your dealer for a
replacement.