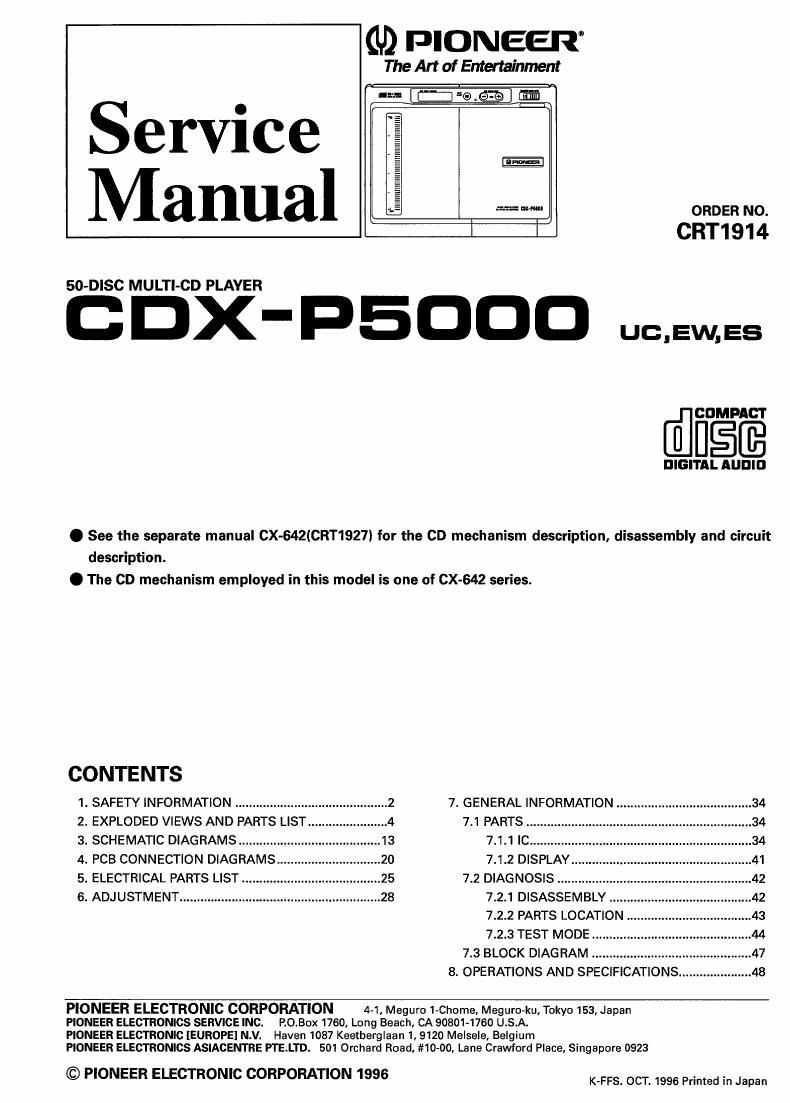
Pioneer cdxp 5000 service manual
This is the 51 pages manual for pioneer cdxp 5000 service manual.
Read or download the pdf for free. If you want to contribute, please upload pdfs to audioservicemanuals.wetransfer.com.
Extracted text from pioneer cdxp 5000 service manual (Ocr-read)
Page 1
(U) PIONEER
The Art of Entertainment
ervice
Manual
50-DISC MULTI-CD PLAYER
c DX- psooo UG,EW,ES
Iflfigfi
DIGITAL AUDIO
ORDER NO.
CRT1914
. See the separate manual CX-64ZICRT1927) for the CD mechanism description, disassembly and circuit
description.
0 The CD mechanism employed in this model is one of CX-642 series.
CONTENTS
1. SAFETY INFORMATION ......................
2. EXPLODED VIEWS AND PARTS LIST.
3. SCHEMATIC DIAGRAMS ..............
4. PCB CONNECTION DIAGRAMS...
5. ELECTRICAL PARTS LIST
6. ADJUSTMENT .................
7. GENERAL INFORMATION
7.1 PARTS .........................
7.1.1 IC .............
7.1.2 DISPLAY.
7.2 DIAGNOSIS ................
7.2.1 DISASSEMBLY .
7.2.2 PARTS LOCATION
7.2.3 TEST MODE ..........
7.3 BLOCK DIAGRAM ............................
8. OPERATIONS AND SPECIFICATIONS...
PIONEER ELECTRONIC CORPORATION 4-1, Meguro 1-Chome, Meguro-ku, Tokyo 153, Japan
PIONEER ELECTRONICS SERVICE INC. ROBOX 1760, Long Beach, CA90801-1760 U.S.A.
PIONEER ELECTRONIC {EUROPE} N.V. Haven 1087 Keetberglaan 1, 9120 Melsele, Belgium
PIONEER ELECTRONICS ASIACENTRE PTE.LTD. 501 Orchard Road, #10-00, Lane Crawford Place, Singapore 0923
© PIONEER ELECTRONIC CORPORATION 1996 ms OCT. 1995 Primed in Japan
Page 2
COX-PEDOD
C CD Player Service Precautions
1. For pickup unit(Service)(CXX1230) handling, please
refer to'Disassembly"(CX-642 Service Manual
CRT1927).
During replacement, handling precautions shall be
taken to prevent an electrostatic dischargelprotection
by a short pin).
Transport Pin
1. SAFETY INFORMATION
1.1 CDX-PSOOOIUC
CA N
2. During disassembly, be sure to turn the power off
since an internal IC might be destroyed when a con-
nector is plugged or unplugged.
3. Please checking the grating after changing the pickup
unitlsee page 30) since these screws protects the
mechanism during transport, be sure to affix it when
it is transported for repair, etc.
Bottom
When retransporting the unit, use the fol-
lowing procedure, installing the transport
screws, pin and its cardboard retainer in
the positions they were in when the unit
was first transported.
E Transport Screws ;'
9 .
. Release the Clear button and
Spacer
CHW1629
Switch the power on.
Press while pressing the Clear
button.
release the ..
. Open the door (magazine side).
If the Procedure is correct, " ----- " will
be displayed for the player displays
disc number display.
. Disconnect the Power Cord and
the lP-BUS cable.
. Bottom where the transport
screws are installed.
. Place the magazine inside.
. Install the transport screws and
pin.
. Install the cardboard retainer on
the transport pin.
Fig. 1
This service manual is intended for qualified service technicians; it is not meant for the casual do-it-yourselfer.
Qualified technicians have the necessary test equipment and tools, and have been trained to properly and safely repair
complex products such as those covered by this manual.
Improperly performed repairs can adversely affect the safety and reliability of the product and may void the warranty.
If you are not qualified to perform the repair of this product properly and safely; you should not risk trying to do so
and refer the repair to a qualified service technician.
MEMMQ
Lead in solder used in this product is listed by the California Health and Welfare agency as a known reproductive toxi~
cant which may cause birth defects or other reproductive harm (California Health 81 Safety Code, Section 25249.5).
When servicing or handling circuit boards and other components which contain lead in solder, avoid unprotected skin
contact with the solder. Also, when soldering do not inhale any smoke or fumes produced.