Pioneer cb 9 owners manual

This is the 4 pages manual for pioneer cb 9 owners manual.
Read or download the pdf for free. If you want to contribute, please upload pdfs to audioservicemanuals.wetransfer.com.

Page: 1 / 4
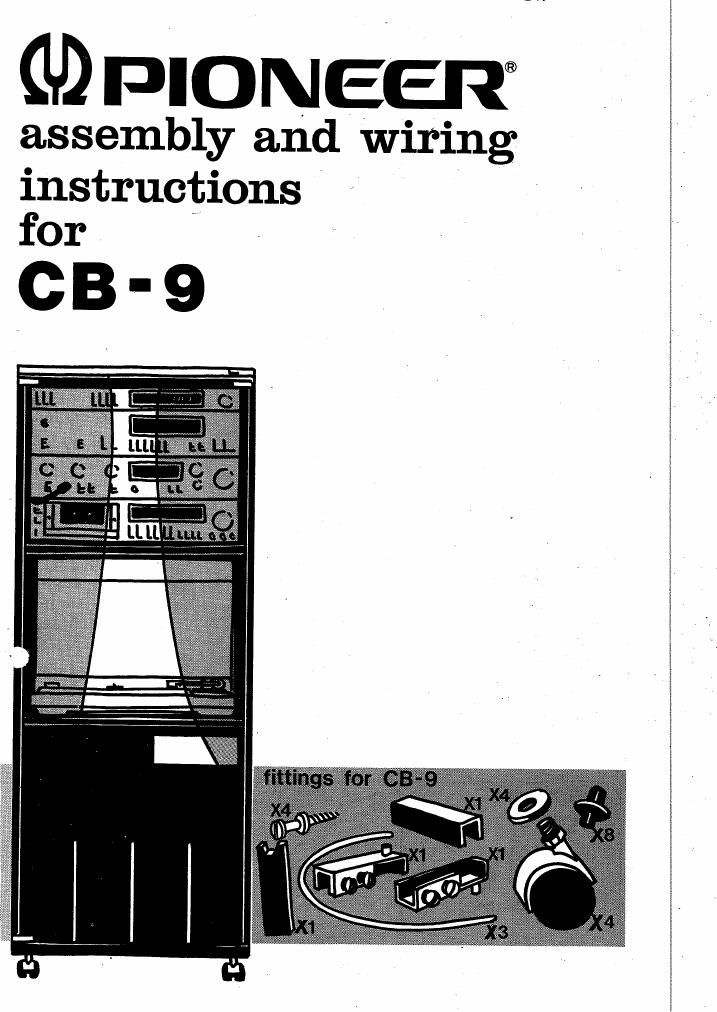
pioneer cb 9 owners manual

Extracted text from pioneer cb 9 owners manual (Ocr-read)


Page 1

GD PIONEER®
assembly and wiring

instructions
or - >

CB-9

Page 2

assembly instruci

1 Lay the sidepanels on the carton and fix the
assembly screws as indicated (fig. D).

ATl'ENTlDN: stipulate the place of the ad-

justable shelf according to one of the fol-

lowing situations. .

a In the highest position for a system
without timer.

h In the lowest position for a system com-
bined with a timer.

2 Attach the shackle (tor the drawer) to the
fixed shelf with the tour extra delivered long
screws (fig. B).

Attach the iront- -plate of the drawer by
means of the two short screws. ,
Attach the top and the fixed shelf to the left
side panel (fig, A).

3 Slide the back panel in the appropriate
grooves

4 Attach the right and the bottom panel

fi-AQ
Fix the wheels (fig
Put the rack In its upstanding position.

5 Fix the metal record holders.
Attach the adjustable shelf to the fixing
screws (fig. D).
Insert the stop-pins in the left and right
panels (fig. F). (These pins are necessary to
retain the front panel of the equipment).

6 Attach the hinge to the bottom of the glass
door while mounting the door in the rack,
Also put the upper hinge in the top panel and
fix it to the glass door (fig. E).

Press the small manget-plate to the upper
owner of the glass door.

1 Poser les panneaux de cote sur le carton et
mettre les vis d'assernhlage comme indi-
qué:

ATTENTION: Prévoir Ia place de la tablette

aiustahle selon lune des positions suivan-

tes:

a. En position haute pour un ensemble sans
timer

1). En position basse pour un ensemble aver:
timer.

Fixer le support (pour le tirolr) a la tablette
tlxe avec les 4 vis Iongues (fig. B).

Fixer ie panneau avant dutiroirau moyen des
2 vis courtes

Fixer Ie dessus et latablette iixe an able gau-
che (fig A)

N

(a

Glisser Ie panneau arriere dans les rainures
prévues a oet effet

4 Fixer Ie panneau droit et la fond (fig. A)
Fixer les roves (fig 0)
Mettre Ie rack en position verticals,

5 Fixer les supports metaillques des disques.
Fixer Ia mhlette aiustable aux vis de fixation
I
Metfre les arrets sans les panneaux limit at
gauche (oes arrets sont neoessaires pour
Enaingnir Io panneau avant de l'ensemhle)
'9

6 Fixer Ie good an has de la porte vitreeh
Tout en posant la porte sur le rack mettre Ie
gond du haut dans Ie plateau du ham et le
iixer a la porte vitrée (fig. E).

Appuyer la petite plaque on montée sur le
haut de la pone vitree.

.1 Legen Sie die Seitenteile auf den Karton un

befestigen Sie diese mit den dafflr vorgess
henen )Schrauben wle auf dem Bild gezeig
tig D

ACHTUNG: Je nach Bestiickung des nac
versohieht sich die einhauhohe des verstel
haren Fachbodens

Folgende situationen sind moglich:

a Hochste Position fiJr eine Kombinatio
ohne Timer.

b. Niedrigste Position fiir eine Kumhinatio
mit Timer.

2 Befestigen Sie den Halter(iiir das Schub-
fach) mit dem festen Fachhoden mit den vie
extra Iahgen Schrauben (fig. 3).
Befestigen Sie die Fronlplatte des Schub
lashes mit den zwei kurzen Schrauhen.
Eelestigen Sie Deck- und Bodenplatte mi
dem Iinken Seitenteil (fig. A).

3 Schieben Sie die Ruokwand in die Nuten sin.

4 Befestigen Sie jetzt Eodenplatte und rechtes
Seitenteil (fig. A).
Eefestigen Sie die Rollen (fig. c).
Stellen Sie das Rack ant recht.

5 Befestigen Sie die metallenen Schallplat
tenstander.
Beiestigen Sie den verstellharen Faohhode
mit den Sohrauben (fig. D).
Bringen Sie die Stopper in den Iinken un
rechten Seitenteilen an (um ein Hineinschie
hen derGerate nach hinten' In das Rank ver

maiden) (fig F). .
6 Des Soharnier unten an der Glastiir'heies
tigen

We'hrend der Montage der Tiir an das Rack
das obere Scharnier in die Abdeckplait
drunken und die Glastiir an das Soharnie
beiestigen. ,

Drunken Sie die Irieine Magnetplatte aui di
ohere Ecke der Glastilr (fig. F).