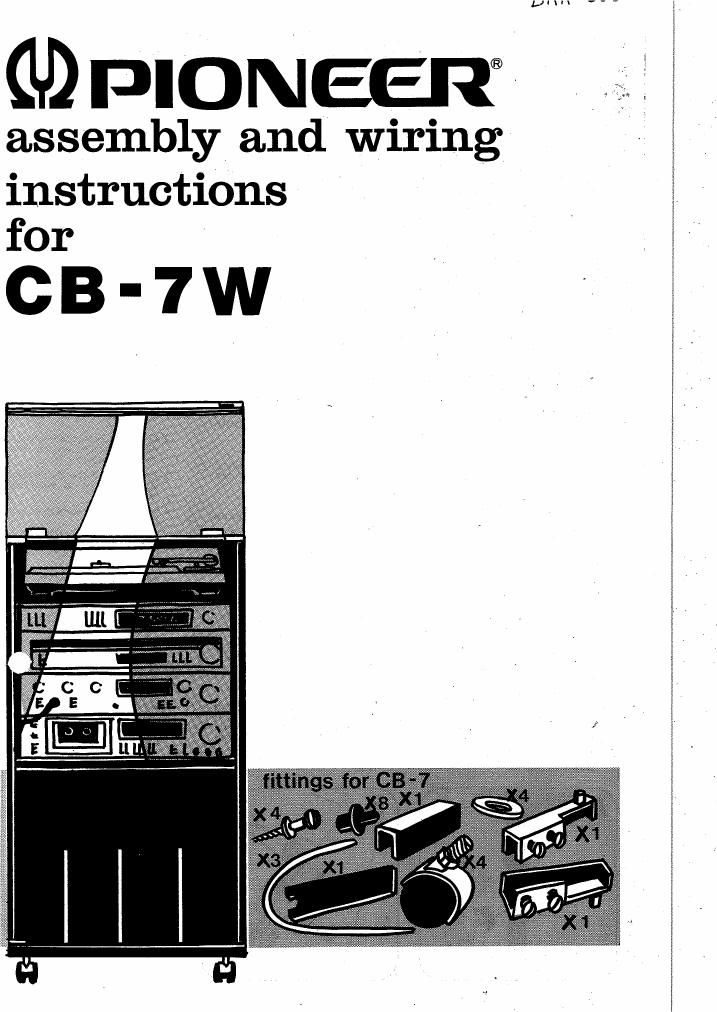
Pioneer cb 7 w owners manual
This is the 4 pages manual for pioneer cb 7 w owners manual.
Read or download the pdf for free. If you want to contribute, please upload pdfs to audioservicemanuals.wetransfer.com.
Extracted text from pioneer cb 7 w owners manual (Ocr-read)
Page 2
assembly instruc3
t
1
1 Lay the sidepanels on the canon and fix the
assembly screws as indicated (fig. B).
ATTENTION: Stipulate the place at the ad-
justable shelf according to one at them!»
lowing situations:
a. In the highest position for a system
without timer.
b. In the lowest position for a system com-
bined with a timer.
2 Fix the top panel and the small back panel to
the left side panel (fig A).
u
Slide the back panel in the appropriate
grooves.
Fix now the right side panel (fig. A).
a
Attach the bottom panel to the left and right
panel (fig
Fix the wheels (fig 0).
Put the rack' In its upstanding position.
Fix the metal record holders.
or
Attach the adjustable shelf to the fixing
screws (fig. 5).
Insert the stop-pins in the left and right pa-
nels (fig. F).
(These pins are necessary to retain the front
panel of the equipment).
Putthe protecting plate on the screws in the
folding hinge, the gummy faced to the glass
side (fig. D).
Attach the glass plate to the folding hinges.
6 Attach the hinge with the long axle to the
bottom of the glass door while mounting the
door in the rack. Also put the upper hinge
with the short axle in the hingeholder and fix
it to the glass door (lig E)
Press the small magnet- plate to the upper
comer of the glass door
1 Poser les panneaux de cote sur le carton et
mettre les vis dassomblage comme indique
(fig. 3).
ATTENTION: Prévoir la place de la tablette
aiustable selon Iune des positions suivan-
les:
a. En position haute pour un ensemble sans
timer
b En position oasse pour un ensemble avec
timer
N
Fixer le dessus au petit panneau arriere et les
assembler au cote gauche (tig. A).
w
Glisser Ie panneau arriére dans les rainures
prévues a cet effet. Fixer maintenant le pan»
neau droit (fig. A).
p
Assembler Ie fond au cotes droit et gauche
(fig. A).
Fixer les ropes (fig. 0).
Mettre le rack en position verticale.
Fixer les supports metalliques des disques.
Fixer la tablette ajuslable aux vis de fixation
(fig.
Mettre les arrets clans les panneaux droit et
gauche (ces arrets sont necessaires pour
maintenir le panneau avarIt de lensemble)
(tig. F).
Mettre la plaque de protection sur les vis de
la charniere, Ia partle on caoutchouc face au
cote glace (fig. D)
Fixer la tablette en verre aux charnieres.
Gt
Fixer le gond avec l'axe long au bas«de la
porte vitrée. Tout en posant Ia porte sur le
rack mettre Ie gond du haut avecl axe court '
dans le support de gond et le fixera la porte
vitree (lig. E).
Appuyer le petit aimant sur le hautde la porte
vitrée
.4
N
9
a
u-
, nieren
4
t
i
2
2
§
Legen Sie die Seitenleile auf den Karton uni
hefestigen Sie diese mit den dafiir verges
:Ienen- Schrauben wie auf dem Bild gezeig
tigB
ACHTUNG: Je naeh Bestiickung dc :lr
verschieot sich die Einbauhfihe des \wrel
baren Fachbodens.
Folgende Situationen sind moglich:
a. Ho'chste Position fiir elne Kombinatio
ohne Timer.
b. Niedrigste Position fiir eine Kombinatio
mit Timer.
Montieren Sie die coere Abdeckplatte mitd
klelnen RI'SIckwand und befestlgen Sie heide
mit den Seitentellen (fig. A).
Schieben Sie die RiJ'ckwand in die Nuten ein
Eefestigen Sie nun das rechte Seitente
(fig. A).
Betestigen Sie die Bodenplatte mit den Se
tenteilen (fig. A).
Befestigen Sie die Rollen (fig. 0).
Stellen Sie das Rack auirecht.
Betestigen Sie die metalleneh Sehallpla
tenstander. E-
t
Befestigen Sie den verstellbaren Fachbode'
mit den Schrauben (fig. B).
Bringen Sie die Stopper in den linken un
rechten Seitenteilen an (um ein Hinein
schieben derGerfite nach hinten in das Rae
zu vermeiden( (fig. F).
Legen Sie die Schutzplatte aut die Schraube
der Scharniere mit der Gummizeite zur Gla
platte (fig D.
Befestigen Sie die Glasplatte mit dl-. 571a
Befestigen Sie das Scharnier mit dem lange
Schenkel aut dem Baden der Glastiir um
wenn Sie die Tor mit dem Gehause montie
ren betestigen Sie den kurzen Schenkel an
Scharnierhalter
Schieben Sie die Glastiir' In das obere Schar!
nier (lig. E.
Drucken Sie die Magnetplatte auf die Tiir