Pioneer cb 3 owners manual

This is the 4 pages manual for pioneer cb 3 owners manual.
Read or download the pdf for free. If you want to contribute, please upload pdfs to audioservicemanuals.wetransfer.com.

Page: 1 / 4
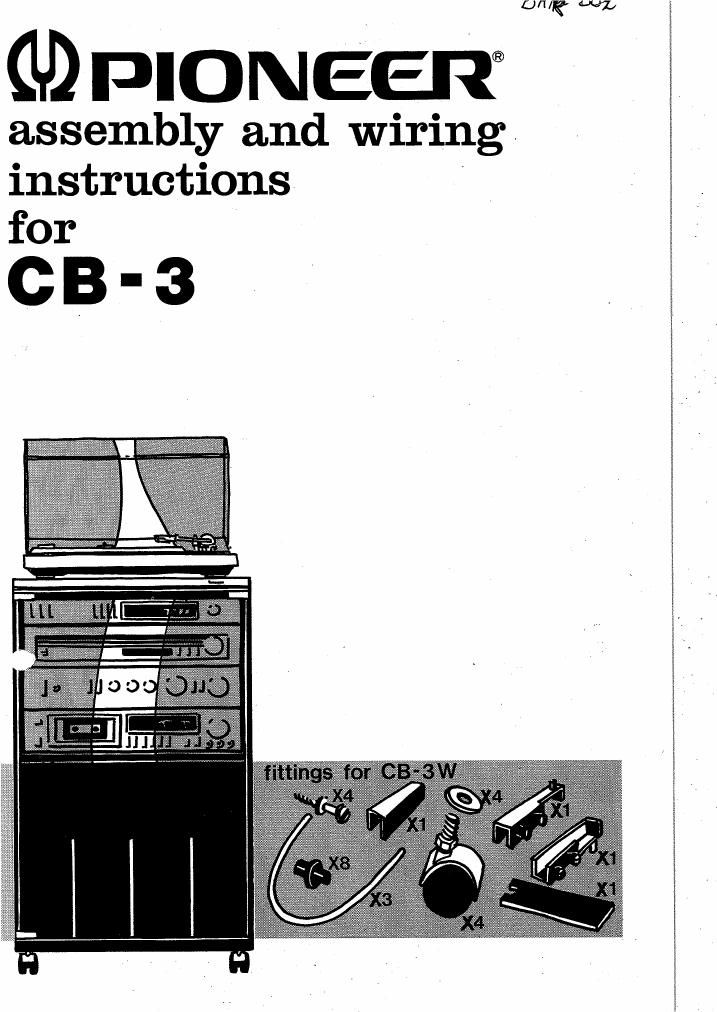
pioneer cb 3 owners manual

Extracted text from pioneer cb 3 owners manual (Ocr-read)


Page 2

assembly instruC'

1 Lay the sidepanels on the canon and
fix the assembly screws as indicated
(fig. C).

ATTENTION: stipulate the place of the
adjustable shelf according to one of
the following situations:

1. In the highest position for a receiver .

combined with a casette deck.

2. In the second position for combina-
tion 1 plus a timer.

3. In the third position for the combi-
nation of a tuner, amplifier and a
casette deck.

4. In the lowest position for combi-
nation 3 plus a timer.

2 Attachthe top panel to the left and right
side panels (fig. A).

a Slide the back panel in the appropriate
grooves.

4 Attach the bottom panel to the left and
right panel (fig. A).
Fix the wheels (fig. B).
Put the rack in its upstanding position.

5 Fix the metal record holders (fig. E).
Attach the adiuslable shelf to the fixing
screws (fig. C).

Insert the stop-pins in the left and right
panels (fig. D).

(These pins are necessary to retain the
front panel of the equipment).

6 Attach the hinge to the bottom of the
glass door while mounting the door in
the rack. Also put the upper hinge in
the top panel and fix it to the glass
door (fig. E).

Press the small magnet-plate to the
upper corner of the glass door.

1 Poser les panneaux de cfité sur le carton e!
:nettre)les vis d'assemblage oomme indiqué
fig. 0 .

ATTENTION: prevoir la place de la tablette
aiustahle selon dune des positions sulvan-
les:

1. En position haute: pour un ampli-tuneret
une platine cassette.

2. En deuxiéme position si on timer est
ainute a la premiére combinaison.

3. En troisieme position si la chaine est
composée dun tuner. d'un amplificateur
et d'une platine cassette.

4. En position la plus passe si on timer est
aioute a la troisiéme combinaison.

2 Fixer le dessus aux cdtés droit et gauche
(fig. A).

3 Glissel le panneau arriere dans les rainures
prévues a cot eftet.

4 Fixer Ie fond aux cotés droit et gauche
(fig. A.
Fixer les roues (fig. 8).
Mettre le rack en position venicale.

5 Fixer les supports métalliques de disques.
Ffilxeréa tablette aiustable aux vis de fixation

Mettre les arrets dans les panneaux droit et
gauche (oes arrets sont néoessaires pour
maintenir Ie panneau avant de I'ensemble)
(fig. 0).

6 Fixer Ie gond au pas de la ports vitrée. Tout
en posant la porte sur le rack mettre Ie gond
du haut dans Ie plateau du dessus et le fixera
Ia porte vitrée (fig. F).

Appuyer la petite plaque aimantee en haut et
a droite sur la porte vitrée.

1 Legen Sie die Seitenteile aufden Karton un
hefestigen Sie diese mit den dafiir vorgese
henen)Schrauben wle auf dem Bild gezeig
(fig. C .

ACHTUNG: Je nach Bestiickung de. :k.
verschieht sich die Einbauhoiie der verstellu
haren Bord.

Folgende Situationen sind mdglich:

1. Hfichste Position bei derBestflckung rn
receiver und cassetten Mascltine.

2. Zweit hochste Position fiir eine Kornbina
tion wie bei f.

Jedoch mit zusfitzlichem Timer.

3. Dritthiichste Position bei der Bestiickun
rnit Verstarker, Tuner uno Cassette Ma
schine.

4. Niedrigste Position fiir eine Kombillatios

wie bei 3. Jedoch mitzusatzlichem Timer

2 Befestigen Sie die ohere Abdeckplatte mi
den Seitenteilen (fig. A).

3 Schlehen Sie die Ruckwand in die Nuten ein.

4 Befestlgen Sie Bodenplatte mit den Seiten
teilen (fig. A).
Befestigen Sie die Rollen (fig. B).
stellen Sie das Rack aufrecht.

Ill

Befestigen Sie die Metallenen Schallpla
tenstiinder. .
Befestigen Sie den Verstellharen Fachttoder
mit den Schrauben (fig. 0). -
Bringen Sie die Stopper in den linken un
rechlen Seitenleilen an (um ein irrein
schiehen der Gerate nach hinten irt ac
zu vermeiden (fig. D). \/

Das Scharnier untenan der Glastfir betes
tigen.
Wfihrend der montage derTiir an das Rack
das ohere Scharnier 'in die Abdeckplatte
driicken Lind die Glastil'r an das Schamie
befestigen.
Drunken Sie die kleine Magnetplatte auf di
ohere Ecke der Glastiir (fig. F).

a