Pioneer as 200 owners manual
This is the 6 pages manual for pioneer as 200 owners manual.
Read or download the pdf for free. If you want to contribute, please upload pdfs to audioservicemanuals.wetransfer.com.
Extracted text from pioneer as 200 owners manual (Ocr-read)
Page 1
womn FAMous BRAND m m n nzpnonumuow m
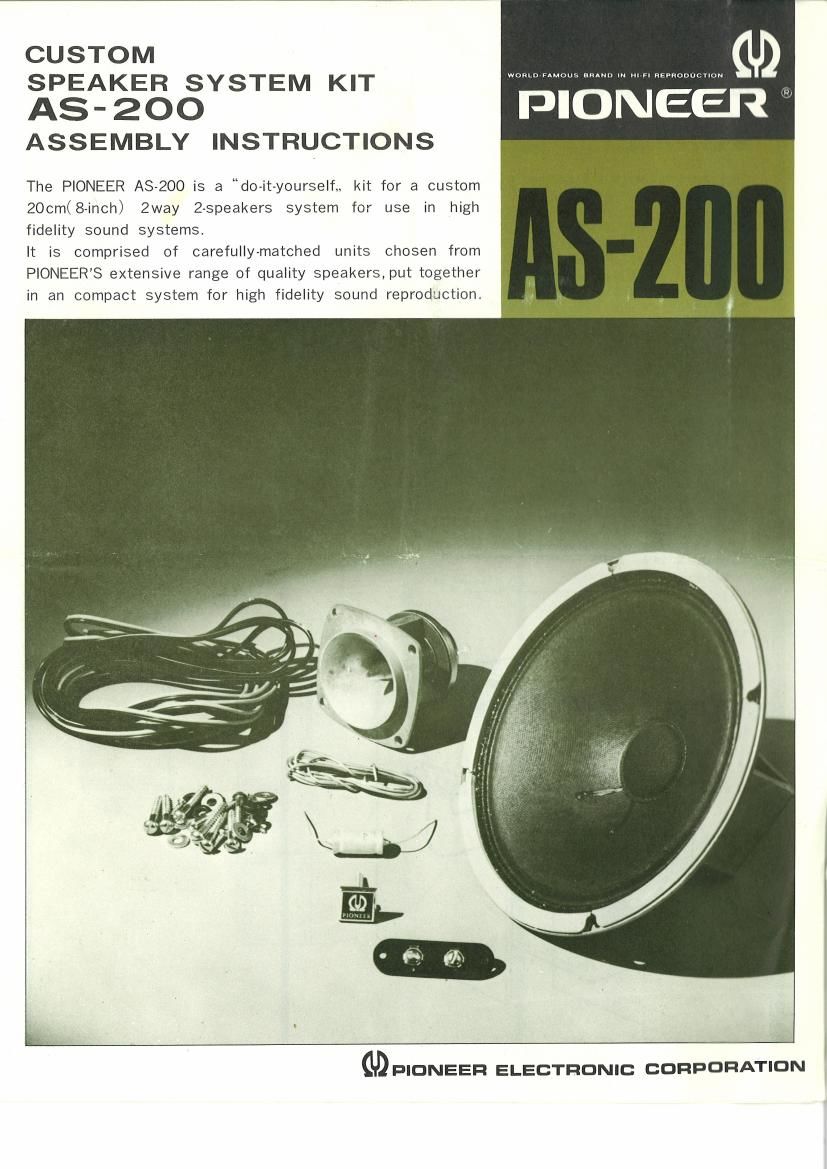
SPEAKER SYSTEM KIT
As- 200 PIONEER
ASSEMBLY INSTRUCTIONS
The PIONEER AS-ZOO is a do-it-yourself,, kit for a custom
200m(8-inch) 2way 2-speakers system for use in high
fidelity sound systems.
It is comprised of carefully-matched units Chosen from
PIONEERS extensive range of quality speakers,put together
in an compact system for high fidelity sound reproduction.
GD PIONEER ELECTRONIC CORPORATION
Page 2
Assembly Instructions
for Hi-Fi Speaker System AS-ZOO
0 Wiring oi AS-lefl
Fig.1 shows the wiring diagram and Fig.2 illustrates
the pictorial diagram of the A8200 completely
assembled. Since the wiring cords furnished with
the AS-ZOO are color coded. it is a good practice
to use the red cord exclusively for the wiring of
the potentialvexisting lines. Such Wiring will be a
great help in checking the finished wiring later. For
ease of Wiring, the two loudspeakers may be mount-
ed in advance on the front baffle board of your
speaker enclosure. For connecting wires to terminals,
wind the wire around the terminal two or three
turns and solder the joint quickly and neatly. Apply}
»ing the hot soldering iron onto the terminal for long
may cause serious damage.
Capacitor
-l
Fig 1
(-9 +
@ .-
Terminal board
Tweeter
Woofer
0 Notes on Speaker installation
When the speakers are mounted in the speaker en-
closure, be sure that you use the spring washer
and flat washer with the mounting screws. These
mounting hardwares are furnished with the A3200.
When tightening screws, it is not recommendable to
tighten completely one screw and go onto the next.
Good practice is to equally tighten all screws to a
certain degree and then go over tightening the
screws a little further. Repeat the step until all
screws are completely and securely tightened. When
all screws have been tightened, secure them with
daubs of paint or glue.