Philips cd 350 owners manual

This is the 8 pages manual for philips cd 350 owners manual.
Read or download the pdf for free. If you want to contribute, please upload pdfs to audioservicemanuals.wetransfer.com.

Page: 1 / 8
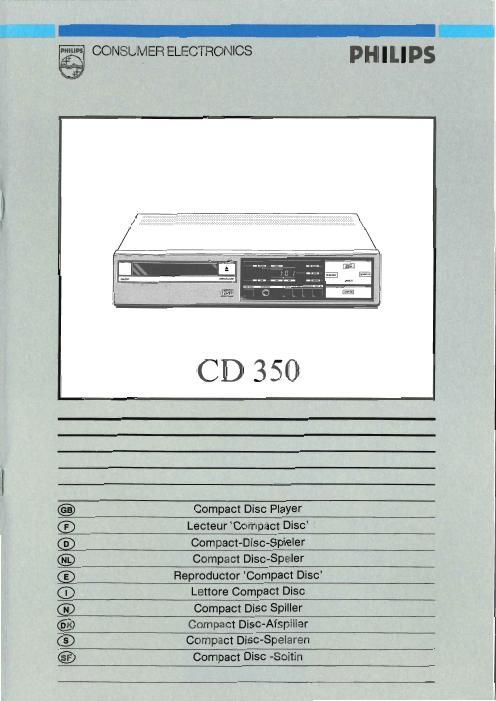
philips cd 350 owners manual

Extracted text from philips cd 350 owners manual (Ocr-read)


Page 1

CONSUMER ELECTRONICS

PHILIPS

Compact Disc Player

Lecteur 'Compact Disc

Compact-Disc-Spieler

Compact Disc-Speler

Reproductor Compact Disc
Lettore Compact Disc

Compact Disc Spiller

Compact Disc-Afspiller

Compact Disc-Spelaren

@@®®9®®@®@

Compact Disc -Soitin

Page 2

English
COMPACT DISC PLAYER CD 350

Welcome to the new sound experience of Compact Disc Digital
Audio.

Compact Disc is the biggest advance ever made in audio
technology. By employing the most sophisticated digital and
optical technologies, Compact Disc not only produces the
ultimate in sound reproduction, it gives you the user, also access
to operating features which have never been seen before in audio
equipment designed for the home, such as fast access to any
track on the disc and very simple programming.

To make operation even easier, this Compact Disc player can be
remotely controlled with a separate unit.

In these instructions you will find everything you need to know
_ about installing, operating and programming your Compact Disc
player. Read through the text carefully and you will quickly
become familiar with all the facilities offered by this new way of
listening to discs.

INSTALLATION
Checking the Power Supply

The type plate, at the rear of your Compact Disc player, tells you
the supply voltage for which the player is set.

If your mains supply voltage is different, or becomes different in
the future, get your dealer - or our Service Organisation - to
change the voltage setting for you.

U.K. only: If your player is not fitted with a mains plug, refer to
'Fitting a Mains Plug, Page 7.

Taking Out the Transit Screws

On the bottom of the player you will see two screws, fitted in
collars and indicated by an arrow. These lock the player
mechanism and the disc tray to protect them during transpor-
tation.

Remove these screws and collars and keep them in a safe place.
If you want to transport the Compact Disc player, you should lock
the mechanism and disc tray again to avoid damage.

Sltlng the Player

This Compact Disc player can equally well be sited free-standing
as in an audio rack, or stacked with other components. Never
stand the player in persistent direct sunlight or near any heat
source.

a. Free-standing - If sited free-standing, the player must always
stand horizontally on a flat, firm surface, not on a mat or anything
similar. .

lf siting the player in a cupboard or a wall unit, always allow a
minimum space of 3 cm above the player so as not to interfere
with the cooling of the player (Fig. 1).

b. In an audio-rack- In an audio-rack the player can be sited in any
position.

0. Stacked -.|n composing your own system, you should
preferably site the player at the bottom or on the top. Under no
circumstances stand the player directly upon a high-power
amplifier, because such an amplifier gives off a substantial
amount of heat.

Warning - Do not place audio or video cassettes on the player
because of the effects of the magnetic fields produced by the
player transformer.

Connections (Fig. 2)

At the back of the player you will find from right to left the
connection sockets for the mains lead (a), the connection cable
(b) and the remote control signal receiver (c).

a. Connection of the Mains Lead - Fit the female plug of the mains
lead supplied into the connection socket.

b. Connection to the (Pre-)Amplifier- Insert a black plug of the
supplied connection cable in the black socket (left channel) and
a red plug into the red socket (right channel). Insert both other
plugs into the corresponding CD/TV or AUX sockets on your
(pre-)amplifier.

If these sockets are already in use, you can plug in to the TUNER
or TAPE IN sockets, but neverthe PHONO sockets! The PHONO
sockets are not suitable for the connection of a Compact Disc
player.

c. Connection of a Remote Control - Once the receiver of the
remote control EM 2000 (available as an accessory) is connect-
ed, all functions of the player can be remotely controlled, with the
exception of the on and off switching of the player and the
opening and closing of the disc tray,

OPERATION (Fig. 3)

Your Compact Disc player is now ready for use. Before
attempting to operate it, you are recommended to familiarise
yourself with the functions of the controls, the indicators and the
display as described briefly below. The names used here for the
controls etc. will be used throughout the text.

1 0N/OFF key: for switching the player on and off.

2 OPEN/CLOSE key: for opening and closing the disc tray.

3 TIME LED: lights during display of playing time,

4 TRACK LED: lights during display of track numbers and or index
numbers.

5 Display: functions as on/off and stand-by indicator; during play,
indicates which track is being played orthe elapsed time; can also
show the total number of tracks or the total playing time of the
disc; when programming, it is used to indicate the track numbers
to be stored and to display the numbers already stored. (See also:
'The Display, Page 4).

6 REPEAT LED: lights when you press the REPEAT key.

7 ERROR LED: lights for a short time to indicate an operating or
programming error.

6 PAUSE LED: lights when you press PAUSE.

9 Multi-function key: for starting play (START), returning to the
beginning of a track (REPLAY). fast search to a particular
passage (« SEARCH and SEARCH ») and holding play at the
start of a track or passage, or interrupting play (PAUSE).

10 TIME~TRACK key: for switching from track number to playing
time indication and vice-versa. Also used for selecting index
numbers.

11 HEADPHONEisocket: for the connection of a headphone to
listen to discs without using an amplifier. (See also: Listening with
a headphone, Page 7.)

12 REPEAT key: for repeating a disc or a programme.

13 PREV key: for indicating the track and - where applicable -
index number you want to begin with, and selecting track
numbers when compiling a programme (from high to low); also
for returning to a previous track or index number during play.
14 PROGRREV key: for storing the track numbers of a pro-
gramme and producing the display of the programme stored.
15 NEXT key: for indicating the track and - where applicable ~
index number you want to begin with, and selecting track
numbers when compiling a programme (from low to high); also
for moving on to a later track or index number during play.

16 STOP/CM key: for stopping play during playback (STOP) and
for erasing a programme (CM = Clear Memory).