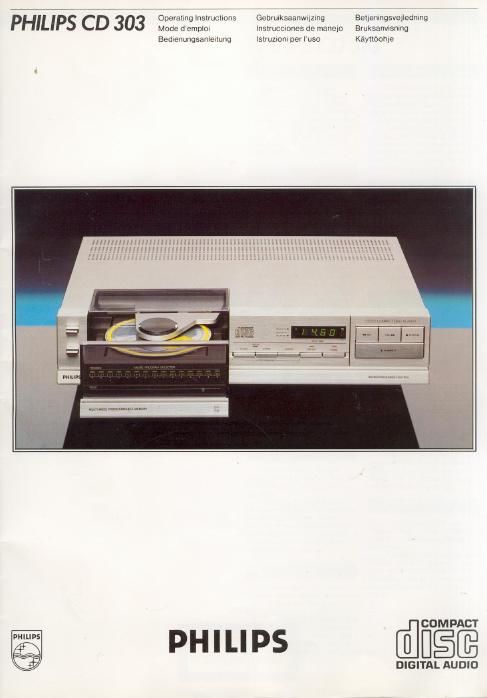
Philips cd 303 owners manual
This is the 12 pages manual for philips cd 303 owners manual.
Read or download the pdf for free. If you want to contribute, please upload pdfs to audioservicemanuals.wetransfer.com.
Extracted text from philips cd 303 owners manual (Ocr-read)
Page 2
Power Supply
The type plate. at the rear ol your
Compact Disc player. tells you the
supply voltage for which the player
Taking Out the
Transit Screws
On the bottom of the player you will
see two labelled screws which look
the player mechanism and the disc
drawer to protect them during
transportation.
Remove these screws and keep
them in a safe place.
Always refit them if the player is to
be transported,
is set. If your mains supply voltage
is diflerent, get your dealer to
change the voltage setting for you.
U.K. only: ll your player is not fitted
with a mains plug, refer to Fitting a
Mains Plug' under ADDITIONAL
INFORMATION'.
Siting the Player
Stand the player on a firm surface.
Take care that its ventilation slots
are kept clear so as not to interfere
With the cooling ol the player.
Never stand the player directly
upon an amplifier which gives off a
substantial amount of heat. or near
any heat source Av0id positions
where the player is subjected to
direct sunlight for long periods.
If Siting the player in an audio rack.
the best position is right at the bot-
tom or on the normal record player
shell. If it is sited at the bottom.
there must be a minimum space of
8 mm between the player and the
piece of equipment above it This
latter must not protrude beyond the
lront of the player. otherwise the
disc pressure plate cannot rise
properly.
Connecting to
the Amplifier
Insert the L and R plugs 01 the con-
necting cable into the correspond-
ing CD/TV or AUX sockets on your
amplilier.
ll these sockets are already in use.
you can plug In to the TUNER or
TAPE IN sockets. but never the
PHONO sockets'
The PHONO sockets are not suit.
able for the connection of a
Compact Disc player.
TAPE IN
Your Compact Disc player is now
ready for use. Betore attempting to
operate it, you are recommended to
familiarise yourself with the func-
tions at the controls and indicators
as described briefly below. The
names used here for the controls
and indicators will be used through»
out the text.
1 ON OFF key: for swrtching the
player on and oil.
2 SELECT key: for selecting the
track with which you wish to start
playback. and for choosrng tracks
when compiling a programme.
3 STORE key: for storing tracks
when compiling a programme.
4 CANCEL key: for cancelling the
tracks you do not want to hear in a
programme.
5 REPEAT key for repeating a disc
or a programme
6 REPEAT LED: lights when you
press the REPEAT key.
7 PAUSE key: for short-term inter»
ruptions during play. stops the
sound. but leaves the disc motor
running.
8 PAUSE LED: lights when you
press the PAUSE key.
9 PLAY/NEXT key: for starting play
(PLAY) and also for moving on to the
next track during play (NEXT).
10 OPEN/CLOSE key: for opening
and closmg the disc drawer.
11 PROGRAM(me) display, a LED-
bar display which indicates the num»
ber of tracks on a disc; also used
'as an aid in compiling a programme.
12 TRACK display' a LED-bar dis.
play in which the LEDs light one at a
time to indicate the track in play:
also used to locate tracks lor
programming,
13 ERROR LED: flashes to indicate
an operating or programming error.
14 RELATIVE LED: lights during
display of relative time.
15 ABSOLUTE LED: lights during
display of absolute time,
16 REAL TIME display shows. as
selected. the elapsed playing time
of each track separately (relative
time), or of the whole disc (absolute
time).
17 REAL TIME key. lor displaying
absolute time. and switching over
from one time to the other.
1 2 345678 9
18 REV key: for searching back-
wards for a particular passage "1 a
track.
19 FWD key: for searching for-
wards lor a particular passage in a
track.
20 STOP/CM key: tor stopping play
during playback (STOP) and tor
erasing a programme (CM = Clear
Memory).
On and Off switching
(ON OFF)
Vou switch the player on by press-
ing the ON OFF key. All the LEDs in
the PROGRAM Display will light and
the disc drawer will be illuminated.
When you press the ON OFF key
again, the player is swrtched oil.
The PROGRAM Display and disc
drawer light will go out.