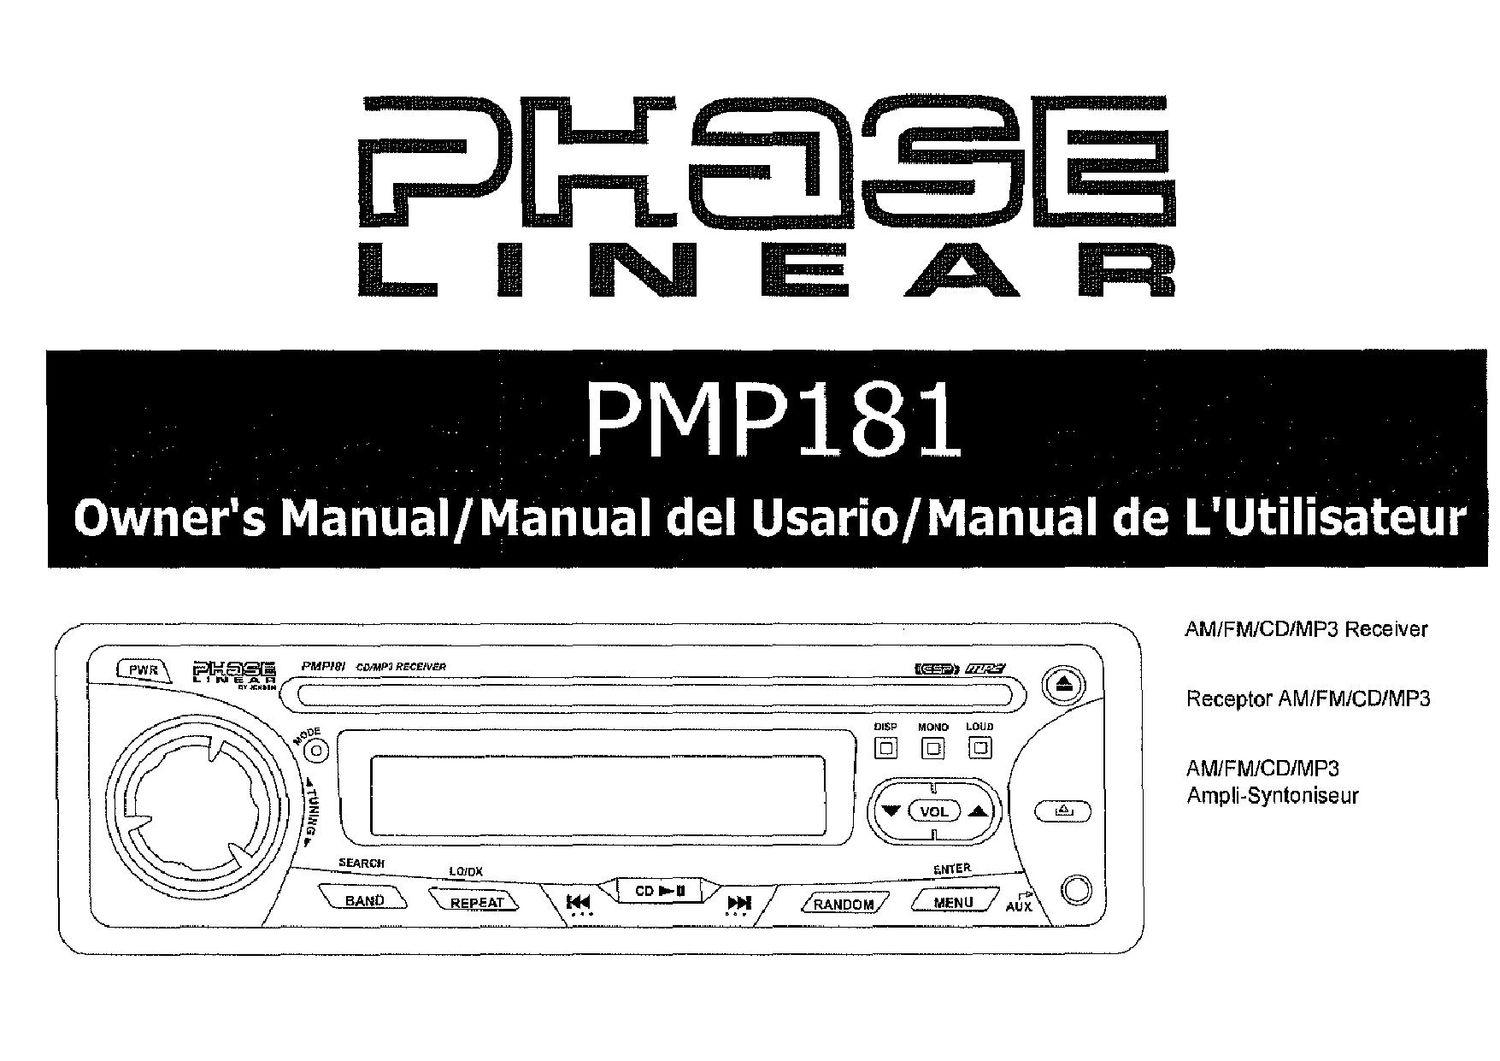
Phase Linear PMP 181 Owners Manual
This is the 16 pages manual for Phase Linear PMP 181 Owners Manual.
Read or download the pdf for free. If you want to contribute, please upload pdfs to audioservicemanuals.wetransfer.com.
Extracted text from Phase Linear PMP 181 Owners Manual (Ocr-read)
Page 2
PMP181
PREPARATION
Getting Started
it's a good idea to read all of the instructions
before beginning the instatlation.
Contents
installation Instructions .............................. 3
installing the Removable Faceplate .......... 6
Operating Instructions ............................... 7
CD Player Operating lnstructions.............11
MP3 Player Operation.................... .. 13
Care and Maintenance. 15
Specifications .......................................... 16
Installation Requirements
This unit is designed fer installation in cars,
trucks and vans with an existing radio cpening.
In many cases. a special installation kit will be
required to mount the radio to the dashboard.
These kits are available at electronics supply
stores and car stereo specialty shops. Always
check the kit application before purchasing to
make sure the kit works with your vehicle. If you
need a kit but cannot locate one, call our
customer support line at 1-800-323-4815.
(U.S.A. and Canada only.)
Tools and Supplies
The foilcwing tools and supplies are needed to
install the radio.
- Tcrx type, flathead and Philips screwdrivers
- Wire cutters and strippers
- Tools to remove existing radio (Screwdriver.
socket wrench set or other tools)
- Electrical tape
- Crimping tool
- Volt meter/test light
- Crimp connections
- 18 gauge wire for power connections
- 16-18 gauge speaker wire
Speaker Requirements
Only connect speakers rated with a load
impedance of 4 ohms. Speakers with a load
impedance of less than 4 ohms could damage
the unit.
Disconnect Battery
Before you begin, disconnect the battery
negative terminal.
Toll-Free Installation Assistance
if you require assistance, contact Technical
Support at 1-800-323-4815 from 8:30 am. to
7:00 pm. EST Monday through Friday and from
9:00 am. to 5:00 pm. EST on Saturday.
(U.S.A. and Canada only.)
Page 3
PMP181
INSTALLATION INSTRUCTIONS
Installation Using a Mounting
Sleeve
1.
Slide the mounting sleeve off the chassis. If
it is locked into position. use the removal
tools (supplied) to disengage it.
Check the dashboard opening size by slid-
ing the mounting sleeve into it. lfthe opening
is too small, carefully cut or file as necessary
until the sleeve easily slides into the open-
ing. Do not force the sleeve into the opening
or cause it to bend or how. Check for suffi-
cient space behind the dashboard for the
radio chassis.
Locate the series of bend tabs along the top.
bottom. and sides of the mounting sleeve.
With the sleeve fully inserted into the dash-
board opening, bend as many of the tabs
outward as necessary to firmly secure the
sleeve to the dashboard.
Place the radio in front of the dashboard
opening sothe wiring can be brought
through the mounting sleeve. Foilow the wir-
ing diagram carefully and make certain all
connections are secure and insulated with
wire nuts or electrical tape. After completing
the wiring connections. turn the unit on to
confirm operation (vehicle ignition must be
"on"). If the unit does not operate, re-check
alt wiring until the problem is corrected.
5. Make sure the radio is right-side up, then
carefully slide the radio into the mounting
sleeve until it is fully seated and the spring
clips lock it into place.
6. Attach one end of the perforated support
strap (supplied) to the screw stud on the rear
of the chassis using the hex nut provided.
Fasten the other end of the perforated strap
to a secure part of the dashboard either
above or below the radio using the screw
provided. Bend the strap to position it as
necessary.
7. Test the radio using the Operating Instruc-
tions that follow.
INSTALLATION
CAUTION: The support strap
must be used to prevent
damage to the dashboard from
the weight of the radio or
improper operation due to
Vibration.
CA UTiON: For proper operation
of the CD player; the chassis
must be mounted within 20° of
horizontal. Make sure the unit is
mounted within this limitation.
Page 15
PMP181
CARE AND MAINTENANCE
Your new radio/CD player does not require any
maintenance. However, proper understanding
of its use and handling will help you obtain
maximum enjoyment of its capabilities. We
recommend that you keep this manual for
reference on the many features of this unit as
well as how to set the clock. The following
points should be observed:
- When cleaning the interior of the vehicle, do
not get water or cleaning fluids on the unit.
- The CD player is a precision instrument and
will not operate properly in extreme heat or
cold. if such conditions occur, wait until the
interior of the vehicle reaches a normal
temperature before using the player.
- if the temperature inside the player gets too
hot, a protective circuit will automatically
stop play of the disc. In this case. allow the
unit to cool before operating the player
again.
- Never insert anything other than a 5" (12
cm) compact disc into the player as the
mechanism can be damaged by foreign
objects.
. Do not attempt to use 3" (8 cm) CD-Single
discs in this unit, either with or without an
adaptor, as damage to the player andlor disc
may occur. Such damage will not be covered
by the Warranty on this product.
- When not using the disc player, always
remove the compact disc. Do not leave an
ejected disc sitting in the disc slot as this can
expose it to sunlight and other causes of
damage.
- Do not attempt to open the unit chassis.
There are no user-serviceable parts or
adjustment points inside.
- When the vehicle warms up during cold
weather or under damp conditions,
condensation may appear on the lens ofthe
disc player. Should this occur, the playerwilt
not operate properly until the moisture has
evaporated.
- The unit is designed with a vibration
dampening CD mechanism to minimize
interruption of disc play due to normal
vibration. When driving on rough roads,
however, occasional sound skips may occur.
This will not scratch or damage the disc and
normal play will resume when the rough
conditions cease.
Handling Compact Discs
Dirt, dust, scratches and warping can cause
skips in the playback and deterioration of sound
quality. Please follow these guidelines to take
care of your compact discs:
- Carefully wipe fingerprints, dust and dirt from
the discs playing surface with a soft cloth.
15
Wipe in a straight motion from the center to
the outside of the disc.
- Never use chemicals such as record sprays
or household cleaners to clean CDs, as they
can irreparably damage the discs surface.
- Discs should be kept in their storage cases
when not in use.
' Do not expose discs to direct sunlight, high
temperatures or high humidity for long
periods.
- Do not stick paper. tape or labels on disc
surfaces.
RESET BUTTON
A Reset button is located behind the
faceplate on the left side (the front panel
must be removed to access the button). The
Reset function should only be activated
under the following circumstances as it will
erase the time and pro-set memories: Upon
initial installation after all wiring is
completed; If there is a malfunction ofany
of the switches on the unit, pressing the
Reset button may clear the system and
return to normal Operation.