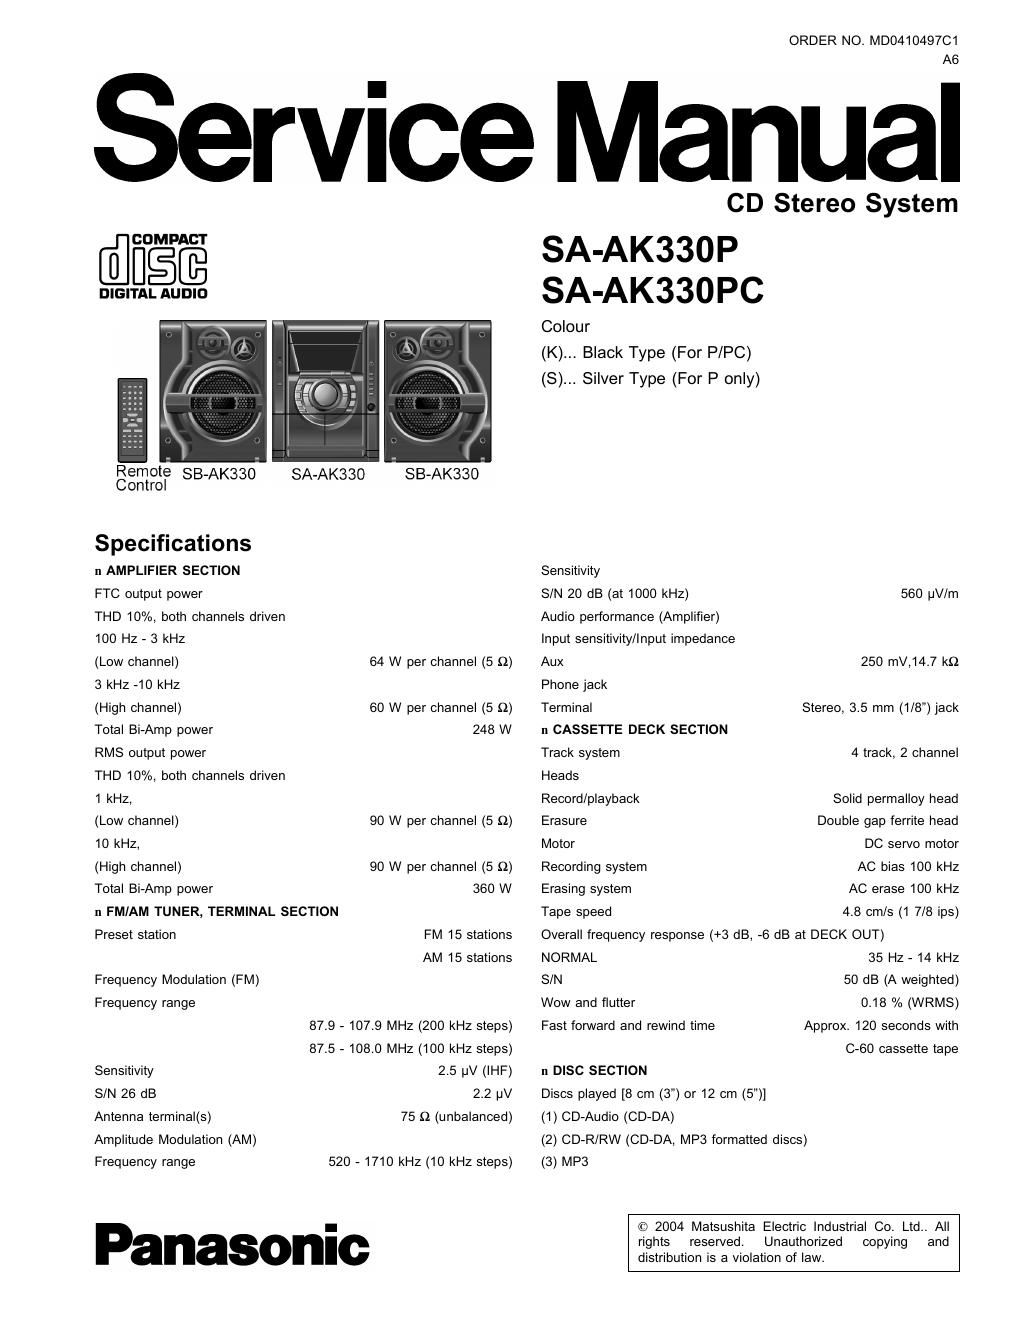
Panasonic sa ak 330 pc service manual
This is the 105 pages manual for panasonic sa ak 330 pc service manual.
Read or download the pdf for free. If you want to contribute, please upload pdfs to audioservicemanuals.wetransfer.com.
Extracted text from panasonic sa ak 330 pc service manual (Ocr-read)
Page 2
SA-AK330P I SA-AKSBUPC
Bit rate
MP3 32 kbps » 320 kbps
Sampling frequency
MP3 32 kHz, 44.1 kHz, 48 kHz
CD 44.1 kHz
Decoding 16 bit linear
Digital filter 8 fs
D/A converter MASH (1 bit DAC)
Pickup
Wavelength 780 nm
Beam Source Semiconductor laser
Audio output (Disc)
Number of channels
11 GENERAL
Power Supply
2 (Stereo) (FL,FR)
AC 120 V, 6OHZ
Power consumption 238 W
Power consumption 0.38 W
mode
Dimensions (W x H x D)
in standby
250 x 330 x 341 mm
(9 27/32" x 13" x 13 7/16")
7.1 kg (15.7 lb.)
+5 to +35°C (+41 to +95°F)
)
5 to 90% RH (no condensation
Mass
Operating temperature range
Operating humidity range
n SYSTEM
SC-AK330 (P) Music center: SA-AK330 (P)
Speaker: SB-AK330 (P)
Music center: SA-AK330 (PC)
Speaker: SB-AK330 (P)
SC»AK330 (PC)
Notes:
1.Specifications are subject to change without notice. Mass and
dimensions are approximate.
2. Total harmonic distortion is measured by the digital spectrum
analyzer.
A WARNING
This service information is designed for experienced repair technicians only and is not designed for use by the general public.
It does not contain warnings or cautions to advise non-technical individuals of potential dangers in attempting to service a product.
Products powered by electricity should be serviced or repaired only by experienced professional technicians. Any attempt to service
or repair the product or products dealt with in this service information by anyone else could result in serious injury or death.
CONTENTS
Page
1 Safety Precaution ------------------------------------------------------------------- 4
1.1. Insulation Resistance Test ---------------------------------------------- 4
2 Before Repair and Adjustment ----------------------------------------------- 5
3 Protection Circuitry ----------------------------------------------------------------- 5
4 Prevention of Electro Static Discharge (ESD) to
Electrostatically Sensitive (ES) Devices --------------------------------- 6
5 Handling the Lead-free Soldern- -6
5.1. About lead free solder (PbF) -6
6 Handling Precautions For Traverse Deck -7
7 Precaution of Laser Diode --------------------- -3
8 Accessories ----------
9 Operation Procedures ........................................................... 10
10 Disassembly and Assembly of Main component - 12
10.1. Disassembly flow chart .............................................. 12
10.2. Disassembly of Top Cabinet ......................................... 13
10.3. Disassembly of CD Lid ------------------------------------------------- 13
10.4. Disassembly of Rear Panel -------- "15
10.5. Disassembly of CD Mechanism Unit-
10.6. Disassembly of Main P.C.B. -------
10.7. Disassembly of Power P.C.B. --------------------------------------- 16
10.8. Disassembly of Transformer P.C.B. ------------------------------ 17
10.9. Disassembly of Front Panel Unit-- -------------------------- 18
10.10. Disassembly of Deck Mechanism Unit --------------------------- 18
10.11. CD Mechanism Main Component Replacement
---------------------------------------------- 19
10.12. Replacement for the pinch roller ass D and head block-32
Procedures -----------
10.13. Replacement for the Deck motor ass D , capstan belt A,
"32
capstan belt B and winding belt --
Page
10.14. Replacement for the cassette lid ass D ........................ 34
10.15. Measure for tape trouble ---------------------------------------------- 35
11 Checking for major P.C.B. .................................................... 35
11.1. Checking the Main P.C.B_ ............................................. 35
11.2. Checking the Transformer P.C,B, ......................... 37
11.3. Checking the Panel, Deck & Deck Mechanism PCB. ---38
11.4. Checking the Power P.C.B
12 Self-Diagnostic Function
12.1. Self-diagnostic display
12.2. How to enter the Self-Diagnostic Function-
12.3. Cassette Mechanism Test (For error code H01, H02, H03,
F01) ----------------------------------------------------------- ---40
12.4. CD Mechanism Test (F15, F26, F16, F17, F27, F28, F29,
F30, H15&H16) -------------- 40
12.5. To clear all Error code ------------------------ 41
12.6. How to get out from Self-Diagnostic function ----------------- 41
12.7. Power Amplifier Failure (F61
12.8. Description of Error Code-
13 CD Test Mode Function ---------
13.1. How to set CD test mode ............................................. 43
13.2. CD Automatically Adjustment result indication ............... 43
13.3. CD Mecha Aging Test Mode (CR20) ............................. 43
13.4. Mlcon ROM Checksum and Version Display Mode -------- 44
14 Measurements and Adjustments .......................................... 45
14.1. Cassette Deck Section ................................................. 45
14.2. Tuner Section
14.3. Alignment Points
15 Block Diagram --