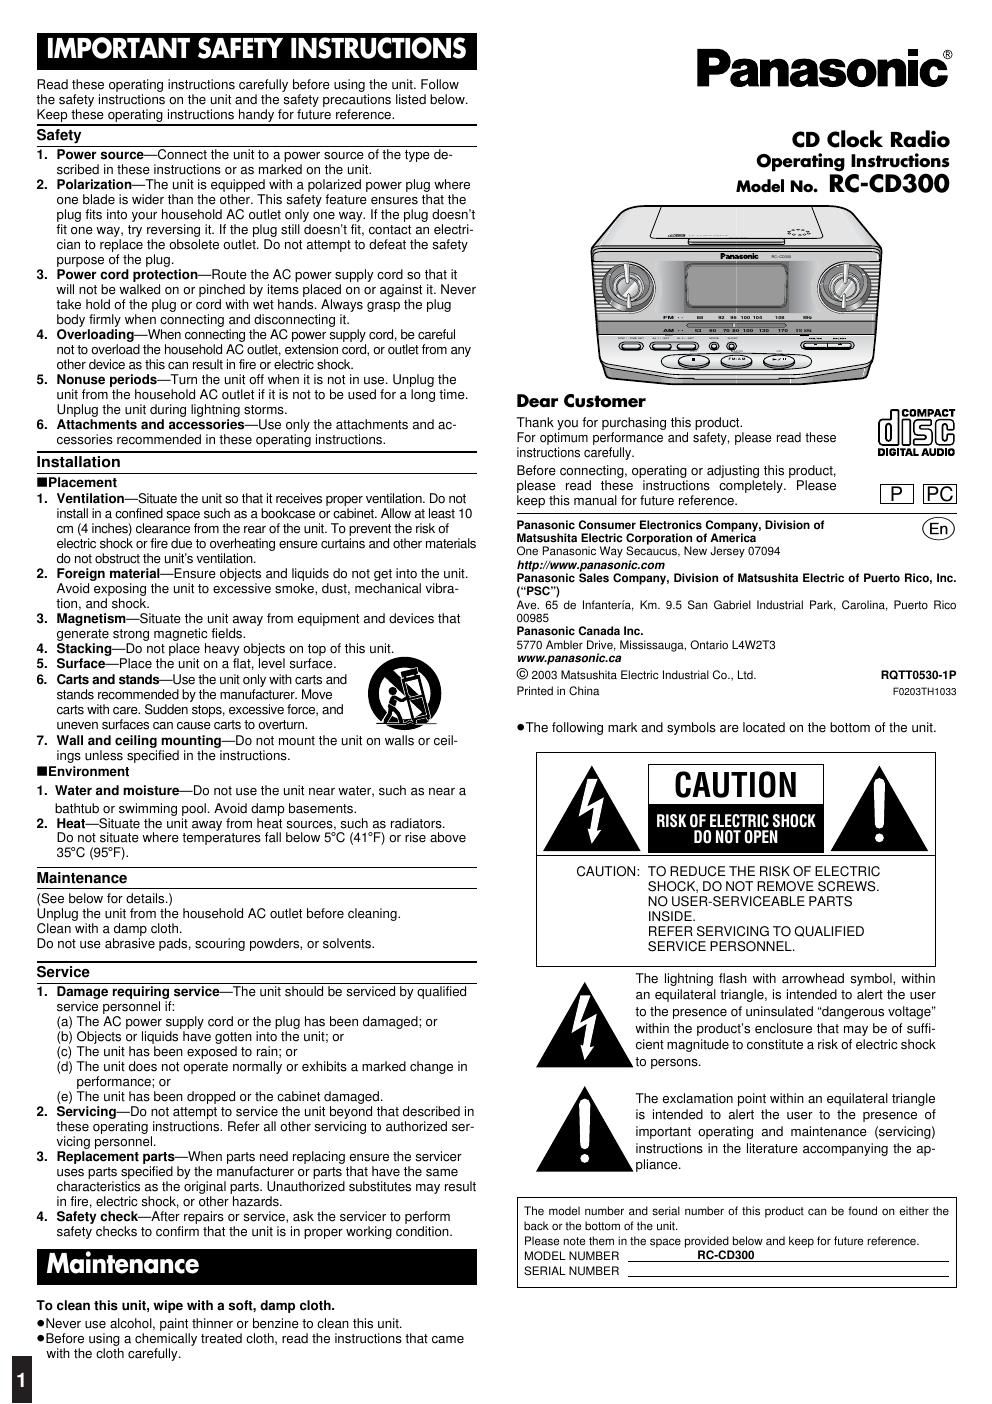
Panasonic rc cd 300 owners manual
This is the 8 pages manual for panasonic rc cd 300 owners manual.
Read or download the pdf for free. If you want to contribute, please upload pdfs to audioservicemanuals.wetransfer.com.
Extracted text from panasonic rc cd 300 owners manual (Ocr-read)
Page 1
Concerning Compact Discs Only compact discs bearing this mark can be used with this unit. However, continued use of irregularly shaped CDs can damage the unit. If the surface is dirtyWipe it with a damp cloth and then wipe dry. Wipe from the center toward the outer circumference. How to hold a discHow to store the disc in its case How to remove a disc from its case Play surface (shiny surface)Label side up Handling precautions≥If you are taking the CD from a cold to a warm environment, moisture may form on the CD. Wipe this off with a soft, dry, lint-free cloth before using the CD. ≥Do not write on the label side with a ball-point pen or other writing instru- ment. ≥Do not use record cleaning sprays, benzine, thinner, static electricity pre- vention liquids or any other solvent. ≥Do not attach labels or stickers to CDs. (Do not use CDs with exposed adhe- sive from tape or left over peeled off stickers.)≥Do not use scratch-proof protectors or covers other than those specified for use with this unit. Storage precautionsBe sure to store CDs in their cases to protect them from dust, scratches, and warping. Do not place or store CDs in the fol- lowing places ≥Locations exposed to direct sunlight ≥Humid or dusty locations ≥Locations directly exposed to a heat vent or heating appliance ≥In the glove compartment or on the rear deck of an automobile Supplied accessories Please check and identify the supplied accessories. ∑1 FM/AM loop antenna (RSA0031) Use numbers in parentheses when asking for replacement parts. (Only for U.S.A.) To order accessories, contact 1-800-332-5368 or the website (http://www.panasonic.com ). EXT ANT 2 AC power supply cord Connect the AC power supply cord to a household AC outlet. These speakers do not have magnetic shielding. Do not place them near televisions, personal computers or other devices easily influenced by mag- netism. Memory back-up battery (not included) This battery saves the clock and alarm settings if there is a power interruption. Replacing the battery ≥The battery lasts about a year. The battery lasts about a month if the unit is disconnected from the household AC outlet. ≥Protect the memory by connecting the AC power cord before changing the battery. ≥Align the poles (- and +) properly when inserting the battery. ≥Do not heat or disassemble batteries. Do not allow them to contact flame or water. ≥Remove the battery if the unit is not to be used for a long time. ≥Do not use the battery if the covering has been peeled off. Mishandling of batteries can cause electrolyte leakage which can damage items the fluid contacts and may cause a fire. If electrolyte leaks from the batteries, consult your dealer. Wash thoroughly with water if electrolyte comes in contact with any part of your body. Note Power sources SLEEP DISP / -TIME SET AL 1 / -SET AL 2 / -SET MODE OFF RADIO FM/AM CD FM 88 92 96 100 104 108 MHz 53 60 70 80 100 130 170 kHzX10 AM RC-CD300 CD CLOCK RADIO DOZE AM AC power supply cord 1 2 6F22/6LR61 006P 9V (not included) 12 Plug in firmly. Bottom of the main unit Note Back of the main unit Stand the antenna up so it clicks into place.ª When disconnectingPull firmly. No battery cover is used. Connecting the FM/AM loop antenna
Page 2
Reset the clock regularly to maintain accuracy. (Monthly accuracy +/-30 seconds) This is a 12-hour clock. This example shows how to set the clock for 10:30 A.M. 1 Press and hold [DISP/-TIME SET] until the time display flashes. 2 Press [i,5/9] or [j, :/6] to adjust the time. 2 [i,5/9]: Increases the time by one-minute units. 2 [j, :/6]: Decreases the time by one-minute units. The time changes faster if you hold [i,5/9]or [j, :/6] down. 3 Press [DISP/-TIME SET].The time is set. For your reference: ≥When you play a CD, the display changes but the clock is displayed again after about 10 seconds. ≥The light in the main unit's display comes on for about 5 seconds when you press a button. FM 8 8 9 29 6 1 0 0 1 0 41 0 8 MHz 5360 7080100130 170 kHzX10 AM RC-CD300 CD CLOCK RAD IODOZE SLEEP D IS P / -T IM E S E T TUNING A L 1 / -S E TA L 2 / -S E TMODE O F F R A D IO C D VOLUME FM/AM 3 Setting the time SLEEP DISP / -TIME SET AL 1 / -SET AL 2 / -SET MODE OFF RADIO FM/AM CD FM 88 92 96 100 104 108 MHz 53 60 70 80 100 130 170 kHzX10 AM RC-CD300 CD CLOCK RADIO DOZE 1, 3 2 AM AM Controls F M 88 9296 100 104108 MHz 5360 7080100130 170 kHzX10 AM RC-CD300 C D CL O C K R A D IOD O ZE SLEEP D IS P / -T IM E S E T TUNING A L 1 / -S E TA L 2 / -S E TMODE O F F R A D IO C D VOLUME FM/AM CD lid open button (PUSH, OPEN/CLOSE) CD play mode, FM mode button (MODE) Radio on, band select button (FM/AM, RADIO) CD play, pause button (1/ ;, CD) Stop button (∫, OFF) Skip, search buttons (s, r, :/6, 5/9) Volume control (VOLUME) Stop button (∫, OFF)CD lid CD, Radio Alarm, Sleep timer and Basic operations Sleep timer button (SLEEP) Time adjust buttons (s, r, :/6, 5/9) CD/Radio alarm setting buttons (AL 1/-SET) Buzzer alarm setting buttons (AL 2/-SET) Display Doze button (DOZE) Display, time set button (DISP/-TIME SET)Dial display Tuning dial (TUNING)