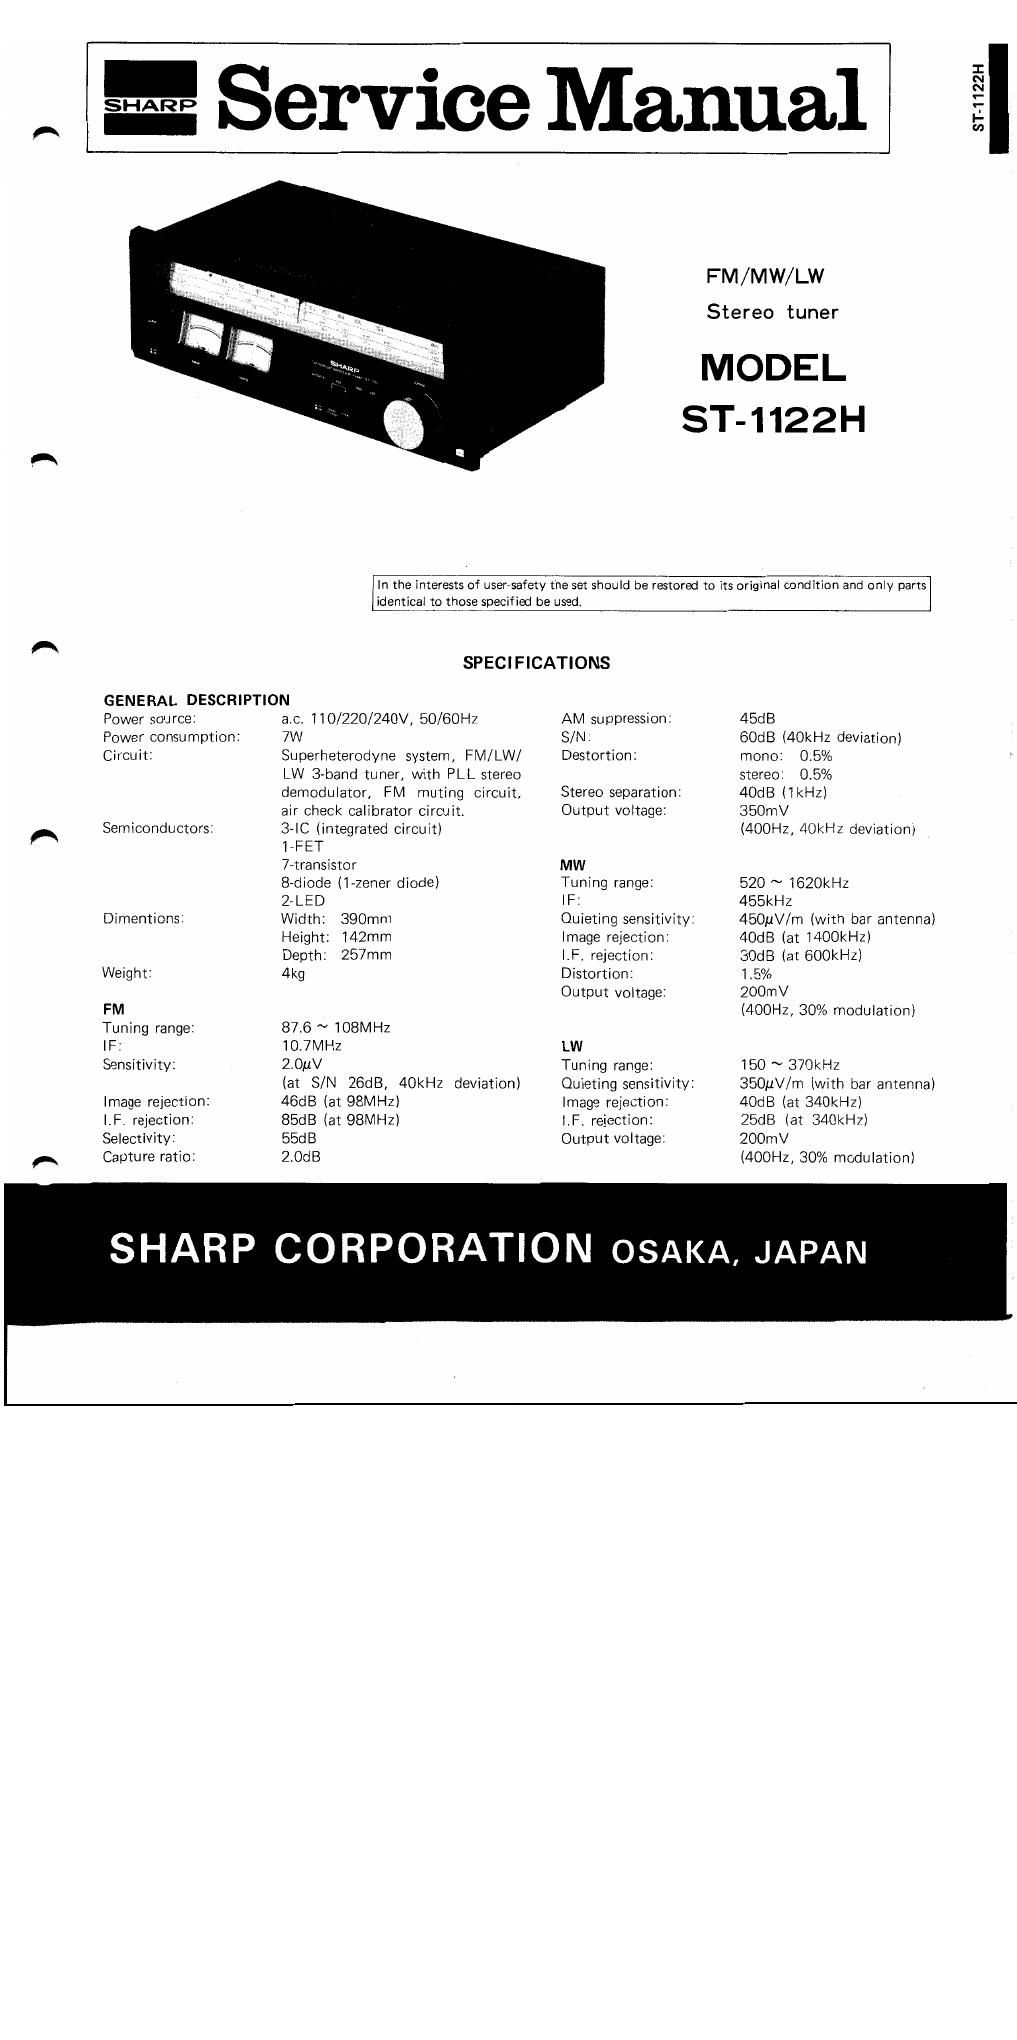
Optonica st 1122 service manual
This is the 26 pages manual for optonica st 1122 service manual.
Read or download the pdf for free. If you want to contribute, please upload pdfs to audioservicemanuals.wetransfer.com.
Extracted text from optonica st 1122 service manual (Ocr-read)
Page 2
DISASSEMBLY
Prior to removing the chassis, be sure to disconnect the power
cord plug from wall outlet. Then proceed with the following
steps after removing all of the connection cords located at
the rear of the set.
(1) How to remove the cabinet
Remove the 4 screws located at both sides of the
cabinet, then the cabinet can be taken out of the set.
(2) How to remove the bottom plate
Turn the set over and remove the 4 screws ® retaining
the bottom cabinet, then the bottom cabinet can be taken
out if withdrawed frontward.
Then, it becomes able to repair the PWB.
However, in order to further remove the front panel,
take the following procedures.
(3) How to remove the front panel
1. Draw the Tuning knobs @ out of the front panel.
2. Remove the 5 screws retaining the front panel,
then the front panel can be taken out.
Figure 1 DISASSEMB LY
Pull Buck-Ii
\ {sit77l1cos
Dial Pomm
Dlal com
Flywn-oi
9lT77l7C07
(1) Setting of the dial cord
1. Turn the drum fully counnter clockwise (at the
highest frequency position),
2. Put a hook of the spring on the central hole of the
drum.
3. Then proceed with stringing in the numerical order
from (D to. At this work, while holding a hand
at the position (6;) to temporarity fix a dial string.
wind the string on the drum by 14/2 turns at the
position (which is an extention of the string.
wound at the position @) and bring it through the
osition Then release a hand from the position
é) and thus the stringing is completed.
(2) Setting of the pointer
1. Turn the tuning
shaft fully counter
clockwise (at the
lowest frequency
position).
2. Align the pointer to
the center of LED
juicy
9i 1'77 nooz
(9 (stereo indicator) of
the dial scale plate.
Fae-3mm /® (Fig. 27A)
(3 .
Swim: __/ ®/) F O
SITYZSZCZO Q A
PM 88 90
Aim / ears E
W 150
R P T
Figure 2-A
Figure 2 DIAL CORD STRINGING
-2-