Onkyo T 4555 Service Manual

This is the 34 pages manual for Onkyo T 4555 Service Manual.
Read or download the pdf for free. If you want to contribute, please upload pdfs to audioservicemanuals.wetransfer.com.

Page: 1 / 34
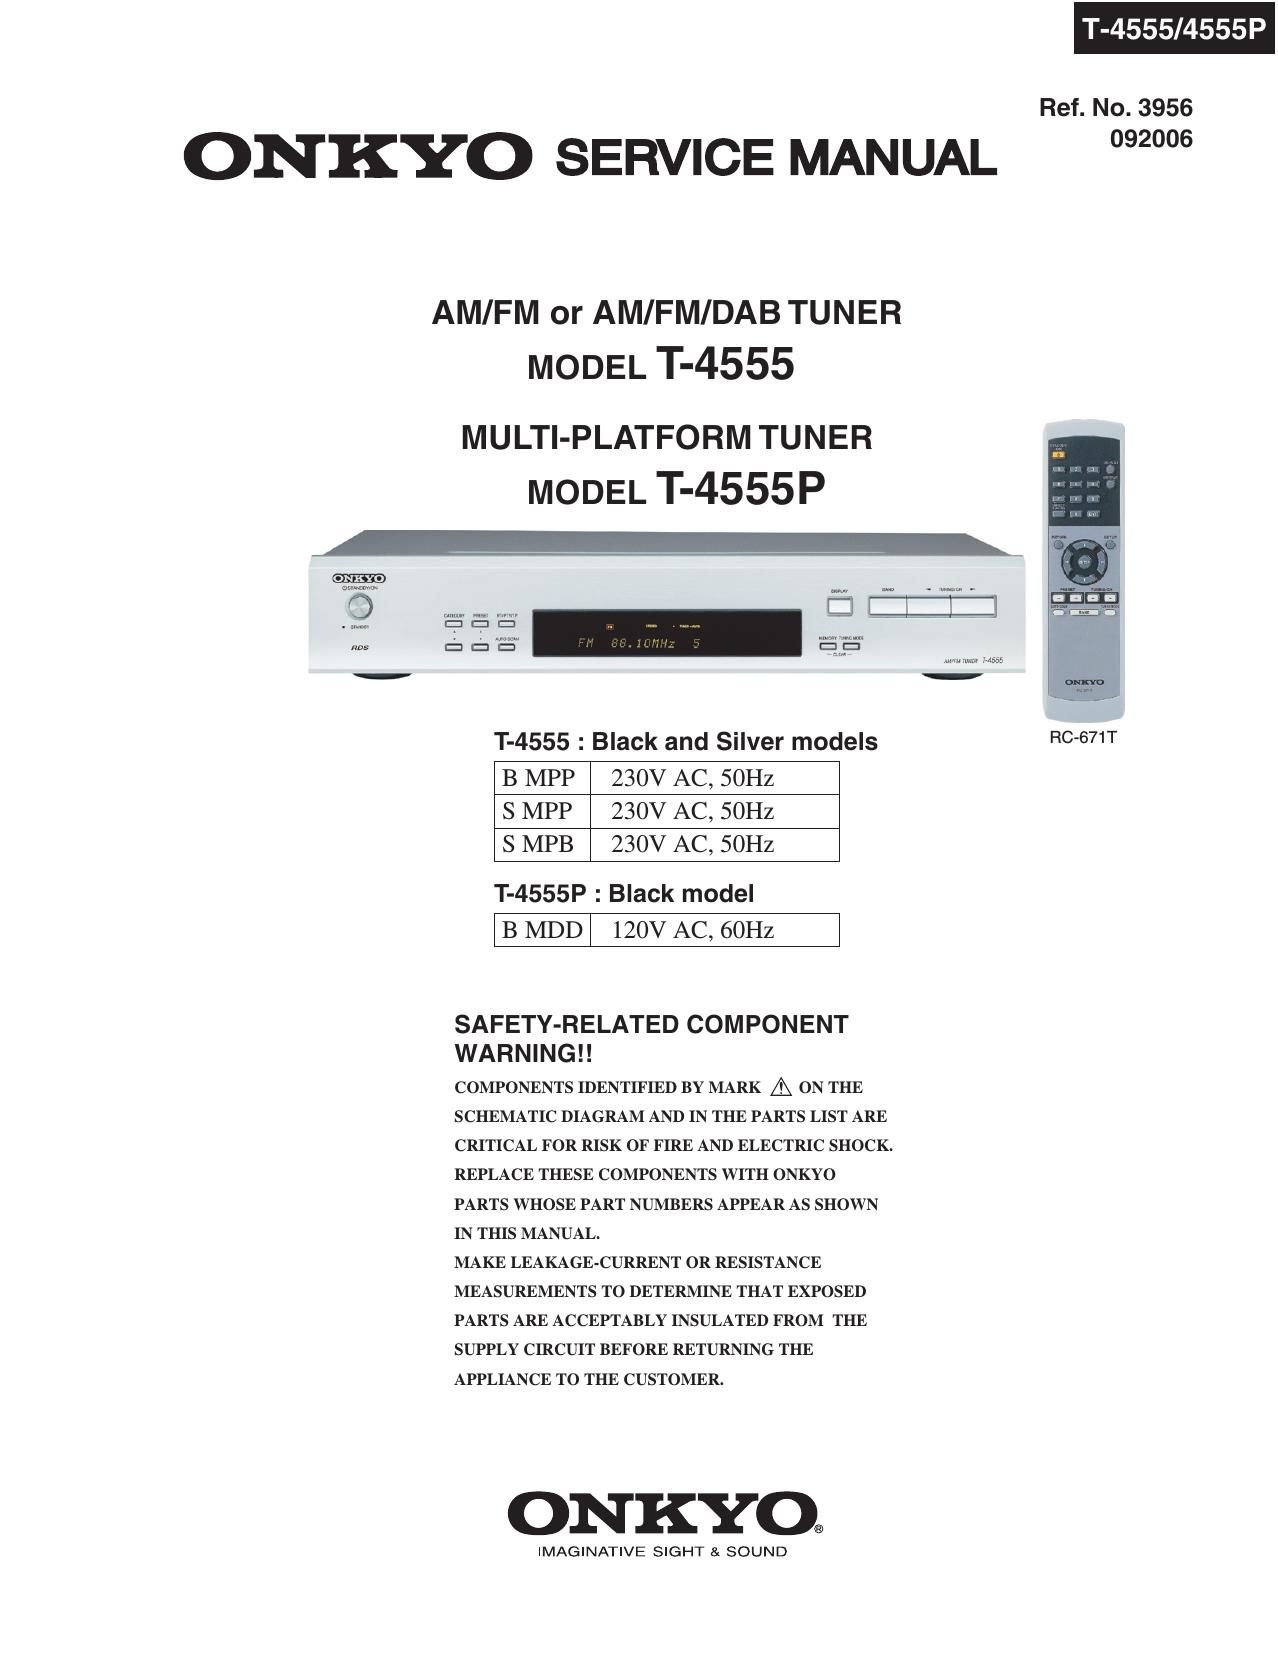
Onkyo T 4555 Service Manual

Extracted text from Onkyo T 4555 Service Manual (Ocr-read)


Page 1

T-4555/4555P

Ref. No. 3956

ONKYO SERVICE MANUAL 2"

AM/FM or AM/FM/DAB TUNER
MODEL T-4555

MULTl-PLATFORM TUNER
MODEL T-4555P

WW Mass
' .7

T-4555 : Black and Silver models RC-671T
B MPP 230V AC, 50Hz
S MPP 230V AC, 50Hz
S MPB 230V AC, SOHz

T-4555P : Black model

B MDD 120V AC, 60Hz

SAFETY-RELATED COMPONENT
WA R N I N G ! !

COMPONENTS IDENTIFIED BY MARK A ON THE
SCHEMATIC DIAGRAM AND IN THE PARTS LIST ARE
CRITICAL FOR RISK OF FIRE AND ELECTRIC SHOCK.
REPLACE THESE COMPONENTS WITH ONKYO
PARTS WHOSE PART NUMBERS APPEAR AS SHOWN
IN THIS MANUAL.

MAKE LEAKAGE-CURRENT 0R RESISTANCE
MEASUREMENTS To DETERMINE THAT EXPOSED
PARTS ARE ACCEPTABLY INSULATED FROM THE
SUPPLY CIRCUIT BEFORE RETURNING THE
APPLIANCE TO THE CUSTOMER.

ONKYO®

IMAGINATIVE SIGHT SI SOUND

Page 2

SERVICE PROCEDURE-1

1. Replacing the fuse

E- This symbol located near the fuse indicates that the

fuse used is show operating type, For continued protection against
fire hazard, replace with same type fuse , For {use rating, refer to
the marking adjacent to the symbol.

EB- Ce symbole indique que le fusible utilise est e lent.

Pour une protection pennanente, n'utiljser que des fusibles de meme
type. Ce demier est indique la qu is present symbol est apposre.

REF. NO. PART NAME DESCRIPTION PART NO. (SN) REMARKS
F901 FUSE 1.25A-UL/T-233 2523186R AP
F901 or FUSE 1.25A-T/UL-ST2 25225 16R AP
7 F901 777777 FUSE 7 7 7 7 7 7 7 71725XSE7EAWI7<7FUSE7 7 7257276771761€ 77777777 A QMFFQ 7 7
F901 or FUSE 1.25A-SE-TL250V 2522726R A
F901 FUSE 1.25A-SE-EAWK FUSE 25207lGR A
F901 or FUSE 1.25A-SE-TL250V 25227ZGR A

2. Initialize the unit
(1) Connect the AC power cord into a wall outlet.
(2) Press the STANDBY/ON button to turn on the unit.
(3) Press and hold down the MEMORY button, then press the STANDBY/ON button.
FL display

(4) Disconnect the AC power cord from a wall outlet.

3. Check the version of microprocessor
(1) Connect the AC power cord into a wall outlet.
(2) Press the STANDBY/ON button to turn on the unit.
(3) Press and hold down the DISPLAY button, then press the STANDBY/ON button.

FL display version

V. 1 . 02/06823A-3

3 seconds

(4) Press the STANDBY/ON button to turn off the unit.
(5) Disconnect the AC power cord from a wall outlet.

T 4555/4555P