Onkyo P 3099 Service Manual

This is the 18 pages manual for Onkyo P 3099 Service Manual.
Read or download the pdf for free. If you want to contribute, please upload pdfs to audioservicemanuals.wetransfer.com.

Page: 1 / 18
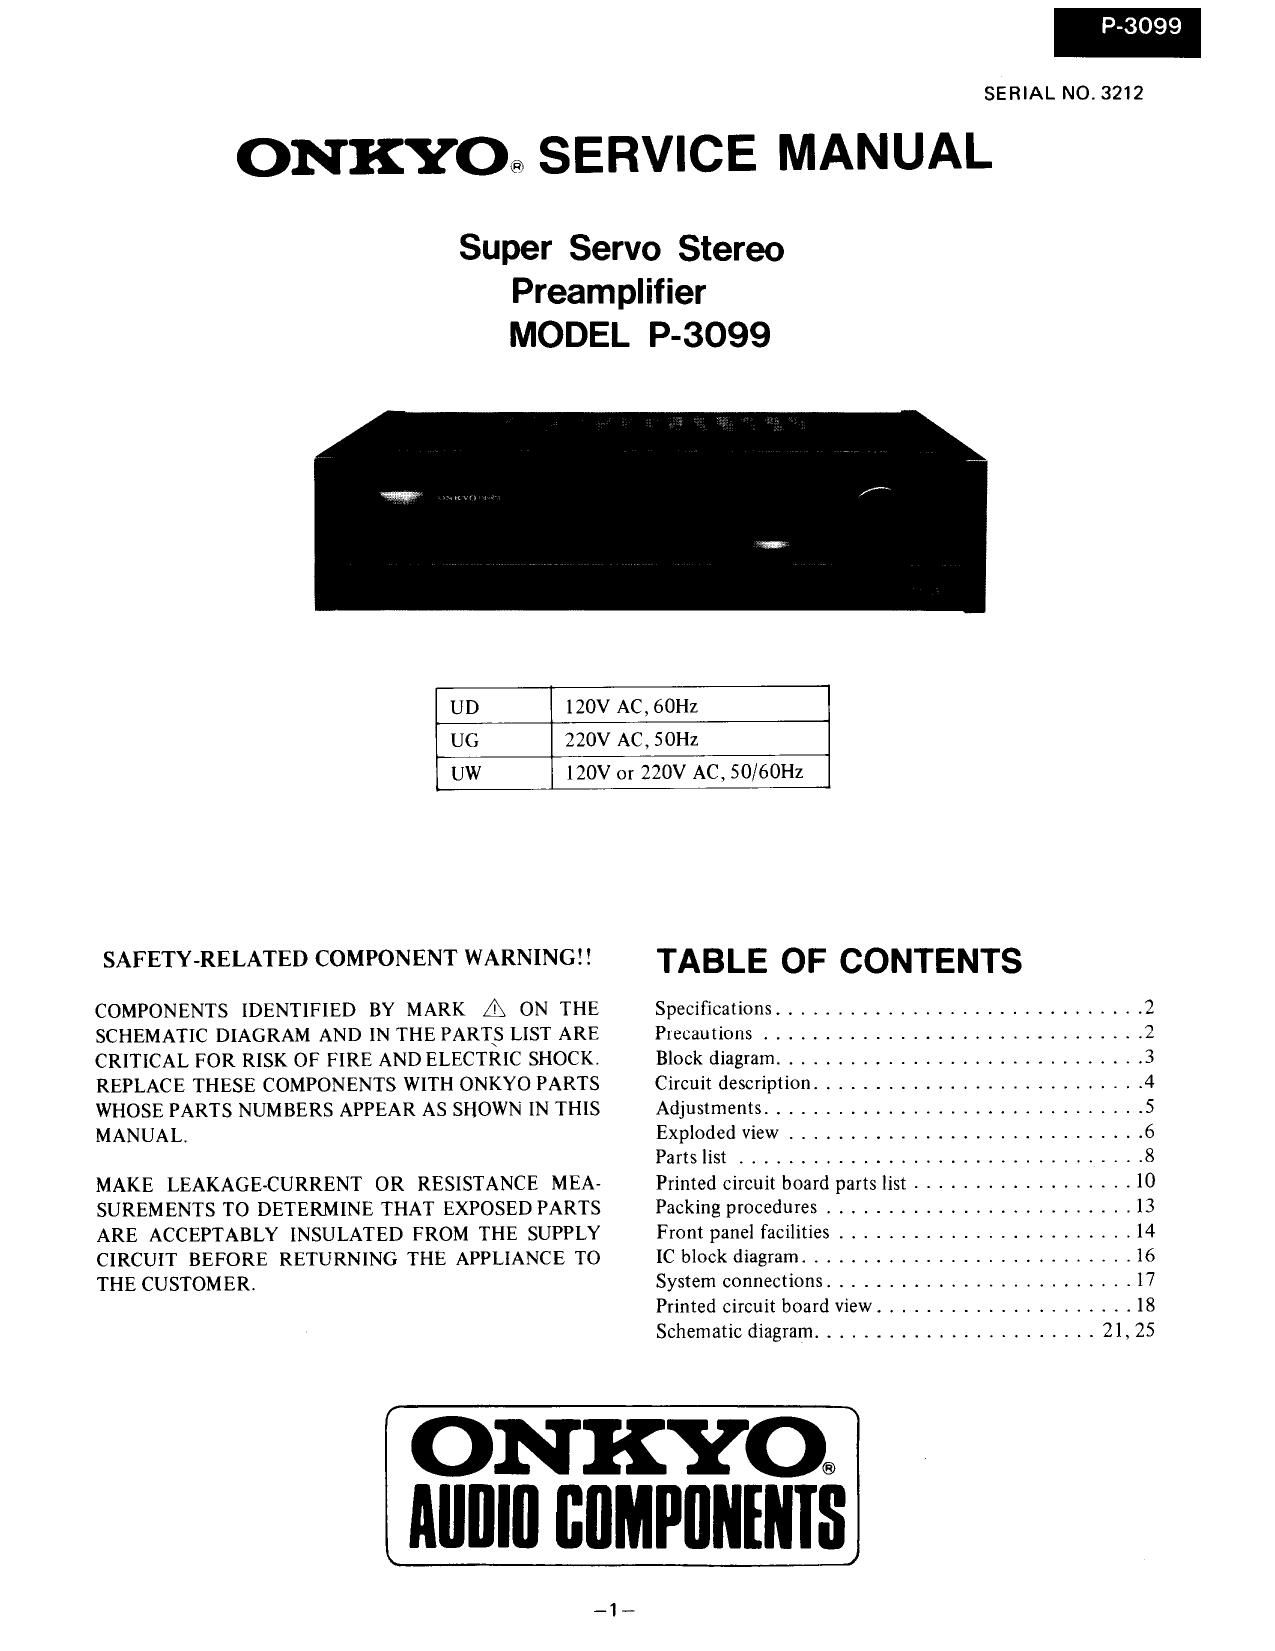
Onkyo P 3099 Service Manual

Extracted text from Onkyo P 3099 Service Manual (Ocr-read)


Page 1

P-3099

SERIAL NO. 3212

ONKYO> SERVICE MANUAL

Super Servo Stereo
Preamplifier
MODEL P-3099

UD 120V AC, 60112
UG 220V AC, SOHZ
UW 120V or 220V AC, SO/oOHz

SAFETY-RELATED COMPONENT WARNING

COMPONENTS IDENTIFIED BY MARK fl: ON THE
SCHEMATIC DIAGRAM AND IN THE PARTS LIST ARE
CRITICAL FOR RISK OF FIRE AND ELECTRIC SHOCK.
REPLACE THESE COMPONENTS WITH ONKYO PARTS
WHOSE PARTS NUMBERS APPEAR AS SHOWN IN THIS
MANUAL

MAKE LEAKAGE-CURRENT OR RESISTANCE MEA-
SUREMENTS TO DETERMINE THAT EXPOSED PARTS
ARE ACCEPTABLY INSULATED FROM THE SUPPLY
CIRCUIT BEFORE RETURNING THE APPLIANCE TO
THE CUSTOMER.

TABLE OF CONTENTS

Specifications .............................. 2
Precautions ............................... 2
Block diagram .............................. 3
Circuit description ........................... 4
Adjustments ............................... 5
Exploded View ............................. 6
Parts list ................................. 8
Printed circuit board parts list .................. 10
Packing procedures ......................... 13
Front panel facilities ........................ 14
[C block diagram ........................... 16
System connections ......................... 17
Printed circuit board View ..................... 18
Schematic diagram ....................... 21, 25

ON KYO®
AIIIIIII BIIMPIININIS

_1_

Page 2

P-3099

SPECIFICATIONS

Input Sensitivity and
Impedance:

Rated Output and
Impedance:

RIAA Deviation:

Frequency Response
(TUNER, TAPE,
CD/AUX):

Phono Overload:

Total Harmonic
Distortion:

Intermodulation

Distortion (AUX):
Signal-to-Noise Ratio:

PHONO MC: HIGH MC
2.5mV/100 ohms
130/.tV/(100/330)
ohms

PHONO MM: 2.5mV/(47kohms/
100kohms)

TUNER, TAPE PLAY, CD/AUX:
lSOmV/47 kohms

TAPE REC: 150mV/2.2 kohms

(PHONO)

1.5V/220 ohms

Max. 13V

10.2dB, 2O - 20,000I-Iz

OUTPUT:

+0, 73 dB, 0.8HZ - 170kHZ
PHONO MM: 380mV RMS at

1 kHz, THD 0.05%
19mV RMS at

1 kHz, THD 0.05%

PHONO MC:

0.003% at PHONO MM, 3V output
0.005% at PHONO MC, 3V output
0.002% at TUNER, CD/AUX and
TAPE, 3V output

0.004% (70Hz: 7kHz = 4:1)
PHONO MC: 76dB (II-IF A-202)

Tone Control BASS: :SdB at 70Hz
(Vol. 720 dB): TREBLE: t BdB at 20kHz
Filters: HIGH CUT: (TREBLE min.):
6dB/oct, 7 kHz
SUBSONIC: 6dB/0ct,
15 Hz/20Hz
Audio Muting: ~20 dB
Inputs: PHONO 1 & 2, TAPE PLAY 1 & 2,
TUNER, CD/AUX
Outputs: TAPE REC OUT I & 2
OUTPUT: 1 (for super servo cable)
2 (for normal cables)
AC OUTLET (SWITCHED x 2
UNSWITCHED x 2) (120v model
only)
Power Supply: AC 120V, 60Hz [D model]
AC 220V, 50Hz [G model]
AC 120V 01' 220V, 50/60HZ
[W model]
Semiconductors: 71 transistors, 52 diodes, 10 FETs,
8 ICs
Dimensions: 480(W) x 127(H) x 415(D)mm
18 57/64" X 5" x1611/32"
Weight: 10.5 kg, 23.1 lbs.

Specifications and features are subject to change without

notice.

PHONO MM: 82dB (IHF A-202)
TUNER: 90dB (II-IF A-202)

PRECAUTIONS

l. Replacing the fuses
For continued protection against risk fire, replace only
with same type and same rating fuse.

CIRCUIT N0. PARTS NO. DESCRIPTION

F001 252044 2A(ST6), Primary fuse
(120V model)

F001 25 2070 lA-SE-EAK, Primary fuse
(220V, 120V/220V model)

F002 252044 2A(ST-6), Primary fuse

(120V/220V model)

2. Replacing the lamp
This unit uses the lamp listed below.

CIRCUIT NO. PARTS NO. DESCRIPTION
PL801 ~ PL804 21006513 PL12V ISOmA
PL805

PL806 ~ PL808 210036 PL14V 60mA70.9
PL809 ~ PL812 2110085 PLI4V 60mA-2:6

3. Insulation resistance mesurement (Only U.S.A.
model)
Connect the insulating-resistance tester between the plug

of power supply cable and the terminal GND on the
back panel.
Specifications; More than IOMfl at 500V.

. Voltage selector (rear panel)

Worldwide models are equipped with a voltage selector
to conform with local power supplies. Be sure to set this
switch to match the voltage of the power supply in your
area before turning the power switch on. Voltage is
changed by sliding the groove in the switch with a screw-
driver or similar instrument to the up or down position.
Confirm that the switch has been moved all the way to
the up or down before turning the power switch on. If
there is no voltage selector switch on the unit you have
purchased, it can only be used in areas where the power
supply voltage is the same as that of the unit.

220V N 220V N
E] r
L_ at AC 220V lg] at AC I20V
120V ~ I I2DV ~