Onkyo DXC 500 Service Manual

This is the 29 pages manual for Onkyo DXC 500 Service Manual.
Read or download the pdf for free. If you want to contribute, please upload pdfs to audioservicemanuals.wetransfer.com.

Page: 1 / 29
Onkyo DXC 500 Service Manual

Extracted text from Onkyo DXC 500 Service Manual (Ocr-read)


Page 1

DX-CSOO

SERIAL NO. 3347

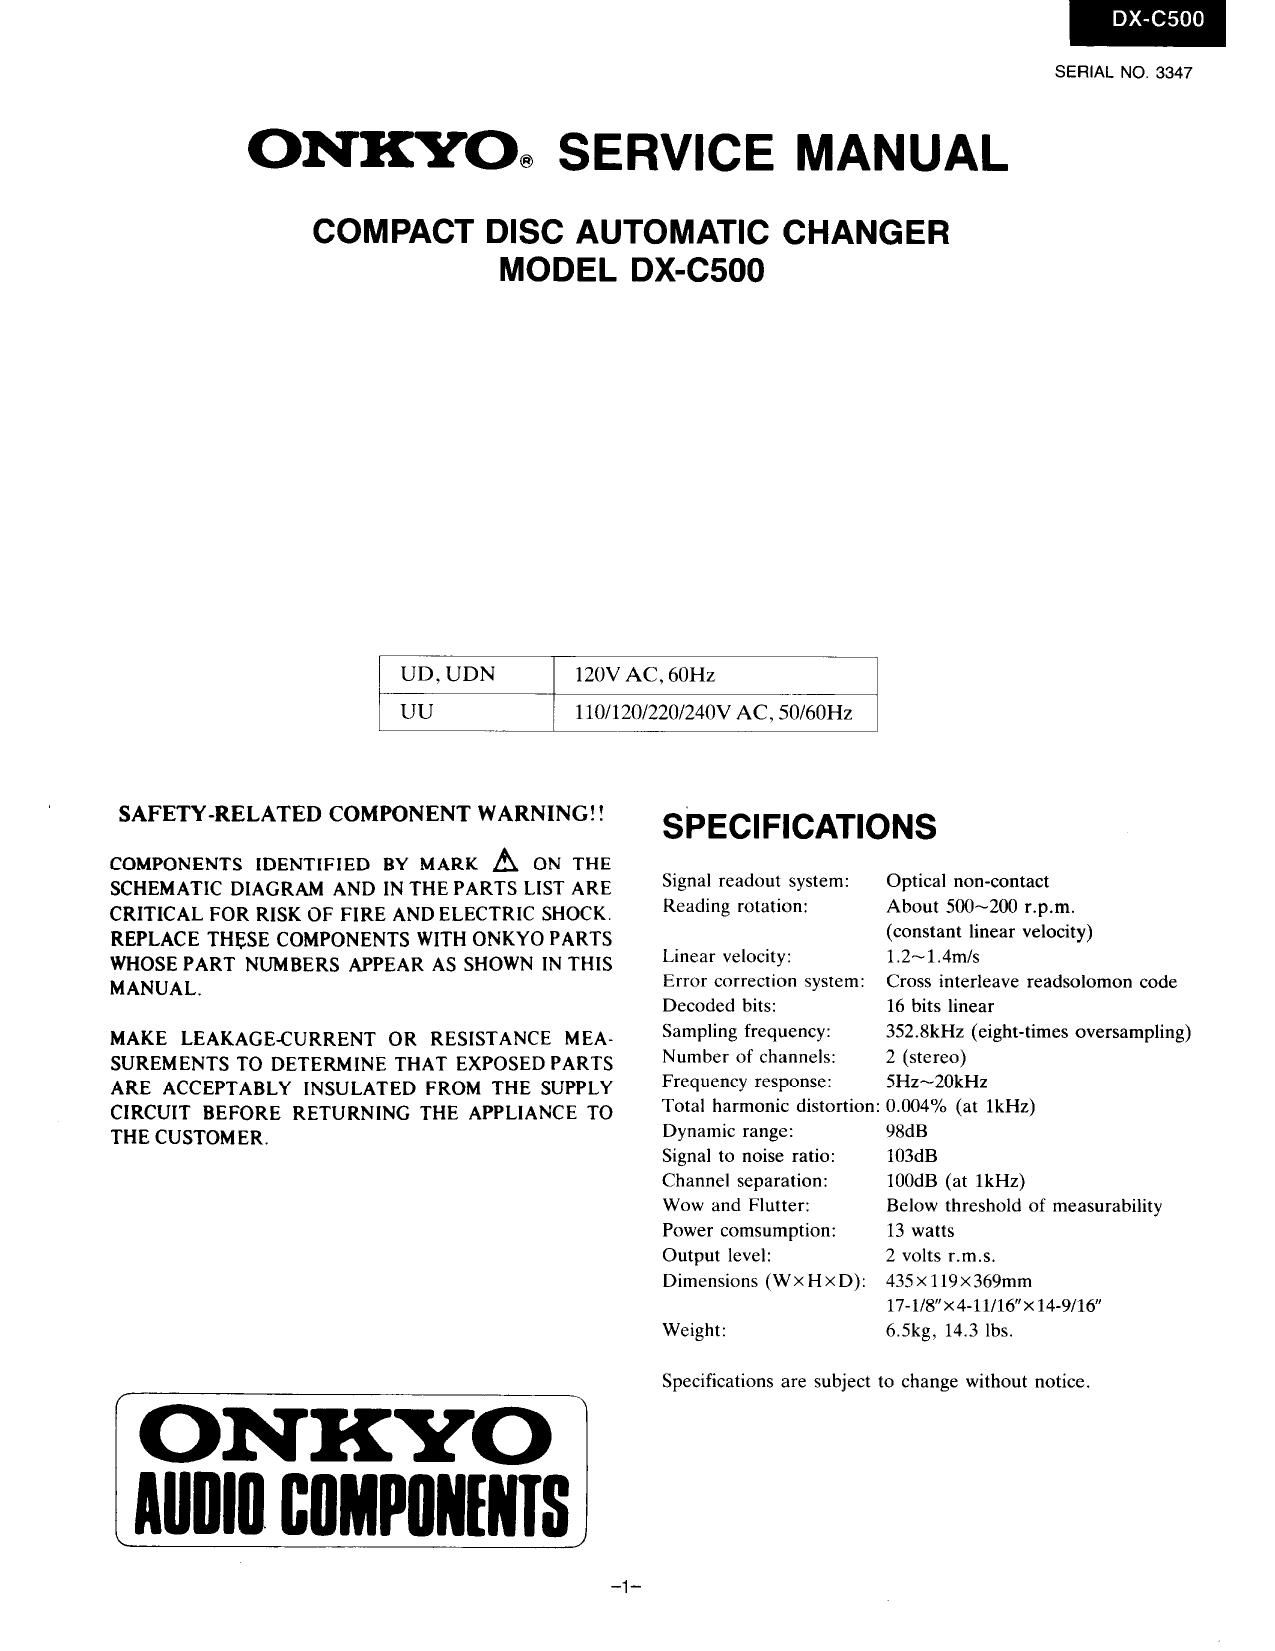
ONKYO® SERVICE MANUAL

COMPACT DISC AUTOMATIC CHANGER
MODEL DX-C500

UD. UDN 120V AC, 601-12
UU 1 10/ 120/220/240V AC, 50/60Hz

SAFETY RELATED COMPONENT WARNING! ! SP ECI FICATIONS

COMPONENTS IDENTIFIED BY MARK A ON THE ,
SCHEMATIC DIAGRAM AND IN THE PARTS LIST ARE 519 do 953 0PM] on-contact

CRITICAL FOR RISK OF FIRE AND ELECTRIC SHOCK. Rammg "3": Am 500720 P?-
REPLACE THESE COMPONENTS WITH ONKYO PARTS _ . (consam 3 606
WHOSE PART NUMBERS APPEAR AS SHOWN IN THIS We V6'0C1Y3 14"
M ANU AL. Error correcIlOn system: Cross interleave readsolomon code
Decoded bits: 16 bits linear
MAKE LEAKAGECURRENT OR RESISTANCE MEA» Sampling frequency: 352V8kHz (eight-times oversampling)
SUREMENTS To DETERMINE THAT EXPOSED PARTS Number 0" WW? 2 (W80)
ARE ACCEPTABLY INSULATED FROM THE SUPPLY Frequency 5130?: 5HZ~2°kHZ
CIRCUIT BEFORE RETURNING THE APPLIANCE T0 Total harmonic dSOrioni 0004'? (3 Mil)
THE CUSTOMER. Dynamic range: 98:13
Signal to noise ratio: 103dB
Channel separation: lOOdB (at IkHz)
Wow and Flutter: Below threshold of measurability
Power comsumption: 13 watts
Output level: 2 volts T.mvs.

Dimensions (WxHxD): 435><1l9><369mm
17-1/8X4~l1/16"X]4-9/16"
Weight: 6,5kg. 143 lbs.

Specifications are subject to change without notice.

ON KYO
MIIIIII BIIMPIIIIIIIIS

Page 2

DX-C500

TABLE OF CONTENTS

Specifications ..........
Service procedures ..
Microprocessor descriptions .............
IC block diagram and descriptions .
Adjustment procedures ................
Pc board View from bottom side
Main circuit
Headphone amplifier .

Remocon sensor . 16
Power supply circuit .. .. 16
Display circuit .......... .. 21

Schematic diagram ..
Pc board-parts list
Mechanism-parts list ..........
Mechanism-exploded view
Exploded view
Parts list ...........
Waveform of each section
Block diagram ...............................................
Caution on replacement of pickup .....................
Protection of eyes from laser beam
during servicing ............................
Laser warning lablc .
Packing view ..............................


SERVICE PROCEDURES

1. Sulety-chedr out

After correcting the original service problem, perform the
following safety check before releasing the set to the
customer:

Connect the insulating-resistance tester between the plug
of power supply cable and chassis.

Specifications: more than lOMohm at 500V.

2. Voltage selector (rear panel)

Worldwide models are equipped with a voltage selector to
conform with local power supplies. Be sure to set this selector
to match the voltage of the power supply in your area before
turning the power switch on. Voltage is changed by turning
the voltage selector with a screwdriver or similar instrument
to the 110V, 120V, 220V or 240V position. Confirm that the
selector has been set to the correct position before turning
the power switch on. If there is no voltage selector switch on
the unit you have purchased, it can only be used in areas
where the power supply voltage isthe same as that of the unit.

M

at AC 220V

at A0 1 HIV at AC 120V at AC 240V

3. Procedures for replacement of flat packaged [Cs
1. Tools to be used:
(1) Soldering iron .. .. Grounded soldering iron or
soldering iron with leak re-
sistance of 10 Mohms or

more.

Form of soldering irons tip:

(2) Magnifying glass . ., for checking of finished
works

(3) Tweezers ........ for handling of 1C and
forming of leads

(4) Groundingring . . . . Countermeasure for electro-
static breakdown

(5) Nipper ......... for removing defective IC

(6) Small hush ...... for application of flux

(7) Enamel line

2. Work Procedures:
(1) Remove the defective lC
Cut all leads of the defective lC one by one using
a nipper and remove the IC.
1 . An enamel line has been pierced between the legs
of the flat package IC.
2. Use a soldering iron to unsolder the legs one at
a time.
3, Repeat the procedure of 1 and 2 above for the 3
sides only.

t

While holding the soldering against the enamel line,
pull in the direction of the arrow.

(2) Clean the pattern surface of the PC board.

Get rid of the remaining leads and solder.

Check and from the leads of the new flat pack-
aged IC to be installed.

From every lead on the new [C using a pair of
fweezers, so that all of them are aligned neatly
without being risen, twisted or inclined toward
one side. Especially the rising portion of every
lead must be formed with greatest care.

(Rising)

(3)

(Twisting) (locliningl