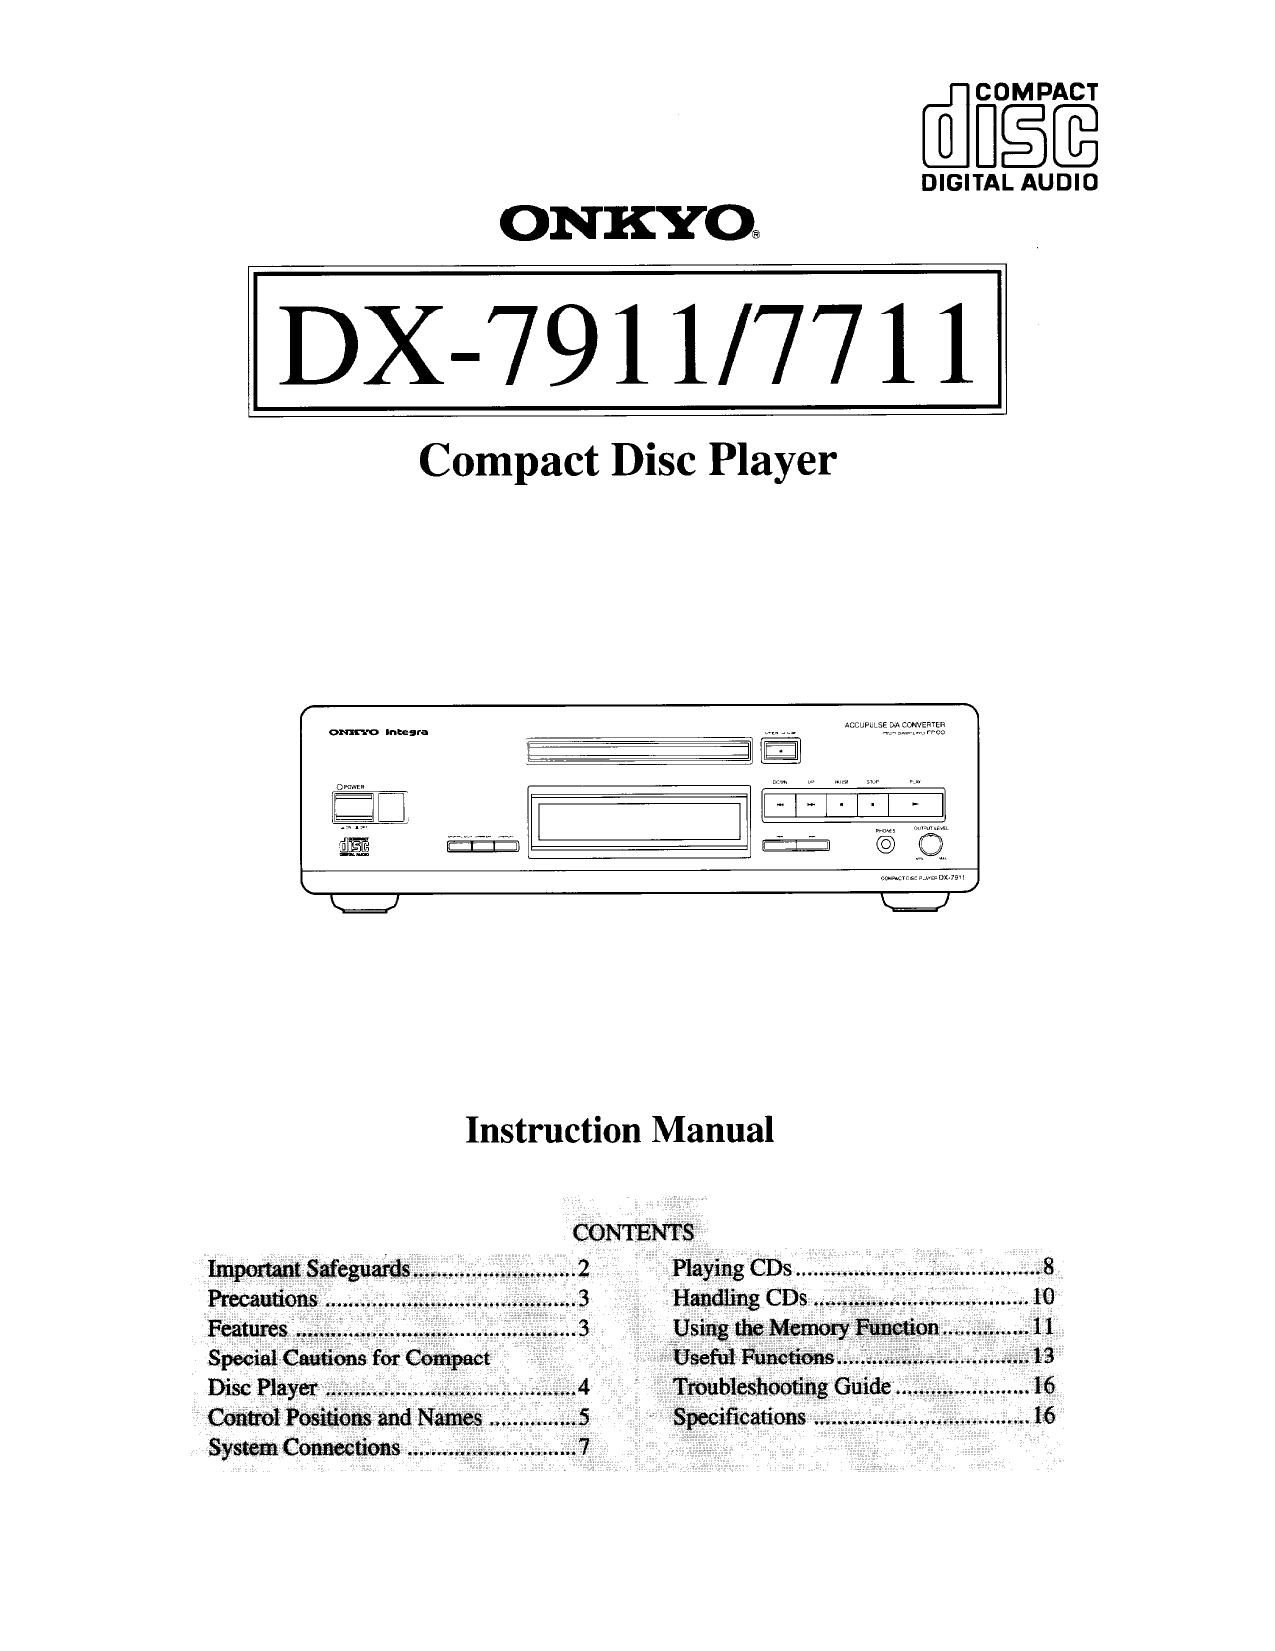
Onkyo DX 7911 Owners Manual
This is the 16 pages manual for Onkyo DX 7911 Owners Manual.
Read or download the pdf for free. If you want to contribute, please upload pdfs to audioservicemanuals.wetransfer.com.
Extracted text from Onkyo DX 7911 Owners Manual (Ocr-read)
Page 2
Thank you for your purchase of the
ONKYO DX-791l/77l l CD player.
Please read this manual thoroughly before making connections
and plugging in the AC power cord.
Following the instructions in this manual will enable you to
obtain optimum performance and maximum listening enjoy-
ment from your new DX-79l 1/77] 1.
Please retain this manual for future reference.
FOR EUROPEAN MODEL:
- This apparatus complies with requirements of EC directive
87/308/EEC.
FOR CANADIAN MODEL:
(POUR LE MODELE CANADIEN)
' For models having LI power cord with a polarized plug
CAUTION:T0 PREVENT ELECTRIC SHOCK. MATCH
WIDE BLADE OF PLUG TO WIDE SLOT, FULLY INSERT.
- Sur les modeles dont la fiche est polarisée.
ATTENTION :POUR EVITER LES Cl-IOCS
ELECTRIQUES. [NTRODUIRE LA LAME LA PLUS LARGE
DE LA FICHE DANS LA BORNE CORRESPONDANTE DE
LA PRISE ET POUSSER JUSQ'AU FOND.
ATTENTION FOR BRITISH MODEL
- Replacement and mounting of an AC plug on the power
supply cord of this unit should be performed only by qualified
service personnel.
0 IMPORTANT: The wires in the mains lead are coloured in
accordance With the following code:
Blue: Neutral
Brown: Live
As the colours of the wires in the mains lead of this apparatus
may not correspond with the coloured markings identifying the
terminals in your plug. proceed as follows
The_wire which is coloured blue must be connected to the
terminal which is marked with the letter N or coloured black.
The wire which is coloured brown must be connected to the
terminal which is marked with the letter L or coloured red.
WARNING
TO REDUCE THE RISK OF FIRE 0R ELECTRIC
SHOCK, DO NOT EXPOSE THIS APPLIANCE To RAIN
OR MOISTURE.
CAUTION
TO REDUCE THE RISK OF ELECTRIC SHOCK, DO NOT
REMOVE COVER (OR BACK). NO USER-SERVICEABLE
PARTS INSIDE. REFER SERVICING TO QUALIFIED
SERVICE PERSONNE
CAUTION
RISK OF ELECTRIC SHOCK
DO NOT OPEN
- The lightning flash with arrowhead symbol. within an
i i equilateral triangle. is intended to alert the user to the
presence of uninsulated dangerous voltage" within the
product's enclosure that may be of sufficient magni
tude to constitute a Ii.\k of electi ic shock to persons.
- The exclamation point within an equilateral triangle is
f: Intended ID alert the user to the presence of imponant
operating and maintenance (servicing) instructions in
the literature accompanying the appliance.
Important Safeguards
I. Read Instructions - All the safety and operating instructions
should be read before the appliance is operated
2. Retain Instructions - The safety and operating instructions should
be retained for future reference.
3. Heed Wantings - All warnings on the appliance and in the
operating Instructions should he adhered to.
:k
Follow Instructions - All operating and use instructions should be
fulluwed.
Water and Moisture - The appliance should not be used near
water - for example. near a bathtub. washbowl, kitchen sink.
laundry tub. in a wet basement. or near a swimming pool. and the
like.
. Carts and Stands _ The appliance should he used only with a cart
or stand that is recommended by the manufacturer.
5"
a
6A. An appliance and cart combination should be moved wtlh care. Quick
stops, excessive force. and uneven surface may cause the appliance
and cart combination to overturn.
PORTABLE cARr WARNING
SaizsA r -
v
7. Wall or Ceiling Mounting - The appliance should be mounted to a
vrall or ceiling only as recommended by the manufacturer.
8. Ventilation - The appliance should be situated so that Its location
or position does not tnterterc with Its proper ventilation. For example.
the appliance should not be situated on a bed. sofa. rug. or similar
surface that may block the ventilation openings; or if placed in a built
in installation. such as LI book case or cabinet that may impede the
flow of air through the ventilation openings, there should he ficc
space of at least 20 cm (8 in.) and open up behind the appliance.
9. Heat-The appliance should be situated away from heat sources
such as radiators. heat registers. stoves. or other appliances (including
amplifiers) that produce heat.
10. Power Sources - The appliance should be connected to a power
supply only of the type described in the operating Instructions or as
marked on the appliance.
11. Polarization - The polarization of the plug is a satety feature. The
polarized plug will only fit the outlet olie way. lithe plug does not fit
fully into the Outlet. try reversing ll. ltthere i.» still trouble. the user
should seek the services of a qualified electrician. Under no
circumstances should the user attempt to defeat the polarization of the
plug.
12. Power-Cord Protection V Ptiwerrsupply cords should be routed so
that they are not likely to be walked on or pinched by items placed
upon or nst them. convenience receptacles, and the point where
they exu from the appliance.
I3. Cleanlng - The appliance should be cleaned only as recommended
by the manufacturer.
I4. Nonuse Periods - The power cord of the appliance should be
unplugged from the outlet when left unused for a long period of time.
15. Object and Liquid Entry - Care should be taken so that objects do
not fall and liquids are not spilled into the enclosure through
openings.
16. Damage Requiring Service - The appliance should be serviced by
qualified service personnel when:
A The power-supply cord or the plug has been damaged; or
E. Objects have fallen. or liquid has been spilled into the appliance;
or
C. The appliance has been exposed to rain: or
D The appliance does not. appear to operate normally or exhibits a
marked change in performance; or
E. The uppliunce has been dropped. or the enclosure damaged.
l7. Servicing -- The user should not attempt to service the appliance
beyond that described In the operating instructions. All other
semcing should he referred to qualified service personnel.
Page 14
71M: EDIT
lililiil
iiififi BE
fifiiii
liltl
Hs ..... 83s as
lazy-m m
i
@
- \\ //
|:| -> PAUSE
7 \\
@(é)
: 15;
This function can be used when recording
from a CD to a cassette tape.
f In the memory mode. you can use the time
edit function on the memory contents.
1. Press the TIME EDIT button.
2. Use number buttons and + 10 button
to directly enter the length of the tape.
The maximum setting is 99 minutes.
Each time the skip buttons are pressed.
the tape length will change by 1 minute.
Tape length,
This is the total time for the tracks on
side A. This changes to the display for
side B after 2 or 3 seconds. Pressing the
DISPLAY button will show the display
for the A side again.
The track numbers to be recorded onto
side A will be displayed.
The track numbers to be recorded onto
side B will be displayed.
Use the DISPLAY button to switch
between side A and side B.
You can add and/or erase tracks while
using the time edit function:
1. Select the side (A or B) to/from
which you wish to add/erase tracks
using the DISPLAY button.
2. Add tracks by using the number
buttons and the +10 button. Erase
the tracks by using the CLEAR
button.
- Pressing the REPEAT button will
cause the tracks to be added to the
remaining tape length by repeating
the displayed contents.
- You can record up to 20 tracks onto
sides A and B (tape length
permitting).
- Pressing the TIME EDIT button again
after step 2 causes the tracks to be sorted
so that side A has the longest recording
time.
3. Press the > PLAY button.
The CD player starts playing from the
first track on the disc to be recorded onto
side A.
When the last track on side A is
completed, the pause mode is automativ
cally set.
4. Press the > PLAY button again.
The pause mode is canceled and the CD
player starts playing the remaining
tracks for recording onto side B,
NOTES:
- The time edit mode does not function for
discs with more than 20 tracks, or when
the first track is longer than half the
indicated length of the tape.
' During time edit play, buttons other than
STOP, OPEN/CLOSE, DIMMER and
DISPLAY cannot be used for input.
6)
@
14 ON KYO