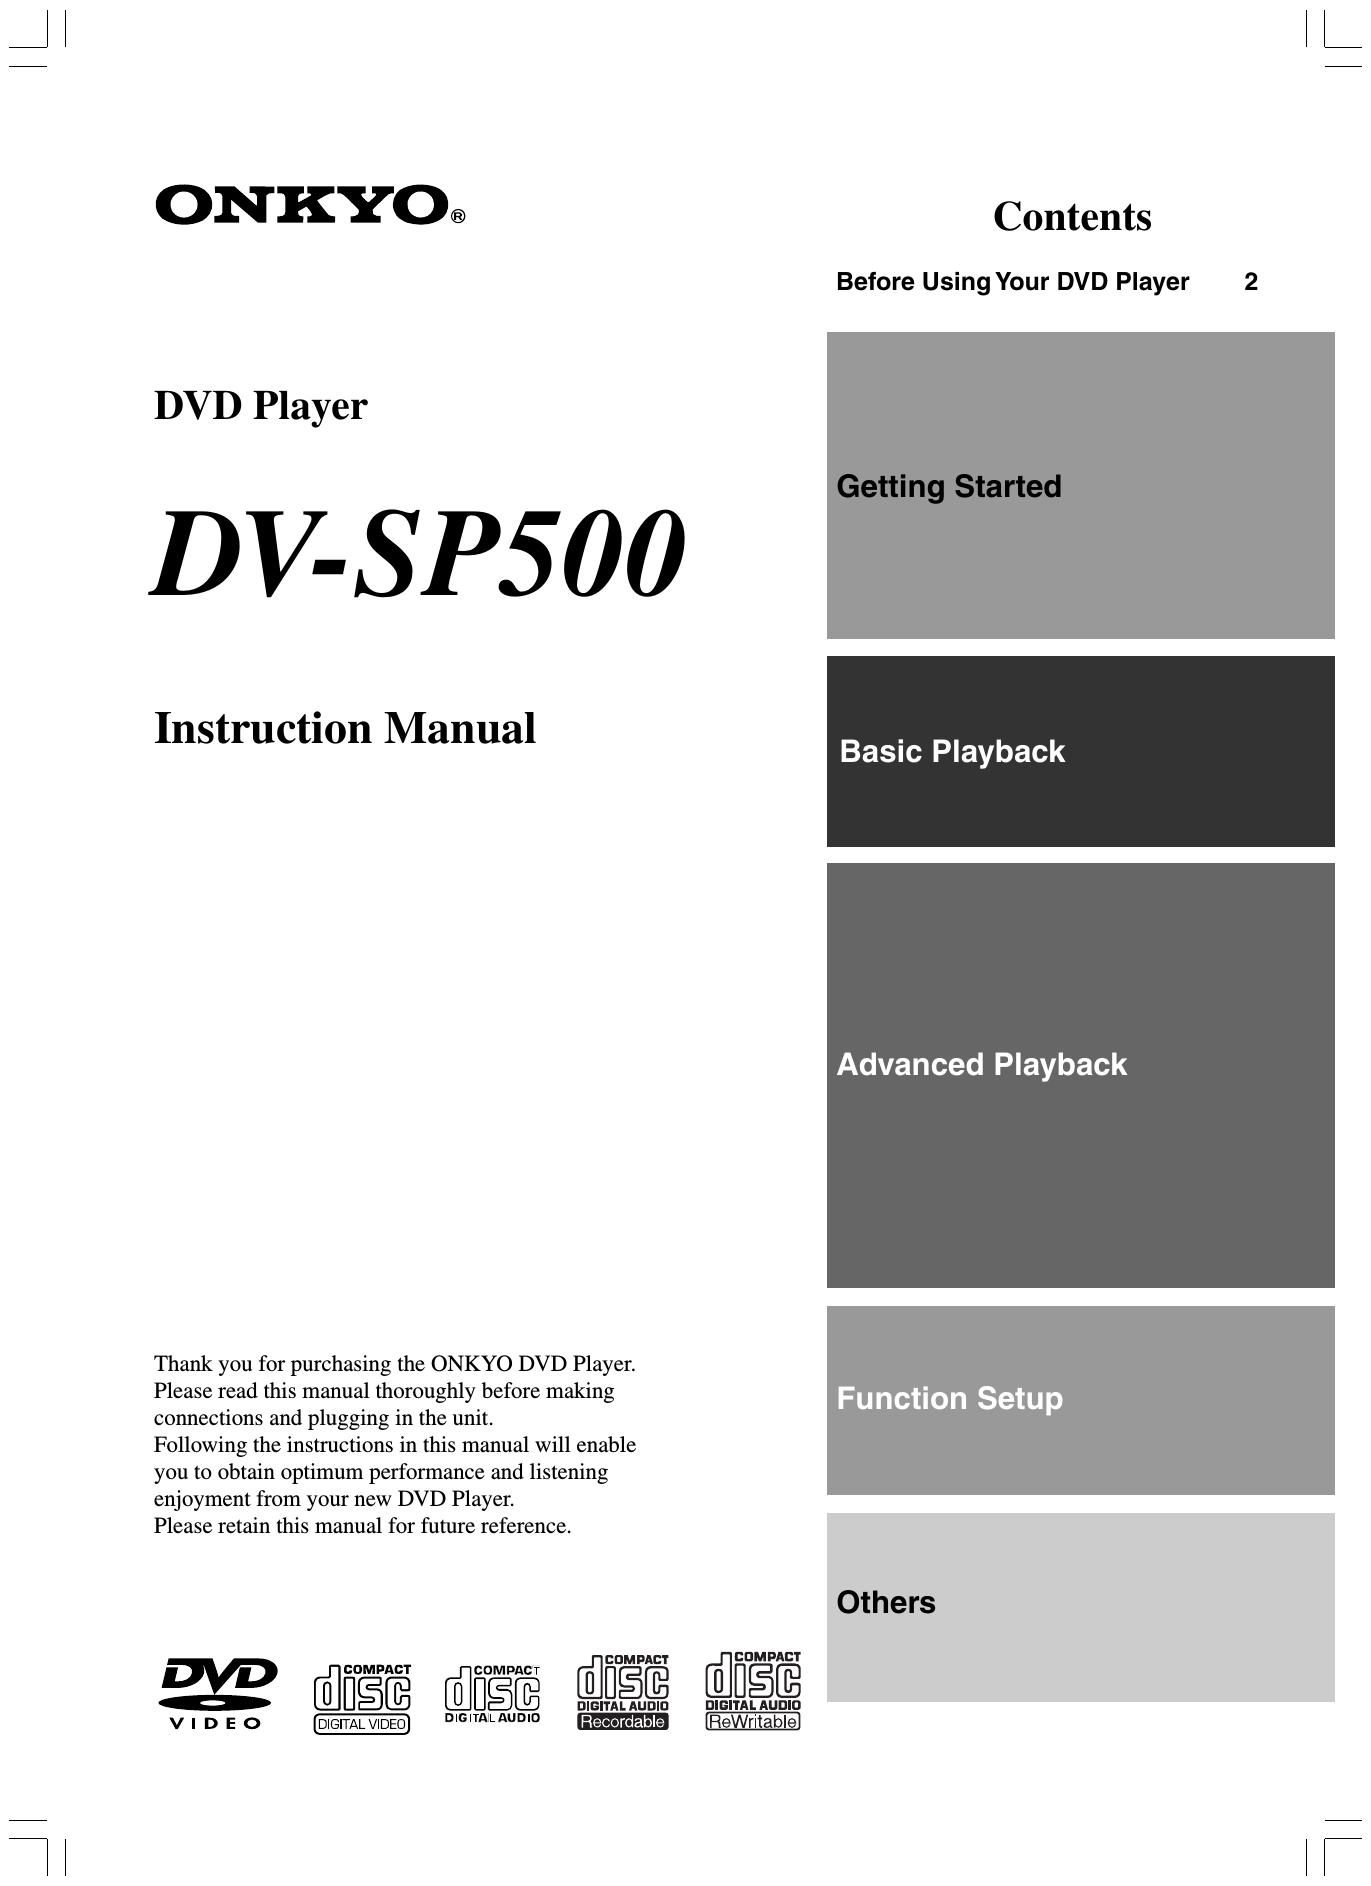
Onkyo DVSP 500 Owners Manual
This is the 60 pages manual for Onkyo DVSP 500 Owners Manual.
Read or download the pdf for free. If you want to contribute, please upload pdfs to audioservicemanuals.wetransfer.com.
Extracted text from Onkyo DVSP 500 Owners Manual (Ocr-read)
Page 1
ONKYO®
DVD Player
DV-SPS 00
Instruction Manual
Thank you for purchasing the ONKYO DVD Player.
Please read this manual thoroughly before making
connections and plugging in the unit.
Following the instructions in this manual will enable
you to obtain optimum performance and listening
enjoyment from your new DVD Player.
Please retain this manual for future reference.
E [LEE WEE LEEDIEE
v I D E o _lGlTALVlDEU 'G'TALAUD'O Recordable
Contents
Before Using Your DVD Player 2
Basic Playback
Advanced Playback
Function Setup
Others
Page 2
WARNING:
TO REDUCE THE RISK OF FIRE 0R ELECTRIC SHOCK,
DO NOT EXPOSE THIS APPLIANCE TO RAIN OR
MOISTURE.
CAUTION:
TO REDUCE THE RISK OF ELECTRIC SHOCK, DO NOT
REMOVE COVER (OR BACK). NO USERSERVICEABLE
PARTS INSIDE. REFER SERVICING TO QUALIFIED
SERVICE PERSONNEL.
triangle, is Intended to alert the user to the presence ol uninsulated
dangerous voltage" within the product's enclosure that may be of
The exclamation point within an equilateral triangle is Intended to alert
the user to the presence of important operating and maintenance
AVIS
RISK OF ELECTRIC SHOCK RISQUE DE CHOC ELECTRIOUE
DO NOT OPEN NE PAS OUVRIFI
The lightning flash wrth arrowhead symbol, within an equilateral
sulficient magnitude to constitute a risk of electric shock to persons.
(servicing) instructions in the literature accompanying the appliance.
Important Safeguards
10.
11.
12.
Read Instructions -All the safety and operating instructions
should be read before the appliance is operated.
Retain Instructions - The safety and operating instructions
should be retained for future reference.
Heed Warnings - All warnings on the appliance and in the
operating instructions should be adhered to.
Follow Instructions -All operating and use instructions should
be followed.
Cleaning - Unplug the appliance from the wall outlet before
cleaning. The appliance should be cleaned only as
recommended by the manufacturer.
Attachments - Do not use attachments not recommended by
the appliance manufacturer as they may cause hazards.
Water and Moisture - Do not use the appliance near water -for
example, near a bath tub, wash bowl, kitchen sink, or laundry
tub; in a wet basement; or near a swimming pool; and the like.
Accessories - Do not place the appliance on an unstable cart,
stand, tripod, bracket, or table. The appliance may fall, causing
serious injury to a child or adult, and serious damage to the
appliance. Use only with a cart, stand, tripod, bracket, or table
recommended by the manufacturer, or sold with the appliance.
Any mounting of the appliance should follow the manufacturer's
instructions, and should use a mounting accessory
recommended by the manufacturer. PORTABLE CART WARNING
An appliance and cart
combination should be moved /
with care. Quick stops,
excessive force, and uneven . B
surfaces may cause the
appliance and cart combination
to overturn.
ii
SSIZSA w
Ventilation - Slots and openings in the cabinet are provided for
ventilation and to ensure reliable operation of the appliance and
to protect it from overheating, and these openings must not be
blocked or covered. The openings should never be blocked by
placing the appliance on a bed, sofa, rug, or other similar
surface. The appliance should not be placed in a built-in
installation such as a bookcase or rack unless proper ventilation
is provided. There should be free space of at least 5 cm (2 in.)
and an opening behind the appliance.
Power Sources - The appliance should be operated only from
the type of power source indicated on the marking label. It you
are not sure of the type of power supply to your home, consult
your appliance dealer or local power company.
Grounding or Polarization - The appliance may be equipped
with a polarized alternating current line plug (a plug having one
blade wider than the other). This plug will fit into the power
outlet only one way. This is a safety feature. If you are unable to
insert the plug fully into the outlet, try reversing the plug. If the
plug should still fail to fit, contact your electrician to replace your
obsolete outlet. Do not defeat the safety purpose of the
polarized plug.
13.
14.
15.
16.
17.
18.
19.
20.
21.
22.
23.
Power-Cord Protection - Power-supply cords should be routed
so that they are not likely to be walked on or pinched by items
placed upon or against them, paying particular attention to
cords at plugs, convenience receptacles, and the point where
they exit from the appliance.
Lightning - For added protection for the appliance during a
lightning storm, or when it is lelt unattended and unused for long
periods of time, unplug it from the wall outlet and disconnect the
antenna or cable system. This will prevent damage to the
appliance due to lightning and power-line surges.
Overloading - Do not overload wall outlets, extension cords, or
integral convenience receptacles as this can result in a risk of
fire or electric shock.
Object and Liquid Entry - Never push objects of any kind into
the appliance through openings as they may touch dangerous
voltage points or short-out parts that could result in a fire or
electric shock. Never spill liquid of any kind on the appliance.
Servicing - Do not attempt to service the appliance yourself as
opening or removing covers may expose you to dangerous
voltage or other hazards. Refer all servicing to qualified service
personnel.
Damage Requiring Service - Unplug the appliance form the
wall outlet and refer servicing to qualified service personnel
under the following conditions:
A. When the power-supply cord or plug is damaged,
B. If liquid has been spilled, or objects have fallen into the
appliance.
C. If the appliance has been exposed to rain or water,
D. If the appliance does not operate normally by following the
operating instructions. Adjust only those controls that are
covered by the operating instructions as an improper
adjustment of other controls may result in damage and will
often require extensive work by a qualified technician to
restore the appliance to its normal operation,
E. If the appliance has been dropped or damaged in any way,
and
F. When the appliance exhibits a distinct change in
performance - this indicates a need for service.
Replacement Parts - When replacement parts are required, be
sure the service technician has used replacement parts
specified by the manufacturer or have the same characteristics
as the original part. Unauthorized substitutions may result in
fire, electric shock, or other hazards.
Safety Check - Upon completion of any service or repairs to
the appliance, ask the service technician to perform safety
checks to determine that the appliance is in proper operation
condition.
Wall or Ceiling Mounting - The appliance should be mounted
to a wall or ceiling only as recommended by the manufacturer.
Heat - The appliance should be situated away from heat
sources such as radiators, heat registers, stoves, or other
appliances (including amplifiers) that produce heat.
Liquid Hazards - The appliance shall not be exposed to
dripping or splashing and no objects filled with liquids, such as
vases shall be placed on the appliance.
Page 13
Connecting to a TV
Before connecting
- Refer also to the instruction manual of the TV.
- When you connect the DVD Player to the TV, be sure to turn off the
power and unplug both units from the mains before making any
connections.
- Connect the DVD Playerto the TV directly. if you connect the DVD
Player to a VCR, TVNCR combination, or video selector, the playback
picture may be distorted as DVD videos are copy protected.
l Making component video connections
- Connect the plugs securely.
Incom lete
i- P
- Insert completely
If the TV or monitor has component video inputs, making this
jacks to the corresponding component video input jacks on the
Be sure to set theTV Aspect after connection using
type of video connection will produce the ideal picture quality for the Setup Navigator explained in Setting Up the
the presentation of DVD-Video. Using a component video cable Player starting on page 16 or the function setting
(sold separately). connect the VIDEO OUTPUT COMPONENT menu explained in Adiusting Audio and Video
Settings starting on page 38.
TV.
Actual labels for component Video inputs may vary depending on
the TV manufacturer. (e.g. Y, R-Y, B»Y orY, CB, CR)
Component video cable
To component video inputs
In some TVs or monitors, the color levels of the playback picture
may be reduced slightly or the tint may change. In such a case,
adjust the TV or monitor for optimum performance. -
(for powerful bass
sound)
Ii : Signal llow fi
Active subwoofer Stereo audio connection cable
To audio input
L (White)
Fl (Red)
K Ll
mum omPur-
coumsw
AC INLET
DO NOT connect
the mains lead at
this time.
\E/
l Connecting to aTV Using the AudioNideo
Connection Cable
It the TV or monitor has an S video input, make the S video
connection. The 8 video connection will provide higher
quality picture playback.
Notes
- If you make the S video connection, leave the yellow plug
disconnected.
- If the TV audio is monaural, leave the red plug disconnected.
Stereo audio/video connection cable
To audio/video inputs
AI: R (Red)
D: L (White)
Video
(Yellow)
5 video connection cable
To S video input
M
\E/i
13
Page 36
Viewing Disc Information
Use DISPLAY to get current information about the disc
currently loaded.You can get information about the titles
and chapters on a DVD or tracks on a Video CD or CD or
folders and tracks on a MP3.When viewing DVDs, you
can also check the digital bitstream transmission rate.
9'3 Press DISPLAY during while a disc
is playing. Press DISPLAY
repeatedly to change the
information being displayed.
The disc information is displayed
superimposed over the video image on the
screen.
Press and hold DISPLAY to display
the time remaining on the disc.
When you release the button. the
information disappears.
The display changes for each type of disc as follows each time
the button is pressed.
DVD
current title/chapter number elapsed tlme of current tltle
Play 3-29 49.58
Till! 61.03] 101.04
remaining time of current title remaining total time of
current title
current title/chapter number elapsed tlme of current tltle
Video CD [with PEG disabled)
current track number/
total number of tracks Video CD's total elapsed time
Play 3/12 10.53
All 4928/ 70.19
Vldeo CD'S remalnlng tlme Vldeo CDS total time
J
current track number Video CD's total elapsed time
Play a 10.53
tut-.11 3.56] 5.23
elapsed tlme of current track total time of current tracks
J
current track number Video CD'S total elapsed time
Play a 10.53
tut-.11 1.21/ 5.23
remaining time of current track total tlme of current tracks
J
Dlsplay off
CD
Play 342
Chapllr 0.21/
elapsed time of current chapter
current title/chapter number
Play 342
Chap!" -i.30/
remaining time of current chapter
current title/chapter number
Play 3-32
Tr. Rm: -
tranSmiSslon rate level meter
J
54.53
1 .51
elapsed total t'lme of
current chapter
elapsed time of current title
54.53
1.51
remainlng total t'lme of
current chapter
elapsed time of current title
transm'lssion rate level
Dlsplay off
36
il l
currenttrack number
my 3
Track 4.291
remaining tlme of current track
current track number
Play 1110
All 4520/
CDS remalnlng tlme
elapsed time of current track
0.03
3.32
remaining total time of
current tracks
current total tlme of tracks
1.13
66.32
CDS total time
J
Display off