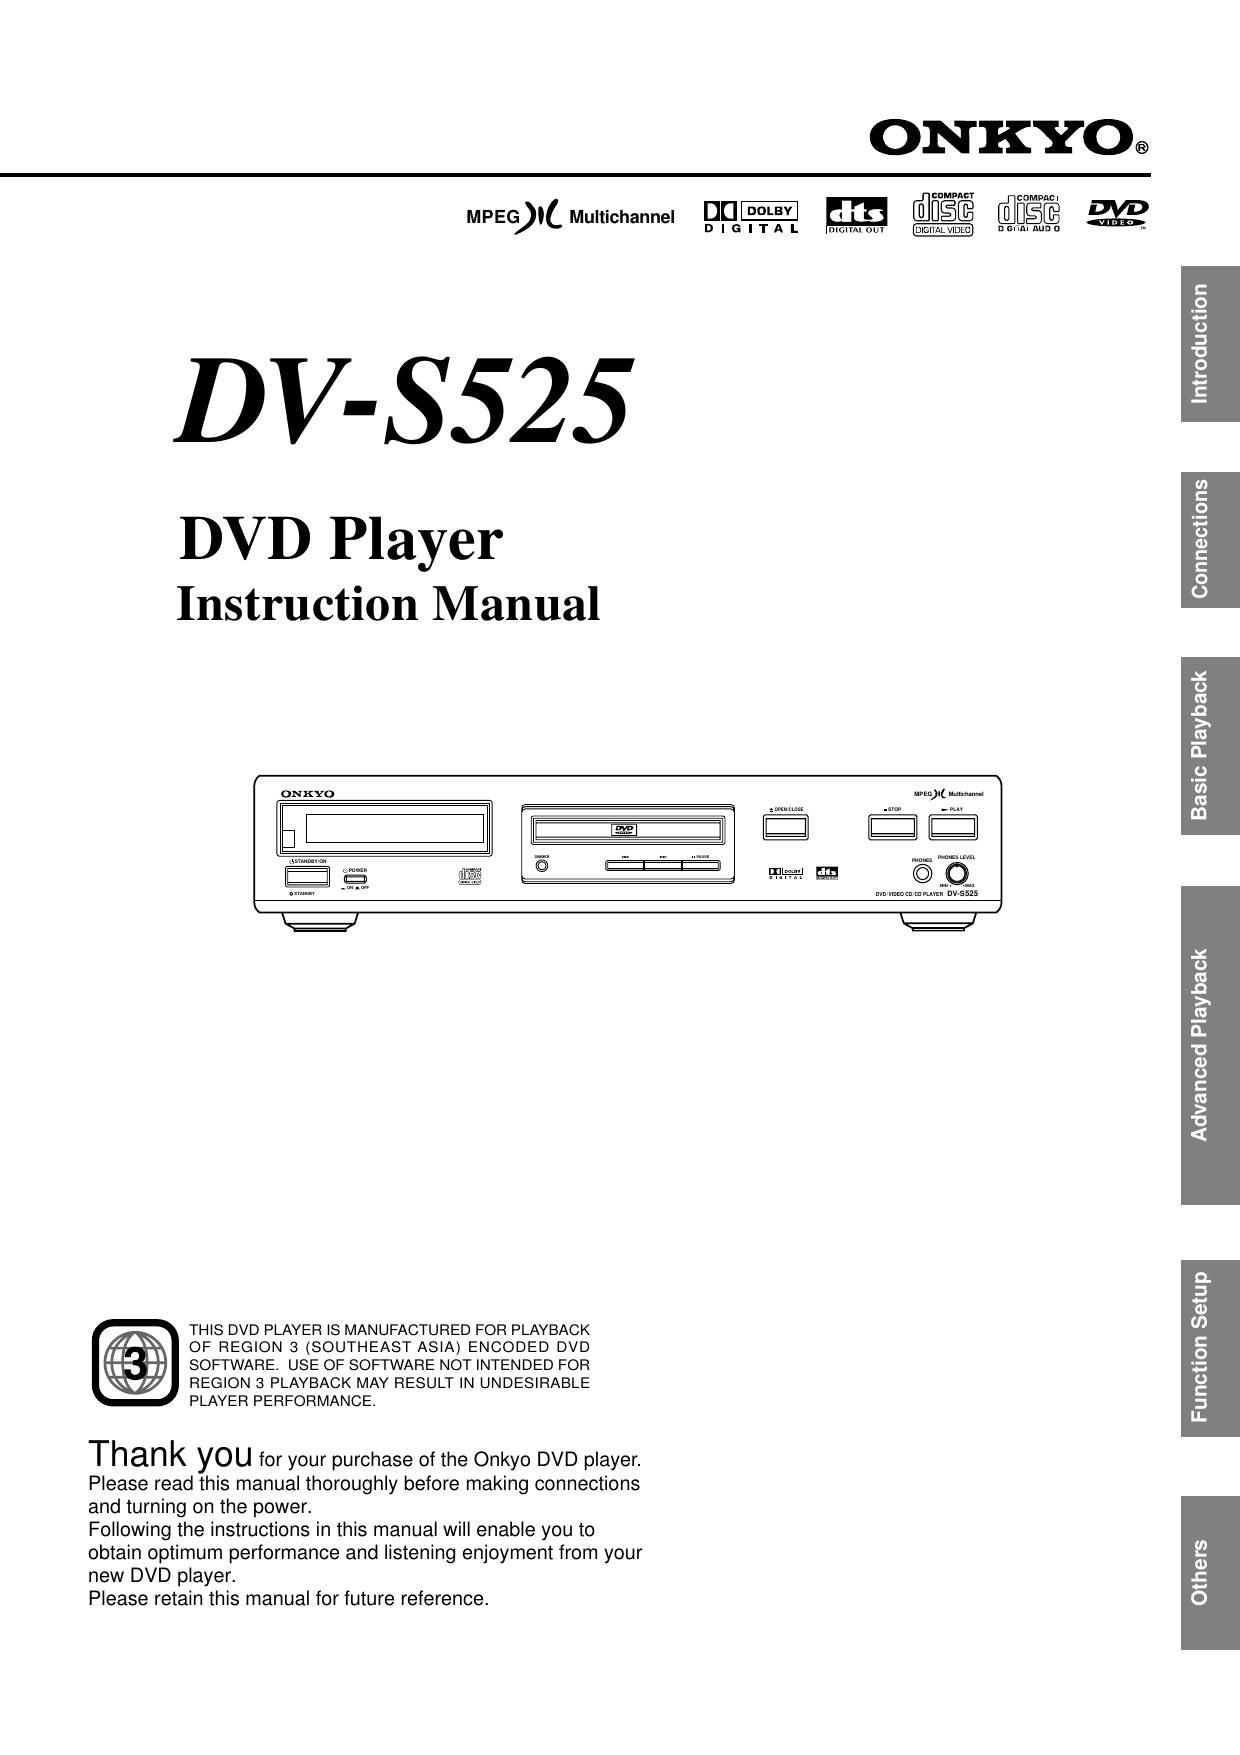
Onkyo DVS 525 Owners Manual
This is the 44 pages manual for Onkyo DVS 525 Owners Manual.
Read or download the pdf for free. If you want to contribute, please upload pdfs to audioservicemanuals.wetransfer.com.
Extracted text from Onkyo DVS 525 Owners Manual (Ocr-read)
Page 1
ONKYO®
MPEG)I( Multichannel IDJU- @11-Eé [flfigmy %
I G I T A |. _orrAL\/lozo nmmwmu
DVD Player
Instruction Manual
Introduction
oNKYo mam .mm
Basic Playback W
76 - pg! am
r
x
u
a
i
E
D.
E
0
fi
>
1::
<
SOFTWARE. USE OF SOFTWARE NOT INTENDED FOR
REGION 3 PLAYBACK MAY RESULT IN UNDESIRABLE
THIS DVD PLAYER IS MANUFACTURED FOR PLAYBACK
@ OF REGION 3 (SOUTHEAST ASIA) ENCODED DVD
PLAYER PERFORMANCE.
Function Setup
Than k you for your purchase of the Onkyo DVD player.
Please read this manual thoroughly before making connections
and turning on the power.
Following the instructions in this manual will enable you to
obtain optimum performance and listening enjoyment from your
new DVD player.
Please retain this manual for future reference.
Page 2
Safety Precautions
WARNING The lightning flash with arrowhead symbol, within an
To REDUCE THE RISK OF FIRE OR ELECTRIC SHOCK, equilateral triangle, iS intended to alert the user to the
DO NOT EXPOSE THIS APPLIANCE T0 RAIN OR presence of uninsulated dangerous voltage within the
MOISTURE. product's enclosure that may be of sufficient magnitude
to constitute a risk of electric shock to persons
CAUTION: n . . . . _ _ .
e exclamation pomt Within an eqUIIateral triangle is
TO REDUCE THE RISK OF ELECTRlC SHOCK! DO NOT intended to alert the user to the presence of important
REMOVE COVER (OR BACK)- NO USER'SERV'CEABLE operating and maintenance (servicing) instructions in
PARTS INSIDE. REFER SERVICING To QUALIFIED the literature accompanying the product
SERVICE PERSONNEL."
WARNING AVIS
RISK OF ELECTRIC SHOCK RISOUE DE CHOC ELECTRIQUE
no nor OPEN IIE PAS OUVEIR
Page 8
Identification of Controls
See the page in D for details.
panel/rear panel display
l Front panel
STANDBY/ON button E) ,7 OPEN/CLOSE button
POWER switch .
Remote contol D'SC "3V E ,7 STOP button E)
sensor DVD display E)
PLAY button E)
m
t 3 l ) HI IH ll + tll I] It I 4
l
! WW Am C) m 93% 5:! b O
I' |\ m" M
\;I g;:
PAUSE bum x7 PHONES LEVEL knob E)
STANDBY indicator E)
DIMMER button E) » Up/Down buttons E) PHONES laCk E)
l Rear panel
J I
flimmv 5 m m W @ Power cord
G) @159 © 0
2:
RI REMOTE CONTROL jacks Power plug E)
COMPONENT VIDEO OUT jacks DIGITAL OPTICAL AUDIO OUT terminal , E)
Y-CB-CH -
E) 3 VIDEO OUT jackE) DIGITAL COAXIAL AUDIO OUT Jack , E)
ANALOG AUDIO OUT (L/Fl) jacks E) , E) , E)
VIDEO OUTjaok'1_2),E),E)
Connections for remote control ( RI )
When connecting ONKYO products, it is necessary to attach the R I cable to be able to use the remote controller of the main component to
control the entire system.
1.To use this DVD player with an amplifier (or receiver), cassette tape deck and tuner with the RI symbol, insert the remote control
cable plugs into the REMOTE CONTROLjacks.
2.As the exact connection sequence of the RI cable is unimportant, you can connect from the amplifier (or receiver) to either the
tuner, the cassette tape deck or to the compact disc player.
3. using an RI equipped ONKYO amplifier (or receiver), to operate correctly, the remote controller must face towards the remote
control sensor of the amplifier (or receiver).
Notes:
- The upper and lower RI remote control jacks have the same function.
- Ftemote control operation is not possible when only the remote control cable is connected - the audio connection cables must also be
connected.
- An RI remote control cable equipped with a 1/8" (3.5mm) diameter miniature two-conductor phone plug is included with this unit
and with every tuner, compact disc player or cassette tape deck with the RI symbol.
Page 10
Identification of Controls (continued)
The instructions in this manual describe the controls on the remote controller. See the page in D for details.
Remote controller
ED
rPowznN 8:53;5
POWER button -t||:| = OPEN/CLOSE button
PLAY button F 5 FF 5"? FF (fast forward) button
FR (fast reverse) button « E] E] n PAUSE/STEP button E) ,
DOWN STOP \IP [Ll SLOW fit
DOWN button IQ) m [T] L r.» J SLOW button
STOP button E) Minn 5m UP button m)
MENU button* E) i SET UP button 31
Direction buttons ir-géffia L)
:) :) - E E) E
E:i>TElit>3utton D D D no; Eh: Swim] RETURN button
TITLE button E) I E AUDIO] KANGLE SUB LE {fl SUBTITLE button
AUDIO button g) thj% 58:75:51: SUBTITLE ON/OFF button
ANGLE b tt [RANDOM MEMORY
u on I] E] EL 1:1777 MEMORY button
zoom CLEAR RANDOM button E)
Number buttons E] E] E E: D: CLEAR button @Ig)
E) . Q) napant ZOOM button
7 a 9 ti-Bi r REPEAT button @
SEARCH H i A-B button E
[it [Lt DISPLAY
DISPLAY button
rw$j
DIMMER buttonE)
SEARCH button -
%
REMOTE CONTROLLER RC~407DV by onxyo
J * MENU button
Use the MENU button to display
the menu screen included on
DVD video. To operate a menu
screen, follow the instructions in
Locating a title using the title
menu 20
Page 12
12
Connecting to a TV
For details of Output sound, see -.
Connect the DVD player to yourTV.
Connecting to a
l Setting of the output sound type
From the on-screen displays, set the Audio Out Select" to Analog 20h.
$Improper connection
oommwzur
mm mm"
To wall outlet
\EI
To 8 VIDEO OUT
% %(white) % (red)
To ANALOG AUDIO OUT
Power In
t l P 9
(yellow)
To
VIDEO ,_t\ AudiOvideo cable (supplied)
OUT W
:> Signal flow
8 video cable (supplied)
one/l
To video input Egg To audio inputs
To 5 video input
If the TV has an S video input, connect the
DVD player with the supplied 8 video cable.
Notes:
- Refer to the instruction manual ot the connected TV and how to activate TV input as well.
- When you connect the DVD player to your TV, be sure to turn off the power and unplug both units from the wall outlet betore making
any connections.
M
atIuM)
(pat)
(
(
TV or monitor with
audio video inputs
- It your television set has one audio input, connect the DVD player to a Y cable adapter (not supplied) and then connect to your TV.
- Connect the DVD player to your TV directly. If you connect the DVD player to a VCR, TV/VCR combination or video selector, the
playback picture may be distorted as DVD discs are copy protected.
Connecting headphones
Connect headphones to the PHONES jack on the front panel using a
stereo plug.
Before connecting, temporarily turn down the volume with the PHONES
LEVEL volume. Readjust to your preference when playback begins.
wwzslzm
Page 13
Connecting to an Audio System or TV with
COMPONENT VIDEO Inputs
For details of Output sound, see -.
You can listen to the sound of audio CDs and DVD video in stereo and enjoy the enhanced picture quality of DVD
video on aTV with COMPONENT VIDEO inputs.
Connecting to an a
l Setting ot the output sound type
From the on-screen displays, set the Audio Out Select" to Analog 2ch".
fl
Improper connection
mm
To wall outlet
Power plug
To CR - % %
white) red
$ng ( ( ) To ANALOG AUDIO OUT
[:> Signal flow
ll (red) [CUE-Ea];
To audio inputs fl . 3-2: 0 O O
of the amplifier (white) Audio system
To CR video input
EMU?
To CB video input
EIHIIIIJ}
To Y video input
TV or monitor with
component signal inputs
COMPONENT VIDEO OUT (COLOR DIFFERENCE):
Some TVs or monitors are equipped with color difference inputs. Connecting to these inputs allows you to enjoy higher quality picture
playback.
Actual labels for color difference inputs may vary depending on the TV manutacturer. (ex. Y, B-Y, Ft-Y etc.)
In some TVs or monitors, the color levels of the playback picture may be reduced slightly or the tint may change. In such a case, adjust
the TV or monitor tor optimum pertormance.
Notes:
u Refer to the instruction manual of the connected equipment as well.
- When you connect the DVD player to other equipment, be sure to turn off the power and unplug all of the equipment from the wall
outlet before making any connections.
- If you place the DVD player near a tuner or radio, the radio broadcast sound might be distorted. In this case, place the DVD player
away trom the tuner and radio.
- The output sound of the DVD player has a wide dynamic range. Be sure to adjust the receivers volume to a moderate listening level.
Otherwise, the speakers may be damaged by a sudden high volume sound.
- Turn off the amplifier before you connect or disconnect the DVD players power cord. If you leave the amplitier power on, the
speakers may be damaged.
13