Onkyo DVC 501 Owners Manual

This is the 44 pages manual for Onkyo DVC 501 Owners Manual.
Read or download the pdf for free. If you want to contribute, please upload pdfs to audioservicemanuals.wetransfer.com.

Page: 1 / 44
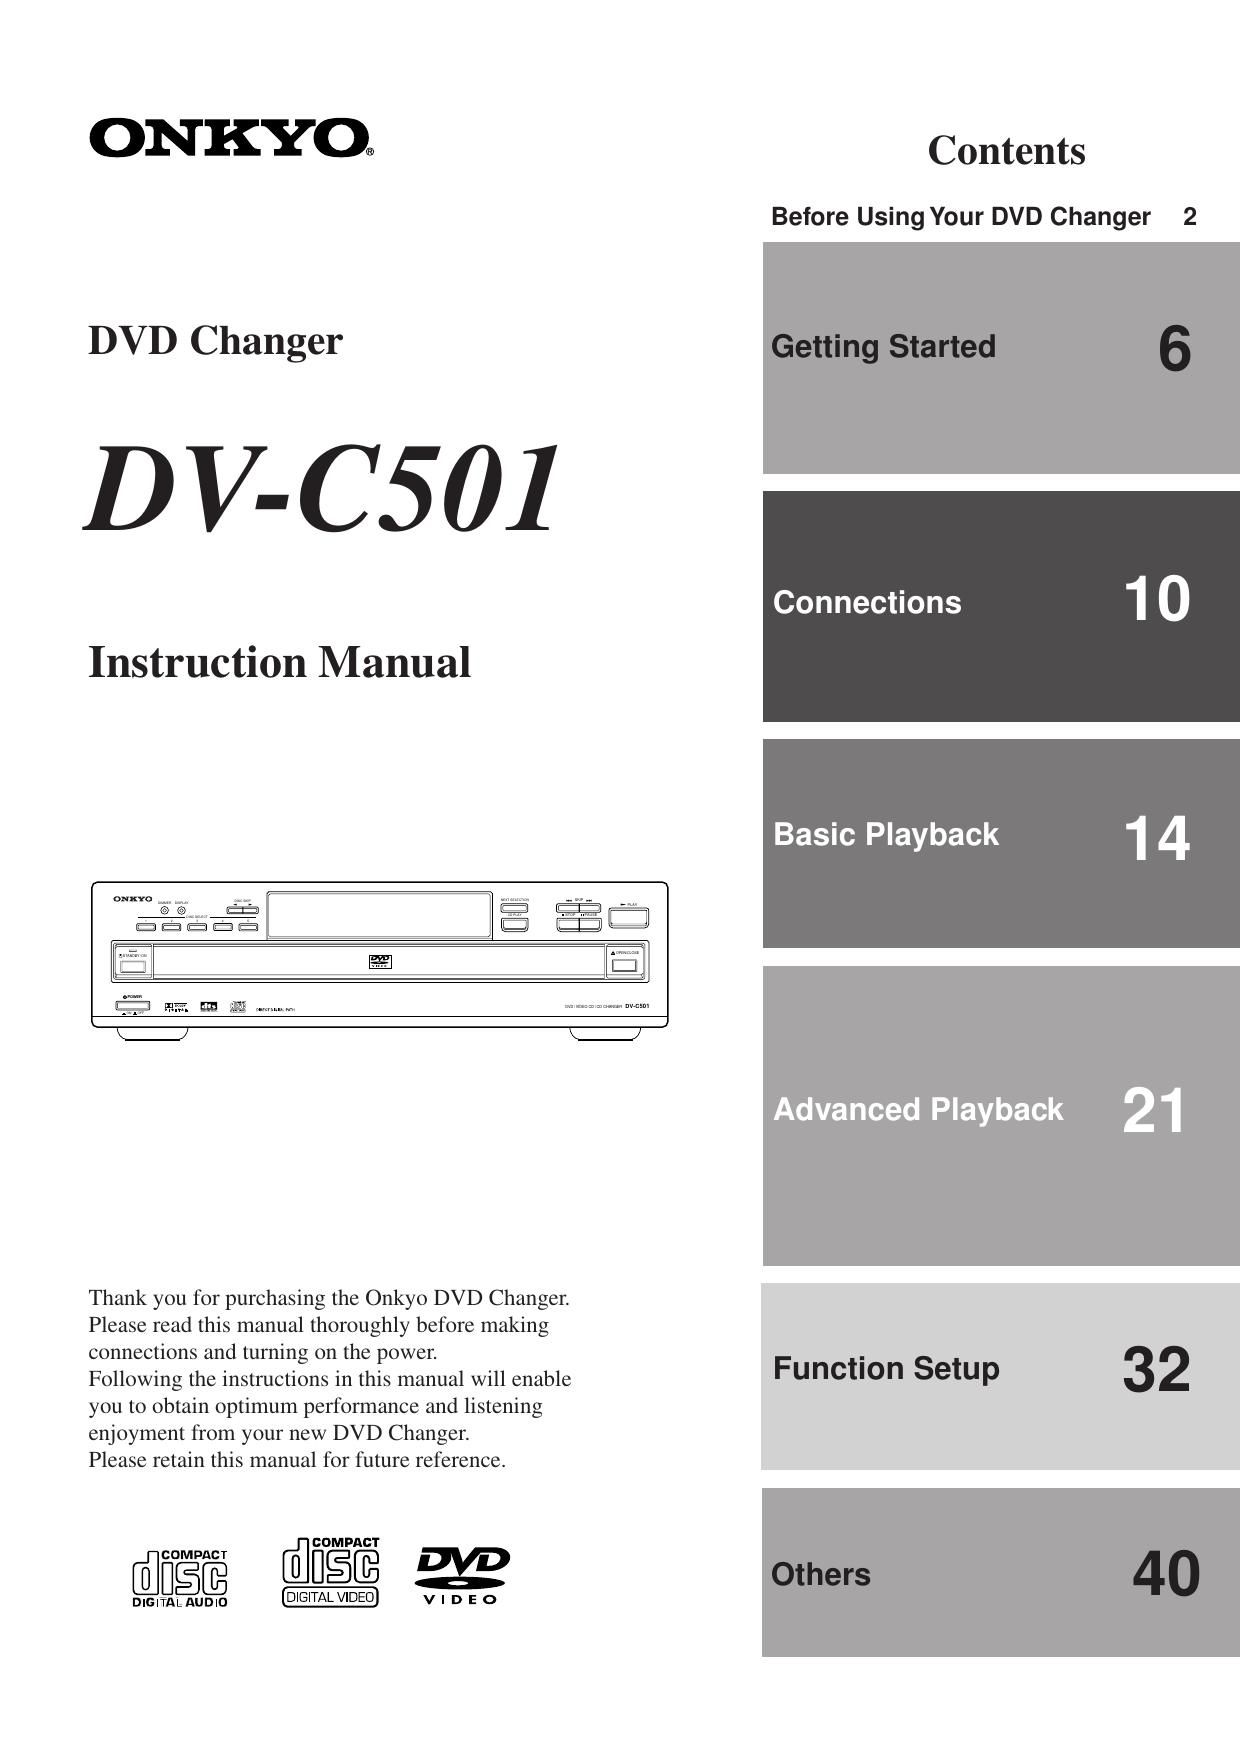
Onkyo DVC 501 Owners Manual

Extracted text from Onkyo DVC 501 Owners Manual (Ocr-read)


Page 1

ONKYO.

DVD Changer

DV-C501

Instruction Manual

Thank you for purchasing the Onkyo DVD Changer.
Please read this manual thoroughly before making
connections and turning on the power.

Following the instructions in this manual will enable
you to obtain optimum performance and listening
enjoyment from your new DVD Changer.

Please retain this manual for future reference.

(mag WEE"

DIGITALAUDID _GTAL V-DE'J v I D E o

Contents

Before Using Your DVD Changer 2

Connections 1 0

Basic Playback 1 4

Advanced Playback 21

Function Setup 32

Page 2

WARNING:

TO REDUCE THE RISK OF FIRE OR ELECTRIC SHOCK,
DO NOT EXPOSE THIS APPLIANCE TO RAIN OR
MOISTURE.

CAUTION:

TO REDUCE THE RISK OF ELECTRIC SHOCK, DO NOT
REMOVE COVER (OR BACK). NO USER-SERVICEABLE
PARTS INSIDE. REFER SERVICING TO QUALIFIED
SERVICE PERSONNEL.

The exclamation point within an equilateral triangle is intended to
alert the user to the presence of important operating and maintenance

AVIS

RISK OF ELECTRlC SHOCK HISOUE DE CHOC ELECTRIOUE
DO NOT OPEN NE PAS OUVHIR

The lightning flash with arrowhead symbol. within an equilateral
triangle, is intended to alert the user to the presence of uninsulaled
dangerous voltage" within the produets enclosure that may be of
sufficient magnitude to constitute a risk of electric shock to persons.

(servreing) instructions in the literature accompanying the appliance.

Important Safeguards

10.

11.

12.

Read Instructions -All the safety and operating instructions should
be read before the appliance is operated.

Retain Instructions- The safety and operating instructions should
be retained for future reference.

Heed Warnings-All warnings on the appliance and in the operating
instructions should be adhered to.

Follow Instructions -All operating and use instructions should be
followed.

Cleaning - Unplug the appliance from the wall outlet before cleaning.
The appliance should be cleaned only as recommended by the
manufacturer.

Attachments - Do not use attachments not recommended by the
appliance manufacturer as they may cause hazards.

Water and Moisture - Do not use the appliance near water -for
example, near a bath tub, wash bowl, kitchen sink, or laundry tub;
in a wet basement; or near a swimming pool; and the like.
Accessories - Do not place the appliance on an unstable cart,
stand, tripod, bracket, or table.The appliance may fall, causing
serious injury to a child or adult, and serious damage to the appliance.
Use only with a cart, stand, tripod, bracket, or table recommended
by the manufacturer, or sold with the
appliance. Any mounting of the
appliance should follow the
manufacturers instructions, and should
use a mounting accessory
recommended by the manufacturer.

PORTABLE CART WARNlNG

An appliance and cart combination
should be moved with care. Quick
stops, excessive force, and uneven
surfaces may cause the appliance and

cart combination to overturn. 532

Ventilation - Slots and openings in the cabinet are provided for
ventilation and to ensure reliable operation of the appliance and to
protect it from overheating, and these openings must not be blocked
or covered. The openings should never be blocked by placing the
appliance on a bed, sofa, rug, or other similar surface. The appliance
should not be placed in a built-in installation such as a bookcase or
rack unless proper ventilation is provided. There should be free space
of at least 5 cm (2 in.) and an opening behind the appliance.

Power Sources - The appliance should be operated only from the
type of power source indicated on the marking label. It you are not
sure of the type of power supply to your home, consult your appliance
dealer or local power company.

Grounding or Polarization - The appliance may be equipped with
a polarized alternating current line plug (a plug having one blade
wider than the other). This plug will fit into the power outlet only one
way. This is a safety feature. If you are unable to insert the plug fully
into the outlet, try reversing the plug. If the plug should still fail to fit,
contact your electrician to replace your obsolete outlet. Do not defeat
the safety purpose of the polarized plug.

13.

14.

15.

16.

17.

18.

19.

20.

21.

22.

Power-Cord Protection - Power-supply cords should be routed
so that they are not likely to be walked on or pinched by items placed
upon or against them, paying particular attention to cords at plugs,
convenience receptacles, and the point where they exit from the
appliance.

Lightning - For added protection for the appliance during a lightning
storm, or when it is left unattended and unused for long periods of
time, unplug it from the wall outlet and disconnect the antenna or
cable system. This will prevent damage to the appliance due to
lightning and power-line surges.

Overloading - Do not overload wall outlets, extension cords, or
integral convenience receptacles as this can result in a risk of fire or
electric shock.

Obiect and Liquid Entry- Never push objects of any kind into the
appliance through openings as they may touch dangerous voltage
points or short-out parts that could result in a fire or electric shock.
Never spill liquid of any kind on the appliance.

Servicing - Do not attempt to service the appliance yourself as
opening or removing covers may expose you to dangerous voltage
or other hazards. Refer all servicing to qualified service personnel.

Damage Requiring Service - Unplug the appliance form the wall
outlet and refer servicing to qualified service personnel under the
following conditions:

A. When the power-supply cord or plug is damaged,

B. If liquid has been spilled, or objects have fallen into the appliance,
C. If the appliance has been exposed to rain or water,

D

. If the appliance does not operate normally by following the
operating instructions. Adjust only those controls that are covered
by the operating instructions as an improper adjustment of other
controls may result in damage and will often require extensive
work by a qualified technician to restore the appliance to its normal
operation,

E. If the appliance has been dropped or damaged in any way, and

F. When the appliance exhibits a distinct change in performance -
this indicates a need for service.

Replacement Parts - When replacement parts are required, be
sure the service technician has used replacement parts specified
by the manufacturer or have the same characteristics as the original
part. Unauthorized substitutions may result in fire, electric shock, or
other hazards.

Safety Check - Upon completion of any service or repairs to the
appliance, ask the service technician to perform safety checks to
determine that the appliance is in proper operation condition.

Wall or Ceiling Mounting - The appliance should be mounted to a
wall or ceiling only as recommended by the manufacturer.

Heat - The appliance should be situated away from heat sources
such as radiators, heat registers, stoves, or other appliances
(including amplifiers) that produce heat.

Page 11

Connecting to an Audio System and TV with
COMPONENT VIDEO Inputs

I It is also possible to split the audio and video signals by sending the video signal to your TV set and
the audio signal to an amplifier. Doing so has the advantage that you can:

- Listen to the sound of audio CDs and DVD video discs in stereo (via the amplifier) or in Dolby Digital, Dolby Pro Logic
Surround or DTS (see pages 12, 13);

- Enjoy a better picture quality of DVD video discs on a TV equipped with Component Video inputs than would be possible via
an S-video connection.

Notes

- See also the manuals of your audio amplitier and TV set for establishing the correct connections and making the required settings.

- Before connecting the DVD Changer to other equipment, be sure to turn off the power and unplug all components from the wall outlet.

- This DVD Changer outputs a very dynamic audio signal. Be sure to set the amplifiers volume to a moderate listening level to avoid damaging
your speakers due to sudden volume surges.

- Switch off the amplitier or select another input source before connecting or disconnecting the DVD Changers power cable. If you leave the
amplifier power on, the speakers may be damaged.

Your DV-CSOt provides several options for audio playback: you can use the analog or one of the digital audio outputs. If your

amplifier only provides analog inputs, use the DV-CSOt s ANALOG OUTPUTS and select them via the on-screen menu (Analog 9
2ch). See Audio Settings on page 36 for details. 3
3.
5'
:l
in
© © ©
1:, SET" a a pm; i
35") Do not plug in the
L @ power cable until

a @ all connections
have been made.


Power cable

% g % (red) (white) (Included)

TOY To PE To PR To wall outlet
VIDEO VIDEO VIDEO T ANALOG
our our our ALDIO our (See page 10)

To audio inputs (red)

of the amplifier E

a C 0
(white) 0
Audio system

To PR video input O

IItIIIIIIIla
To PB Video input

W I
To Y Video input

Emil}? __ T

|:> Signal flow

TV or monitor with

component signal inputs

I COMPONENT VIDEO OUT (COLOR DIFFERENCE):

Some TVs or monitors are equipped with Color Difference inputs. Connecting the DV»0501 to these inputs allows you to enjoy a
better picture quality. Be sure to match the DV-C501's VIDEO OUTPUTs with the Component Video inputs of your TV or monitor
(see the illustration).

Actual labels for the Color Difference inputs may vary depending on the TV manufacturer (e.g. Y, B-Y, Ft»Y, etc.).

On some TVs or monitors, the color levels of the picture may be reduced slightly, or the tint may change. In such cases, adjust
the TV or monitor for optimum performance.

Note:

- If you place the DVD Changer near a tuner or radio, the radio reception might be distorted due to interference. In this case, locate the DV-
0501 away from the tuner or radio.

11

Page 18

Locating Titles, Chapters, or Tracks

18

DVD video (1156

Title 1 Title 2

VIDEO (ID/Audio CD

Chapter 1

Chapter 2

Chapter 1 Chapter 2 Chapter 3

\ a»:

Track 1

Track 2

Track 3

Track 4 Track 5

m NllinrNI lmmllirmwl lmnw

Normally, DVD video discs are divided into titles", while the titles are themselves sub-divided into chapters".
VIDEO CDs and audio CDs are divided into tracks. You can quickly locate any specific title, chapter, or track.

DVD DVD*
Locating a Title Using the Title Menu Title Selection with the Numeric Buttons

If the DVD video disc you are playing back contains a title
menu, you can locate any specific title you wish to play back.

If the selected DVD video disc contains Title numbers, you
can select the desired title by entering its number.

1

TOP MENU

Press the TOP MENU button.
ATitle menu like the following appears:

\

2

i

3

Use the A / V / 4 / > buttons to select
the title you want to watch.

It the titles in the Title menu are assigned
a number, you can directly select the
desired title using the numeric buttons on
the remote controller.

ENTER

%

Press the ENTER button.

The DVD Changer starts playback from
Chapter 1 of the selected title.

Notes:

- The above instructions correspond to the basic procedure. Please
note that the exact steps may depend on the contents of the
selected DVD video disc. If different instructions appear on the TV
screen, follow those instructions.

- If you display the Title menu during playback and press the TOP
MENU button again without selecting atitle, the DVD Changer
resumes playback from the point where you first pressed the TOP

MENU button.

Press the SEARCH button.

SEARCH . .
Check whether the Title number is
highlighted. If it is not, press A to select it.
Example:
Titl
Chapte 1
2 El 12 13 Press the numeric button of the Title
El E E you wish to select.
[41 L] E To select a two-digit title, press the digits
in order of magnitude (e.g., for 32, press
i3

3" then 2).

To select Title 2, press [2].

Title:
Chapter: 1

To select Title 12, press [1] or [+10] once, then [2].

STE Title:

or Chapter 1

-->l:l

A

....
%

Press the > PLAY button.

The DVD Changer starts playback from
Chapter 1 of the selected title. You can
also select another Chapter before
starting playback.

Notes:

- Press the CLEAR button if you do not wish to start playback from
the Title number you have just entered (before pressing the >
PLAY button). Pressing CLEAR several times will reset both the Title
and Chapter numbers. (SEARCH also allows you to directly select
the desired Chapter, see next page.)

- See pages 32, 34 for how to select the languages for the on-screen

menu displays.