Onkyo CP 1140 F Service Manual

This is the 9 pages manual for Onkyo CP 1140 F Service Manual.
Read or download the pdf for free. If you want to contribute, please upload pdfs to audioservicemanuals.wetransfer.com.

Page: 1 / 9
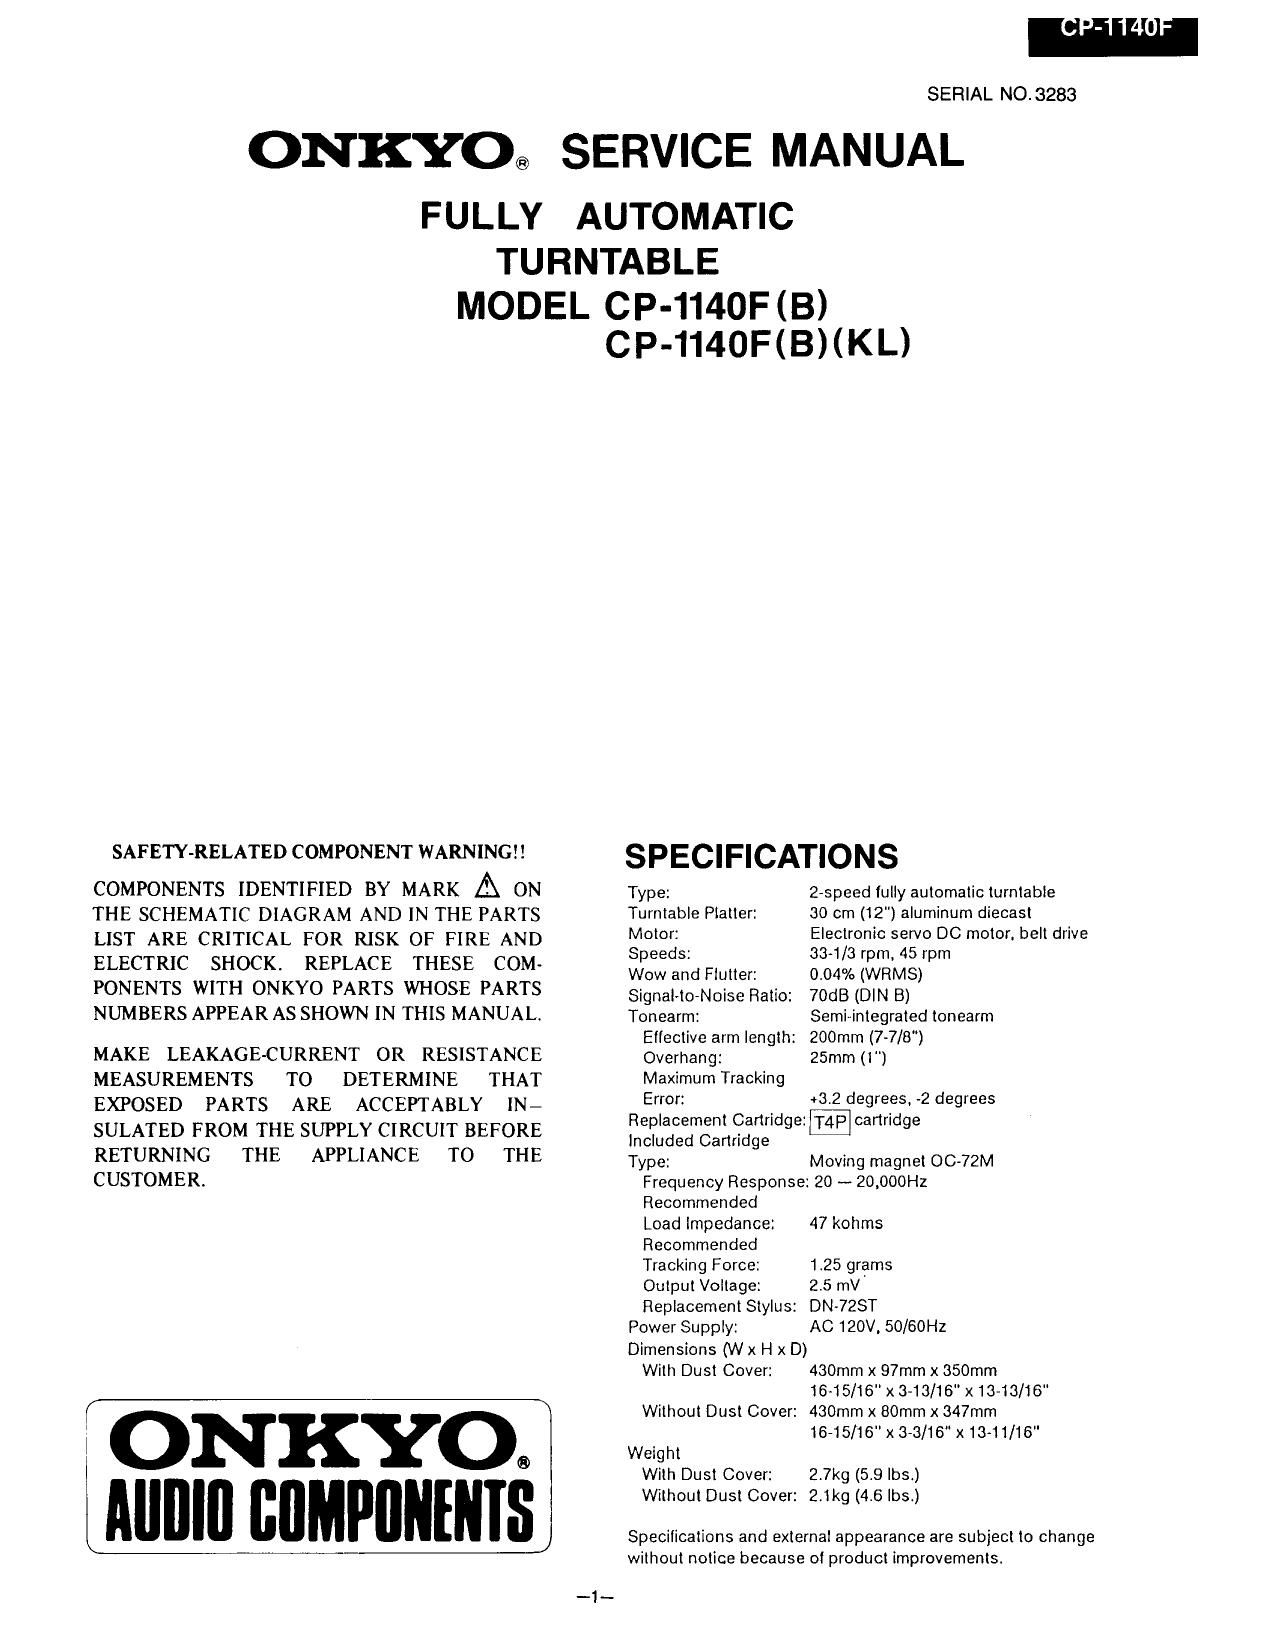
Onkyo CP 1140 F Service Manual

Extracted text from Onkyo CP 1140 F Service Manual (Ocr-read)


Page 1

SERIAL NO.3283

ONKYO® SERVICE MANUAL

FULLY AUTOMATIC
TURNTABLE

MODEL CP-1140F(B)
CP-1140F(B)(KL)

SAFETY-RELATED COMPONENT WARNING! I

COMPONENTS IDENTIFIED BY MARK A ON
THE SCHEMATIC DIAGRAM AND IN THE PARTS
LIST ARE CRITICAL FOR RISK OF FIRE AND
ELECTRIC SHOCK. REPLACE THESE COM-
PONENTS WITH ONKYO PARTS WHOSE PARTS
NUMBERS APPEAR AS SHOWN IN THIS MANUAL.

MAKE LEAKAGE-CURRENT OR RESISTANCE
MEASUREMENTS TO DETERMINE THAT
EXPOSED PARTS ARE ACCEPTABLY IN-
SULATED FROM THE SUPPLY CIRCUIT BEFORE
RETURNING THE APPLIANCE TO THE
CUSTOMER.

. ONKYO.
lAllllllI BIIMPiitiitiiS

SPECIFICATIONS
Type: erpeed lully automatic turntable
Turntable Platter: 30 cm (12") aluminum diecast
Motor: Electronic servo DC- motor. belt drive
Speeds: 33-1/3 rpm, 45 rpm
Wow and Flutter: 0,04% (WRMS)
SignalvtorNoise Ratio: 70dB (DIN B)
Tonearm: Semi-integrated tonearm
Eilective arm length: 200mm (7-7/8")
Overhang: 25mm (1)
Maximum Tracking
Error: +8.2 degrees, »2 degrees

Replacement Cartridge:lT4P cartridge
included Cartridge

Type: Moving magnet OC-72M
Frequency Response: 20 - 20.000Hz
Recommended
Load Impedance: 47 kohms
Recommended
Tracking Force: 125 grams
Output Voltage: 2.5 mV'

Replacement Stylus: DN~7ZST
Power Supply: AC 120V. 50/60Hz

Dimensions (W x H x D)
With Dust Cover: 430mm x 97mm x 350mm
16~15/16"x3713/16" x 13713/t6"
Without Dust Cover: 430mm x 80mm x 347mm
16-15/16" x 3-3/16"x13-11/16"
Weight
With Dust Cover: 2.7kg (5.9 lbs.)
Without Dust Cover: 2.1kg (4.6 lbs.)

Specifications and external appearance are subject to change
without notice because of product improvements.

I

Page 2

I

SERVICE PROCEDURES

1. Upper surface

1-1. Method for removing the dust cover and hinge

1. Open the dust cover,
2. Hold the hinge section shown in Fig. 7 and pull out the dust cover.
3. Remove the hinge by tapping from the back of the cabinet.

1-2. Method for removing the size selector (Fig. 6)

1. Remove the platter.
2. Remove the lug of the detection plate.

1-3. Method for removing the 45 adapter (Fig. 6)

1. Remove the platter.
2. Turn the 45 adapter counterclockwise, push the section
indicated by the arrows, and the lugs will separate.

1-4. Method for removing the arm cover

1. Remove the platter.

2. Remove the 2 caps shown in Fig. 8.

3. Remove the 2 screws underneath the caps.
4. Pull up the cover.

1-5. Method for removing the cartridge
Remove the attachment screws of the cartridge and pull out the

cartridge.

1-6. Method for removing the arm rest
Pull up the arm rest.

2. Lower surface

2-1. Method for removing the bottom board (Fig. 9)

1. Remove the platter.
2. Fasten the arm to the hook.
3. Turn the set upside down and remove the 10 fastening screws.

9.- -<0

Flg. 9