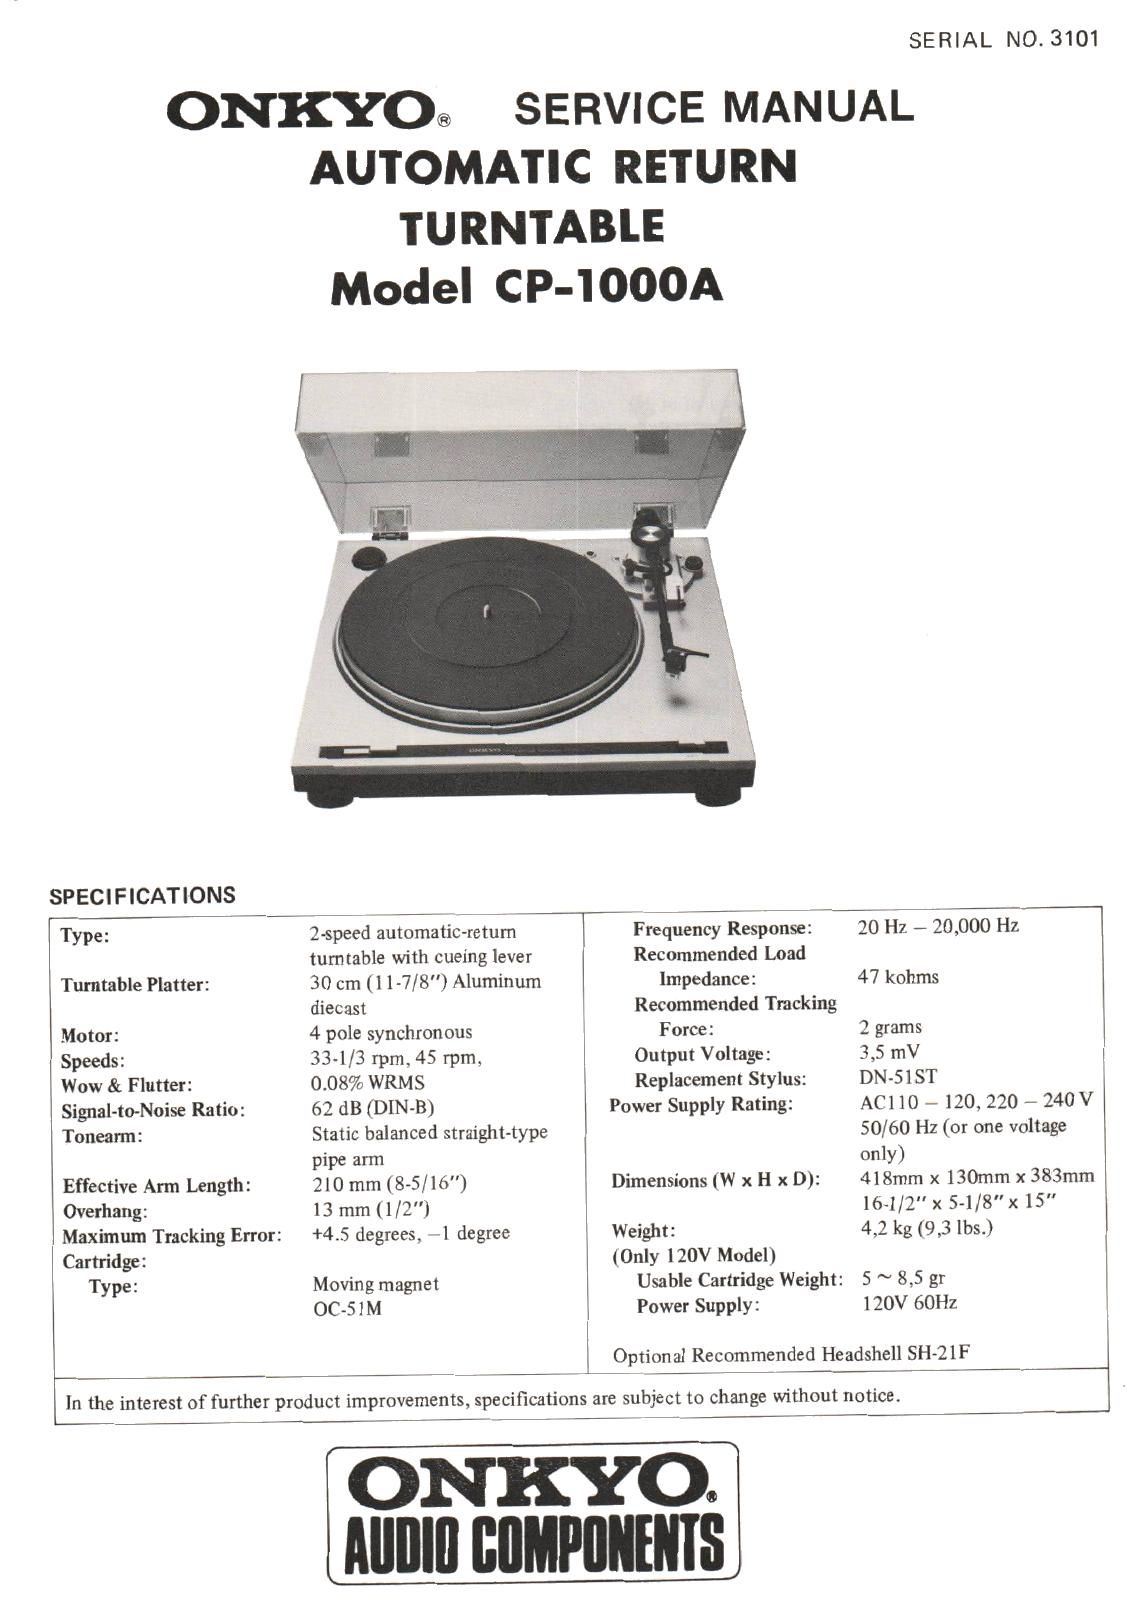
Onkyo CP 1000 A Service Manual
This is the 4 pages manual for Onkyo CP 1000 A Service Manual.
Read or download the pdf for free. If you want to contribute, please upload pdfs to audioservicemanuals.wetransfer.com.
Extracted text from Onkyo CP 1000 A Service Manual (Ocr-read)
Page 1
ONKYO®
SPECIFICATIONS
AUTOMATIC RETURN
TURNTABLE
Model CP-IOOOA
SERIAL NO. 3101
SERVICE MANUAL
Type :
Turntable Platter:
Motor:
Speeds:
Wow & Flutter:
Signal-to~Noise Ratio:
Toneann:
Effective Arm Length:
Overhang:
Maximum Tracking Error:
Cartridge:
Type:
2-speed automatic-retum
turntable with cueing lever
30 cm (1 1-7/8") Aluminum
diecast
4 pole synchronous
33-1/3 rpm. 45 rpm,
0.08% WRMS
62 dB (DIN-B)
Static balanced Straight-type
pipe arm
210 mm (8-5/16)
13 mm (1/2")
+4.5 degrees. 71 degree
Moving magnet
0051M
Frequency Response:
Recommended Load
Impedance:
Recommended Tracking
Force:
Output Voltage:
Replacement Stylus:
Power Supply Rating:
Dimensions (W x H x D):
Weight:
(Only 120V Model)
Usable Cartridge Weight:
Power SUpply:
20 Hz 7 20,000 Hz
47 kohms
2 grams
3,5 mV
DN»SIST
AC110 - 120, 220 r 240V
50/60 Hz (or one voltage
only}
418mm x 130mm x 383mm
16-1/2" x 5-1/8" x15"
4,2 kg (9,3 lbs.)
5 ~ 8,5 gr
120V 60Hz
Optional Recommended Headshell SH~21F
In the interest of further product improvements, specifications are subject to change without notice.
ONKYO.
Mllllll lillMPllllllllS
Page 2
('I [000 \
2. SERVICE PROCEDURES AND ADJUSTMENTS
1. POWER SUPPLY VOLTAGES
Before connecting the unit to an AC outlet, check
whether it is set for the local AC voltage. The turntable
may be set to operate at either 110~ 120V or 220 ~
240V. The voltage selector is under the turntable. In
almost all cases, the frequency is preset to 50 Hz.
Bell guide
Motov pullev
I:l3|:l:l
220 240 In] 120 220 240 Ht! 120
2. CHANGES IN FREQUENCY
In order to comply with a frequency of 60 Hz, replace
the motor pulley with the extra one included in the V""399 59'9
accessories. Use a small-size standard screwdriver. During
this operation, set the speed selector to the 33 rpm
position and be sure that the top surfaces of the pulley
and belt guide are even as shown in the diagram of right
side.
so Hz Pulley groove
3. AUTOMATIC SHUT-OFF POSITION ADJUSTMENT
Adjust the shutoff position with the fine adjustment
screw. After fine adjustment, apply Iock-tite to the
screw. To adjust the shut-off position for earlier, turn
the screw counterclockwise. To adjust the shut-off
position for later, turn the screw clockwise.
Adjustment
screw
4. ELEVATION PLATE ADJUSTMENT
Adjust the elevation plate height with the screw. (See grim
fig-4) To adjust the height for higher, tum the screw
counterclockwise.
To adjust the height for lower, turn the screw clockwise. Emma" plate
5. OVERHANG ADJUSTMENT
Adjust so the distance between the stylus tip and the
base of the headshell is 30 mm (1-3/16") and tighten
the screws. This assures the effective length and over-
hang of the tonearm are correct.
(1 3/16)