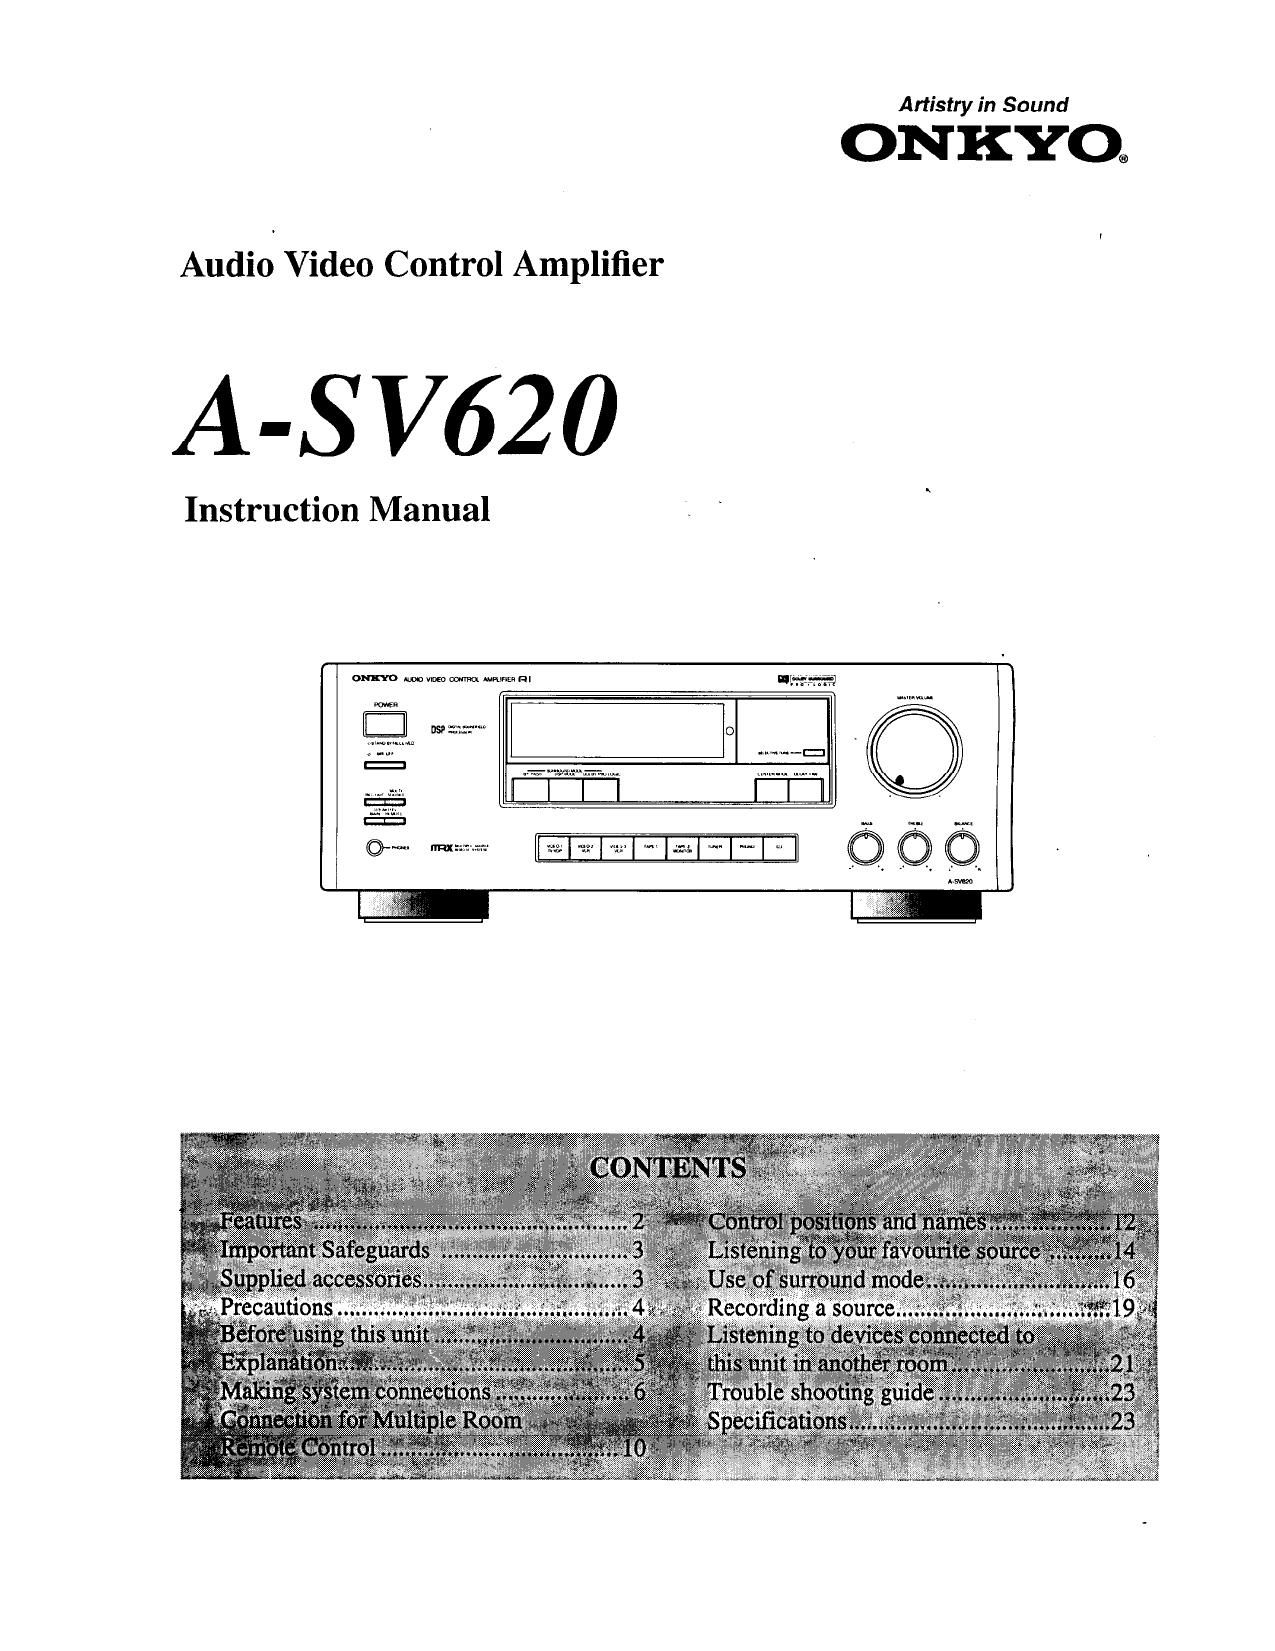
Onkyo ASV 620 Owners Manual
This is the 25 pages manual for Onkyo ASV 620 Owners Manual.
Read or download the pdf for free. If you want to contribute, please upload pdfs to audioservicemanuals.wetransfer.com.
Extracted text from Onkyo ASV 620 Owners Manual (Ocr-read)
Page 2
Thank yOu for your purchase of the Onkyo
Amplifier.
Please read this manual thoroughly before making con-
nections and turning on the power.
Following the instructions in this manual will enable
you to obtain optimum performance and listening
enjoyment from your new Amplifier.
Please retain this manual for future reference.
Features
I Powerful AN Amplifier with Discrete Outputs
Plenty of pristine power drives your home theater system to
perfection. In surround mode you get 75 watts per channel (8
ohms) to your from UK and center speakers. plus 25 watts per
channel to your L/R surround speakers.
Stereo mode: l20 watts per channel (8 ohms). Discrete output
stage circuitry for all channels and heavy-duty power supplies
help the A-SV620 excel at driving accurately the most demand-
ing low-impedance speakers.
I Dolby Pro Logic 8; 4 Digital Soundfields
In addition to fully digital Dolby Pro Logic (for the most aceuA
rate surround sound). the A-SV620 gives you a choice of four
ambience-producing DSP surround modes (Theater, Hall. Live
and Arena) so you can select the listening environment that
best suits your source and your mood.
I IIM System
Onkyos Intelligent Power Management (IPM) system
switches on the A-SVoZO and automatically selects Video-l
when you turn on your TV, giving you instant surround sound.
I Multiroom and Multisouree Capability
You can listen to a CD in the bedroom while someone else
enjoys the radio or any other source in the main room.
{Requires additional .rpeukcrx and aplimml au-esroriex. The
nr'ctcrxory llt'l'tAAtniLx may difltl, depending an area where
sold. Your authorized Oukyo service center has details. )
I RI Compatible Remote Control
Onkyos RI (Remote Interactive) remote control gives you
command of the major functions of virtually any Onkyo com-
ponent that bears the RI symbol.
I Useful Extras Youll Enjoy
a 3 Video find (i audio inputs: For all your present and future
AV needs.
0 Heavy-duty, multiway binding posts for front L/R speak-
ers: They offer higher quality, more dependable, loss-free
speaker connection and can easily accommodate large
speaker lugs.
0 Recording selector: You can listen to a different source
while you record, or put background music on videos.
0 Selective tone control: Boosts those low 50Hz»range bass
frequencies and extends the treble range without discolora»
lion.
0 Subwooter Preout terminal: Lets you easily plug in a sub-
woofer for low»bass excitement.
- Motor-driven volume control: Minimizes the possibility of
signal degradation.
0 Battery-free memory backup: Protects the memorys con-
tents during a power outage, or when you unplug the ampli-
tier.
0 Sleep timer: Shuts down your system after youve gone to
sleep.
t OR USA/MODE
FCC INFORMATION FOR USER
CAUTION:
Changes or modifications not expressly approved by the manu-
facturer for compliance could void the user's authority to oper-
ate the equipment.
NOTE:
This equipment has been tested and found to comply with the
limits for a Class B digital device. pursuant to Part IS of the
FCC Rules. These limits are designed to provide reasonable
protection against harmful interference in a residential installa-
tion, This equipment generates. uses, and can radiate radio fre-
quency energy and, if not in alled and used in accordance with
the instructions. may cause harmful interference to radio com-
munications. However. there is no guarantee that interference
will not occur in a particular installation. Ifthis equipment does
cause harmful interference to radio or television reception,
which can be determined by turning the equipment off and on,
theuser is encouraged to try to correct the interference by one
or more of the following measures:
0 Reorient or relocate the receiving antenna.
0 Increase the separation between the equipment and receiver.
0 Connect the equipment into an outlet on a circuit different
from that to which the receiver is connected.
0 Consult the dealer or an experienced radio/TV technician
for help.
o For models having a power cord with a polarized plug.
CAUTION: TO PREVENT ELECTRIC SHOCK, MATCH
WIDE BLADE OF PLUG TO WIDE SLOT, FULLY INSERT.
0 THIS DIGITAL APPARATUS DOES NOT EXCEED THE
CLASS B LIMITS FOR RADIO NOISE EMISSION FROM
DIGITAL APPARATUS SET OUT IN THE RADIO INTER-
FERENCE REGULATIONS OF THE CANADIAN
DEPARTMENT OF COMMUNICATIONS.
o Sur les modeles dont Ia tiehe est polarisée.
ATTENTION: POUR EvrrER Ltss CHOCS ELEC-
TRIQUES, INTRODUIRE LA LAME LA PLUS LARGE DE LA
FICHE DANS LA BORNE CORRESPONDANTE DE LA PRISE
ET POUSSER .IUSQUAU FOND.
o LINTERFERENCE. RADIO ELECTRIQUE GENEREE PAR
CET APPAREIL NUMERIQUE DE TYPE B NE DEPASSE
PAS LES LIMITES ENONCEES DANS LE REGLEMENT
SUL LES PERTURBATIONS RADIO ELECTRIQUES, sec.
TlON APPAREIL NUMERIQUE, DU MINISTERE DES
COMMUNICATIONS
WW TWW . .mm
' FOR EUROPEAN MO E
I This apparatus complies with requirements of EC directive 87/
308/EEC.
0 Replacement and mounting of an AC plug on the power supply
cord of this unit should be performed only by qualified service
personnel.
0 IMPORTANT: The wires in the mains lead are coloured in
accordance with the following code:
Blue: Neutral
Brown: Live
As the colours of the wires in the mains lead of this apparatus may
not correspond with the coloured markings identifying the termi
nals in your plug, proceed as follows:
The wire which is coloured blue must be connected to the terminal
which is marked with the letter N or coloured black.
The wire which is coloured brown must be connected to the termi-
nal which is marked with the letter L or coloured red.
For USA and Canada
a Manufactured under license from Dolby Laboratories
Licensing Corporation.
Additionally licensed under Canadian number 1,037,877.
Dolby", Pro Logic. and the double-D symbol are trade-
marks of Dolby Laboratories Licensing Corporation.
Page 14
14
Listening to your favourite source
6
Remote control
MAIN
INPUT SELECTOR
K: :1 D
Hemotacontrol ~ TUNER FHONO cu
Remote control
C]
A
VOLUME
D
Jlnnununm
[l
D
[l
[l
Before plugging in the unit. confirm that all connections have been
made properly,
1. Insert the AC power supply cord into the wall outlet.
The STANDBY/RECEIVED indicator comes on
2. Press the POWER button to turn on the power.
3. Press the MAIN speakers button.
MAIN indicator lights up.
4. Press the desired input selector button.
Confirm that the TAPE-2 MONITOR indicator is off when a
source other than the TAPE-2 MONITOR has been selected.
Also check the audio muting is off.
5. Start the selected input source playing.
Follow the operating instructions ofthal unit
6. Adjust the volume to appropriate level using the MASTER
VOLUME knob or VOLUME A/V buttons on the remote
control.
7. Adjust the tone controls.
Page 24
Trouble shooting guide
NOTE:
If a problem occurs while you are using the remote control, first
operate the unit using the front panel controls to confirm that it
is not due to a malfunction (or worn out batteries) of the remote
control.
Trouble Cause Remedy
No power. 0 Power cord is disconnected. 0 Connect power cord,
o There is external noise in the computer 0 Turn the power button oft and then on again or
drcuits oi the A-SV620. remove the Ac plug from the outlet and then plug it
- AC lose blown. again.
o Contact your ONKYO service center, .
Power but no sound. 0 Tape-2 monitor switch on, 0 Switch to oft.
0 Audio muting switch on. o Switch to oil by remote control transmitter
0 Bad connections. o Check connections, speaker leads, etc.
o Amplifier protection circuitry has been o Contact your ONKYO service center.
activated. (PROTECT will be displayed.)
Hum. low-frequency noise. 0 Poor or no input ground. 0 Check outer conductor of input plugs.
o Poor or no phone motor ground. 0 Check for proper ground connection.
o The placement of the audio connection 0 Adjust the placement of the cables to reduce hum.
cable on the rear panel is not correct.
Howling when the volume is turned up. 0 Turntable and speakers are too close 0 Move them farther apart.
together.
Rough or scratchy sound. High range is o Stylus oipick-upis worn. o Replace.
not clear. 0 Stylus tip is dirty. 0 Clean,
0 Treble control too high. o Turn treble control down.
The multiple room remote system does 0 Connection is wrong. 0 Check the connection again.
not operate. o The MR OFF button on the A-SV620 is o Press the MR OFF button. (The MR OFF indicator
engaged. (The MR OFF indicator will will be turned OFF.)
light.)
Front panel controls function but remote o No batteries in remote control transmit- 9 Insert batteries.
control transmitter does not. ter. ,
o Batteries have worn out. 0 Replace batteries.
Also reter to the respective instruction manuals of the video disc player, video cassette recorder, TV monitor, etc, being used.
Specifications
AMPLIFIER SECTION
Power Output:
Front L/R channels
I20 watts per 1
"Inns. limit chin
to 20.000 1., with no more than 0.08%
Phone Overloa
Frequency Res
RIAA Deviation:
total harmonic disturtion.
Continuous power output:
2 x I40 watts at 8 ohms (DIN)
Surround mode and Multi source mode
Front UR and center channels
impedance:
75W+75W+7SW(1KH2 0.08% Sohms)
Rear channels (Rear only driven)
25 W+25 W (i kHz 0.8 % Sohms)
Remote channels
GENERAL
Powchupply:
7SW+75W(| kHz 0.1% Sohms)
1M Distortion:
Damping F
input scnsi
es and impedance:
0.08% at rated power (FRONT)
r: 60 at 8 ohms (FRONT)
Phone: 2.5 ntV/50 kohms
CD/Tuncr/Tnpc piayNideo in:
ISO mV/SO kohtns .
Output Icvcl and impedance: M3-
Ttlpc rec/Video out: [50 mV/2.2 kohms
Pr: out (SUBWOOFER): I V/2.2 kohms
Dimensions (W x H )< D):
d: lzo mV RMS. at l.000 HZ. 0.5% THD.
ponse: 20 I0 30,000 Hz, +l-l up
20 to 20.000 Hz, +/»0.s dB
. . Tonc Control: BASS: +/-l0 til: at I00 H7.
dm'zl'," rim-.3001: TREBLE: u-tt) alt at I0,0tl0 Hz
Signal to Noixc Ratio: PHONO: 80 dB (iHF A. 5 mV input)
CD/TAPE: 100 dB (lHF A)
Muting: - °° dB
VIDEO SECTION
Signal sensitivity and
Input. output: 1 Vp»p. 75 ohms
USA & Canadian models
ACIZO V, 60 Hz
European models
AC230 V. 50 Hz
Worldwide models
i20 and 220 V switchable, 50/60 Hz
455 X I70 X 389 mm
I7-15/l6"x6-ll/16"x iii/IE"
12.1 kg (26.7 lbs)
Specifications and features are subject to change without notice.
durc bclowt
l. Press and hold down the VIDEOJ button, then press the POWER button.
2. After clear is displayed. the pmscl memory and each mode stored in the memory. such as surround, are initialized and will return to the factory settings.
This device employs a microcomputer to perform various functions and operations. if interference generated by an external power supply, radio waves, or other
electrical source results in an accident which causes the specified operations and functions to operate abnonnuliy, To perform a reset. please follow the proce-
23