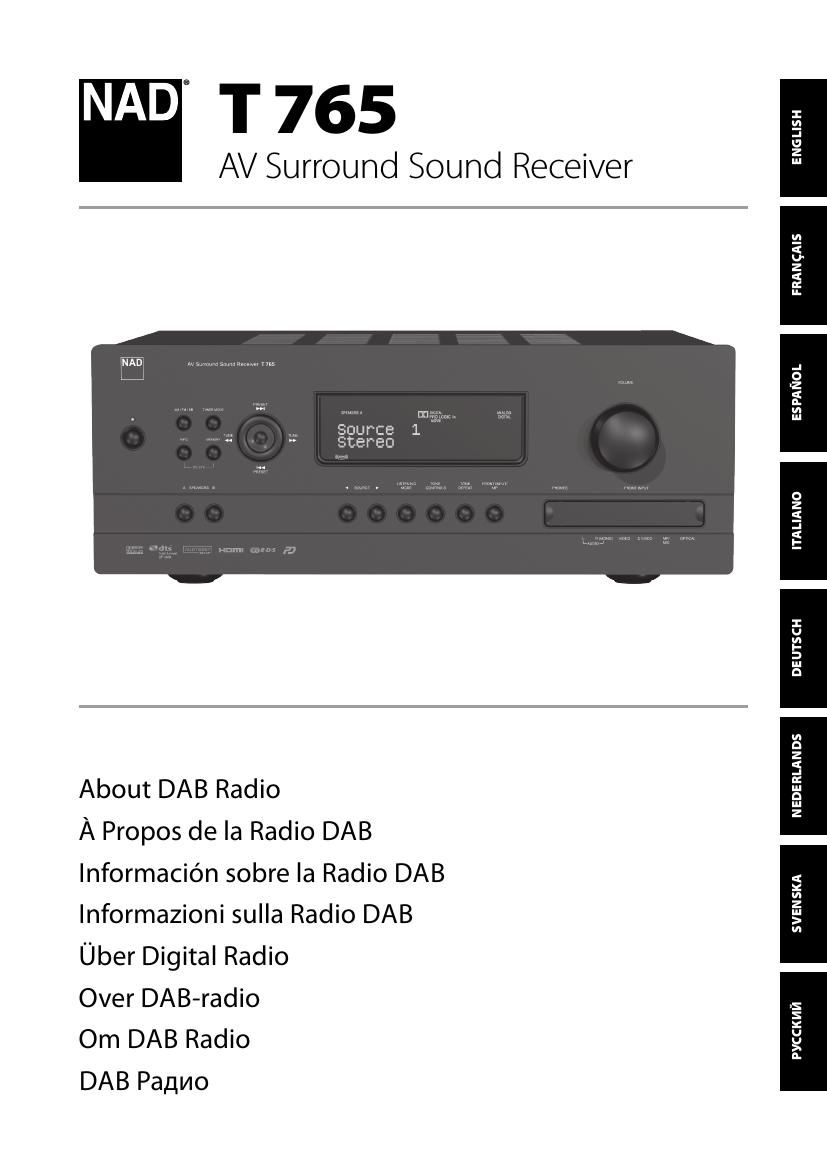
Nad T 765 Owners Manual
This is the 5 pages manual for Nad T 765 Owners Manual.
Read or download the pdf for free. If you want to contribute, please upload pdfs to audioservicemanuals.wetransfer.com.
Extracted text from Nad T 765 Owners Manual (Ocr-read)
Page 1
Until now, analogue radio signals such as FM or AM have been subject to numerous kinds of interference on their way from the transmitter to your radio. These problems were caused by mountains, high-rise buildings and weather conditions. With Digital Audio Broadcast (DAB), you can now receive CD-like quality radio programs without any annoying interference and signal distortion. DAB broadcasts use digital signals rather than traditional analogue transmissions, thus providing clear high quality reception. You get far more robust reception and virtually hiss or crackle free sound with DAB as long as you are within a good coverage area. With DAB, the listener can scroll through a list of available stations - then instantly tune to the station of his choice. There is no need either to remember channel frequencies. All broadcasts are selected by simply selecting the service name. The T 765 makes it possible for you to enjoy listening to DAB broadcasts. The T 765 has a Digital Audio Broadcast (DAB) module socket on the rear panel for adding a separately sold and NAD-specified outboard DAB module – the NAD DAB Adaptor DB 1. All the control software for this format is included; just plug-in the module and start enjoying the CD-like quality sound and expansive content selection available with DAB. CONNECTING THE DAB MODULE Plug-in the other end of the DIN connector (supplied with your NAD DAB Adaptor DB 1) from the DAB modules output port into the corresponding DAB module input socket on the rear panel of the T 765. Select DAB mode on the T 765 by toggling the [AM/FM/DB] button in the front panel. NOTES - Please refer to NAD DAB Adaptor DB 1 installation guide for proper setup connection of the DB1 with respect to the T 765. - If there is no NAD DAB Adaptor DB 1 connected, the VFD will show Check DAB Tuner. DAB OPERATION With the separately sold NAD DAB Adaptor DB1 already connected to the T 765, you can now carry out the T 765 to receive DAB broadcasts. 1 Toggle [AM/FM/DB] button until DAB mode. The VFD will show No Service List indicating that there are no scanned DAB broadcast services yet. This is the default mode of the DB1. 2 To tune to DAB broadcast services, press [ TUNER MODE] and then toggle the front panels [ TUNE / ] to select either Full Scan or Local Scan. FULL SCAN will enable the scanning of the full range of digital frequencies (Band III and L-Band). LOCAL SCAN performs local scanning of available DAB services in your area. Check with your dealer or visit www.WorldDAB.org to check the applicable digital transmission frequencies in your area. 3 Upon selecting either Full Scan or Local Scan, automatic scanning will be performed. This sequence cannot be interrupted. During the sequence, the following message will be visible in the VFD. The bars show the progress of the sequence. When scanning is completed, the last number shown on the right side of the VFD corresponds to the total number of DAB broadcast stations found. Then, the first station is tuned in (See ALPHANUMERIC section below to understand the order or arrangement of stations). 4 The strength of the incoming signal can be shown on the VFD by pressing the [ENTER] button. The more segments visible in the lower display line, the stronger the signal. By changing the position of the antenna, you can increase the signal strength. You can also opt for an external antenna. Consult an antenna professional for more information. NOTES - No Service List will also be shown in the VFD when no stations are found after the scanning process. If this occurs, check the connection and position of the DAB antenna or call your local DAB broadcast providers for coverage information. - HTR 3s [MENU/FM MUTE], [ENTER] and [ ] are the equivalent remote control keys for the front panel buttons [TUNER MODE], [ENTER] and [TUNE / ]. When using these HTR 3 buttons to navigate DAB options, ensure that the DEVICE SELECTOR setting of your HTR 3 is set to TUNER. ABOUT DAB RADIO ENGLISH FRANÇAIS ESPAÑOL ITALIANO DEUTSCH NEDERLANDS SVENSKA РУССКИЙ
Page 2
SERVICE LIST Follow the steps below to select through the DAB service stations found. 1 At DAB mode, press [TUNE / ] to step through the list of available stations as shown in the lower display line of the VFD. 2 Press [ENTER] to select the desired station. DAB TUNER MODE Aside from Full Scan and Local Scan as already described above, pressing the [ TUNER MODE] button will also present you with other options namely – Station Order, DRC, Manual Scan, Prune List and Reset STATION ORDER Use Station Order to sort the sequence of the listed stations. There are three orders – Alphanumeric, Ensemble and Active. 1 While listening to a DAB broadcast, press front panels [ TUNER MODE] button and then [ TUNE / ] to select Station Order. Press [ENTER]. 2 Toggle [ TUNE / ] to select through Alphanumeric, Ensemble and Active. 3 Press [ENTER] to select desired station order. ALPHANUMERIC This is the default setting. Stations are arranged by numbers first and then alphabetically by letters. ENSEMBLE Digital radio is broadcast as groups of data called ensemble. Each ensemble contains a number of stations, transmitted at a set frequency. When Ensemble is selected as the mode of station order, the radio stations are arranged in the order of their ensemble names. NOTE Ensemble is also interchangeably termed as multiplex by other broadcast providers. ACTIVE Active stations are listed at the top of the channel list. Those channels that are in list but have no service in the area will be displayed last in the channel list. DRC The level of compression of stations can be set to eliminate the differences in dynamic range or sound level between radio stations. Popular music would normally be more compressed than classical music, resulting in possible different audio levels when changing from one station to the other. Setting the DRC to 0 means no compression, 1/2 indicates medium compression and 1 shows maximum compression. No compression is recommended, especially for classical music. 1 While listening to a DAB broadcast, press front panels [ TUNER MODE] button and then [ TUNE / ] to select DRC. Press [ENTER]. 2 Toggle [ TUNE / ] to select through DRC 0, DRC ½and DRC 1. 3 Press [ENTER] to select desired DRC level. MANUAL SCAN This option allows you to directly tune to a desired channel and include it in the service list (if not yet available at the time). You can also use manual scan to assist you in positioning the DAB antenna for best reception of the desired channel. 1 While listening to a DAB broadcast, press front panels [ TUNER MODE] button and then [ TUNE / ] to select Manual Scan. Press [ENTER]. The current channel and frequency are shown in the upper line of the VFD. The bars at the lower line of the VFD indicate the signal strength level of the current channel. 2 To select other channels, toggle [ TUNE / ] to step through the channel list. Release [ TUNE / ] when you have arrived at your desired channel. Channel and frequency are shown in the upper line of the VFD. The bars at the lower line of the VFD indicate the signal strength level of the current channel. To improve the reception of the selected channel, adjust or reposition the DAB antenna until the best reception is indicated. 3 Press [ENTER] to tune the selected channel. NOTE The number of ensembles and stations that could be scanned will vary depending on your location. PRUNE LIST There maybe situations wherein certain stations become inactive. The Prune List option enables the deletion of these inactive stations in the service list. 1 While listening to a DAB broadcast, press front panels [ TUNER MODE] button and then [ TUNE / ] to select Prune List. 2 Press [ENTER]. Any inactive stations are automatically deleted. RESET The Reset option allows the connected (and separately sold) NAD DAB Adaptor DB1 to be reset to its factory default settings. 1 While listening to a DAB broadcast, press front panels [ TUNER MODE] button and then [ TUNE / ] to select Reset. 2 Press [ENTER]. Reset? No will be shown in the lower line of the VFD. Press [ TUNE / ] to switch to Reset? Yes option. 3 To select Reset? No or Reset? Yes, press [ENTER] while at the desired option. Selecting Reset? Yes will cause the DB1 to be reset to its factory default settings. ABOUT DAB RADIO ENGLISH FRANÇAIS ESPAÑOL ITALIANO DEUTSCH NEDERLANDS SVENSKA РУССКИЙ
Page 4
www.NADelectronics.com ©2008 NAD ELECTR oNICS INTERNATIoNAL A DIVISIoN of LENBR ooK INDUSTRIES LIMITED All rights reserved. No part of this publication may be reproduced, stored or transmitted in any form without the written permission of NAD Electronics International T 765 DAB Addendum 03/08