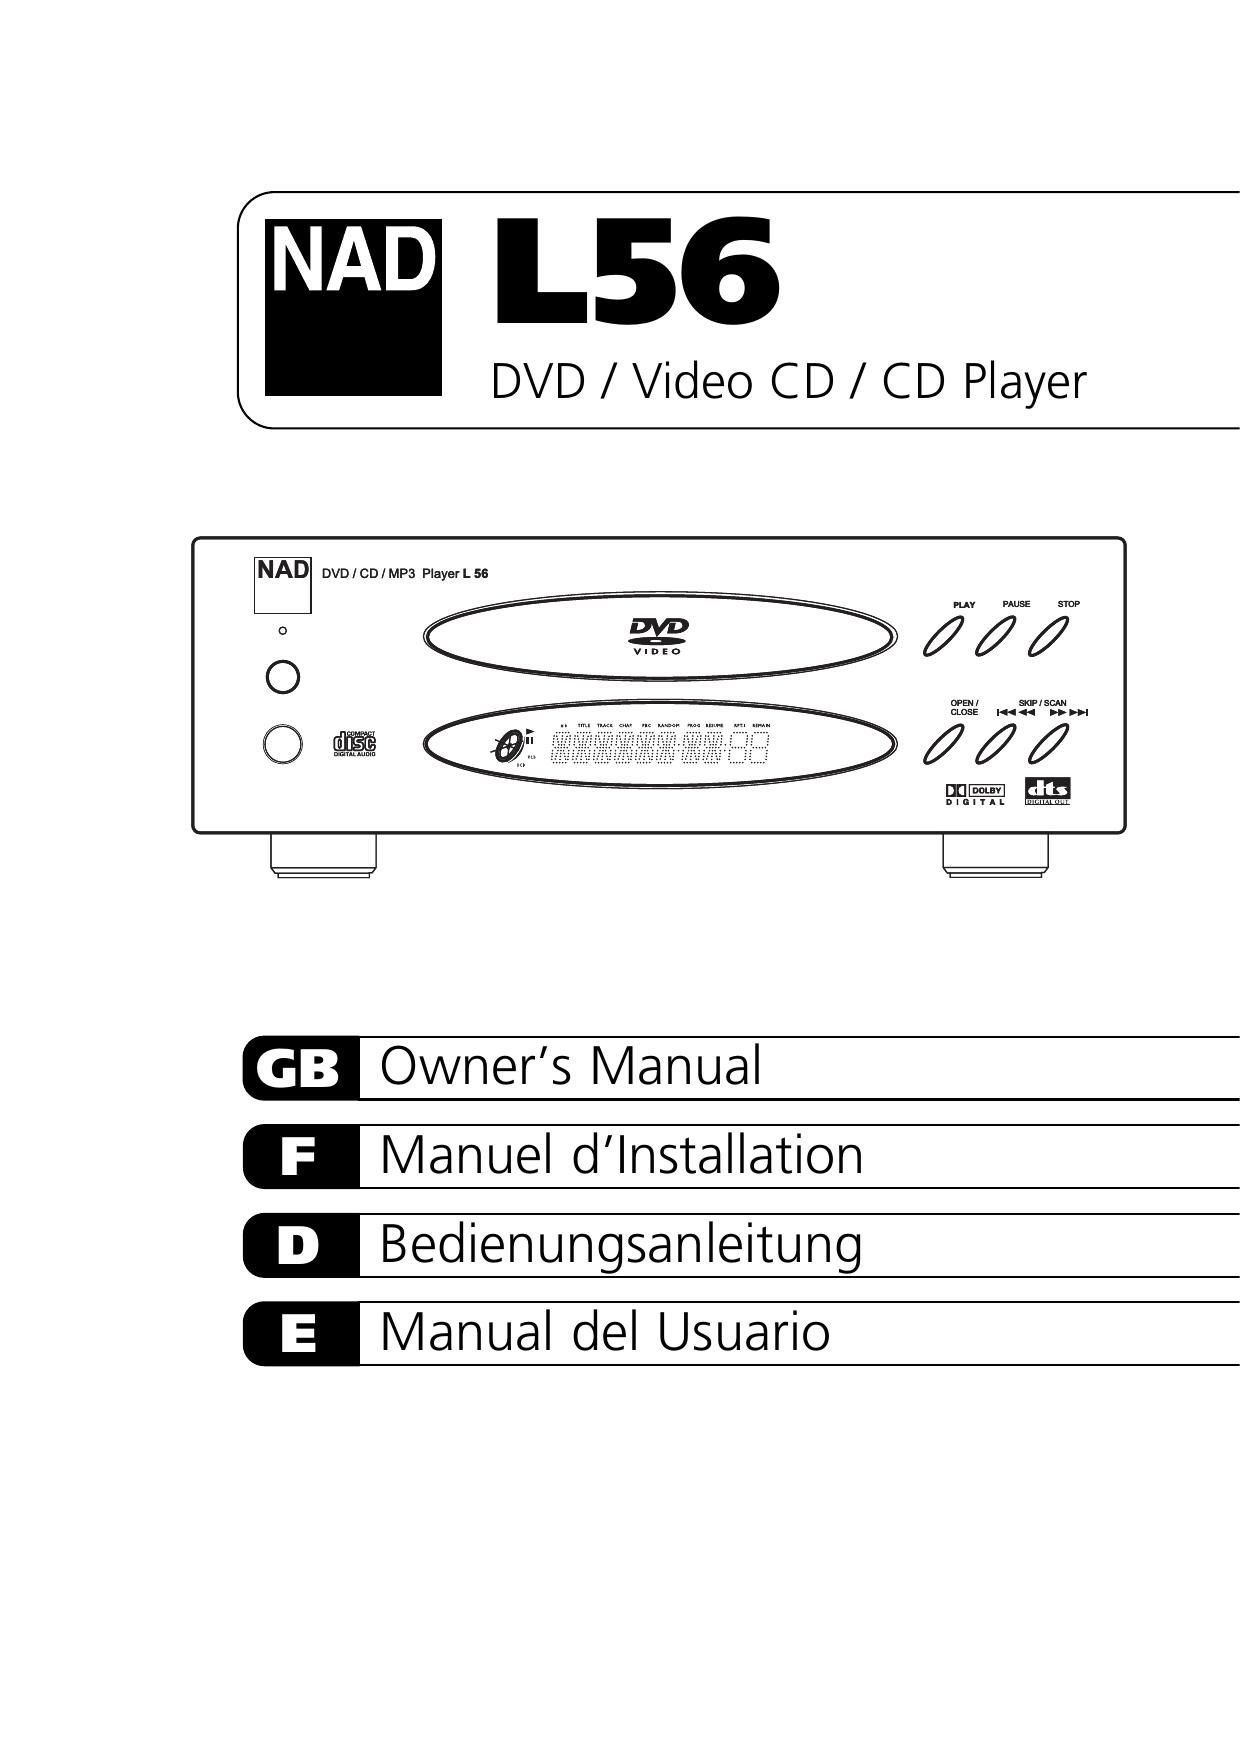
Nad L 56 Owners Manual
This is the 186 pages manual for Nad L 56 Owners Manual.
Read or download the pdf for free. If you want to contribute, please upload pdfs to audioservicemanuals.wetransfer.com.
Extracted text from Nad L 56 Owners Manual (Ocr-read)
Page 1
GB 2 SAFETY PRECAUTIONS Introduction The lightning flash with arrowhead symbol, within an equilateral triangle, is intended to alert the user to the presence of uninsulated dangerous voltage within the products enclosure that may be of sufficient magnitude to constitute a risk of electric shock to persons. The exclamation point within an equilateral triangle is intended to aler\ t the user to the presence of important operating and maintenance (servicing) instructions in the\ literature accompanying the appliance. WARNING TO REDUCE THE RISK OF FIRE OR ELECTRIC SHOCK, DO NOT EXPOSE THIS PRODUCT\ TO RAIN OR MOISTURE. CAUTION TO PREVENT ELECTRIC SHOCK, MATCH WIDE BLADE OF PLUG TO WIDE SLOT, FULLY INSERT. CAUTION This Digital Video Disc Player employs a Laser System. To ensure proper use of this product, please read this owners manual carefully and retain for future reference. Should the unit require maintenance, contact an authorized service location. (See service procedure). Use of controls, adjustments or the performance of procedures other than those specified may result in exposure to laser radiation. To prevent direct exposure to laser beam, do not try to open the enclosure. Visible laser radiation when the enclosure is opened. DO NOT STARE INTO BEAM. FCC NOTICE This equipment has been tested and found to comply with the limits for a\ Class B digital device, pursuant to part 15 of the FCC Rules. These limits are designed to provide reasonable protection against harmful interference in a residential installation. This equipment generates, uses and can radiate radio frequency energy and if not installed and used in accordance with the instructions, may cause harmful interference to radio communications. However, there is no guarantee that interference will not occur in a particular installation. If this equipment does cause harmful interference to radio or television reception, which can be determined by turning the equipment off and on, the user is encouraged to try to correct the interference by one or more of the following measures: - Reorient or relocate the receiving antenna. - Increase the separation between the equipment and receiver. - Connect the equipment into an outlet on a circuit different from that to which the receiver is connected. - Consult the dealer or an experienced radio/TV technician for help. FCC WARNING Changes or modifications not expressly approved by the party responsible for compliance could void the users authority to operate the equipment. INDUSTRY CANADA REQUIREMENT This Class B digital apparatus meets all requirements of the Canadian Interference-Causing Equipment Regulations. RECORD YOUR MODEL NUMBER (Now, while you can see it) The model and serial number of your new DVD player are located on the back of the DVD player cabinet. For your future convenience, we suggest that you record these numbers here: MODEL NO : SERIAL NO.:
Page 2
GB 3 TABLE OF CONTENTSIntroduction INTRODUCTION Safety Precautions . . . . . . . . . . . . . . . . . . . . . . . . . . . . . . . . . . . .\ . . . . . . . . . . . . . . . . . . . . . . . .2 Table of Contents. . . . . . . . . . . . . . . . . . . . . . . . . . . . . . . . . . . . .\ . . . . . . . . . . . . . . . . . . . . . . . . .3 IMPORTANT SAFETY INSTRUCTIONS . . . . . . . . . . . . . . . . . . . . . . . . . . . . . . . . . . . .\ . . . . . . . . .4-5 Precautions . . . . . . . . . . . . . . . . . . . . . . . . . . . . . . . . . . . .\ . . . . . . . . . . . . . . . . . . . . . . . . . . . . . .6 Notes on Discs . . . . . . . . . . . . . . . . . . . . . . . . . . . . . . . . . . . .\ . . . . . . . . . . . . . . . . . . . . . . . . . . . .7 Identification of Controls . . . . . . . . . . . . . . . . . . . . . . . . . . . . . . . . . . . .\ . . . . . . . . . . . . . . . . .8-11 Front Panel/Display window . . . . . . . . . . . . . . . . . . . . . . . . . . . . . . . . . . . . \ . . . . . . . . . . . . . . . . 8 Rear Panel . . . . . . . . . . . . . . . . . . . . . . . . . . . . . . . . . . . . \ . . . . . . . . . . . . . . . . . . . . . . . . . . . . . 9 Remote Control . . . . . . . . . . . . . . . . . . . . . . . . . . . . . . . . . . . . \ . . . . . . . . . . . . . . . . . . . . . . . . 10 Preparing the Remote Control . . . . . . . . . . . . . . . . . . . . . . . . . . . . . . . . . . . . \ . . . . . . . . . . . . . . 11 Operating with the Remote Control . . . . . . . . . . . . . . . . . . . . . . . . . . . . . . . . . . . . \ . . . . . . .11-17 INSTALLATION Connecting to a TV . . . . . . . . . . . . . . . . . . . . . . . . . . . . . . . . . . . . \ . . . . . . . . . . . . . . . . . . . . . . .18 Connecting to an Audio System . . . . . . . . . . . . . . . . . . . . . . . . . . . . . . . . . . . . \ . . . . . . . . . . . . . 19 Connecting to Optional Audio System . . . . . . . . . . . . . . . . . . . . . . . . . . . . . . . . . . . . \ . . . . .20-22 Enjoying Dolby Digital (AC-3) Sound . . . . . . . . . . . . . . . . . . . . . . . . . . . . . . . . . . . . \ . . . . . . . . . 20 Enjoying Dolby Pro Logic Surround Sound . . . . . . . . . . . . . . . . . . . . . . . . . . . . . . . . . . . . \ . . . . . 21 Enjoying 2 Channel Digital Stereo Sound. . . . . . . . . . . . . . . . . . . . . . . . . . . . . . . . . . . . \ . . . . . . 22 Enjoying DTS Sound . . . . . . . . . . . . . . . . . . . . . . . . . . . . . . . . . . . . \ . . . . . . . . . . . . . . . . . . . . . 22 BASIC OPERATION Basic Playback . . . . . . . . . . . . . . . . . . . . . . . . . . . . . . . . . . . . \ . . . . . . . . . . . . . . . . . . . . . . . .23-25 Various speed playback . . . . . . . . . . . . . . . . . . . . . . . . . . . . . . . . . . . . \ . . . . . . . . . . . . . . . . . . .26 OPERATION USING DISPLAY MENU ICONS General Information about Display Menu Icons . . . . . . . . . . . . . . . . . . . . . . . . . . . . . . . . . . . .27 Detailed description of each Display Menu Icon . . . . . . . . . . . . . . . . . . . . . . . . . . . . . . . . . . . .28 ADVANCED OPERATION Using a title menu . . . . . . . . . . . . . . . . . . . . . . . . . . . . . . . . . . . . \ . . . . . . . . . . . . . . . . . . . . . . . .29 Using a DVD menu . . . . . . . . . . . . . . . . . . . . . . . . . . . . . . . . . . . . \ . . . . . . . . . . . . . . . . . . . . . . .29 Changing audio soundtrack language . . . . . . . . . . . . . . . . . . . . . . . . . . . . . . . . . . . .\ . . . . . .30 Changing subtitle language . . . . . . . . . . . . . . . . . . . . . . . . . . . . . . . . . . . . . . . . . . . . . . . \ . . . . . . . .30 Viewing from another angle . . . . . . . . . . . . . . . . . . . . . . . . . . . . . . . . . . . . \ . . . . . . . . . . . . . . .31 Repeat Play . . . . . . . . . . . . . . . . . . . . . . . . . . . . . . . . . . . . \ . . . . . . . . . . . . . . . . . . . . . . . . . . . . .32 Zoom Feature . . . . . . . . . . . . . . . . . . . . . . . . . . . . . . . . . . . . \ . . . . . . . . . . . . . . . . . . . . . . . . . . .33 Memorizing Settings for Viewed DVDs . . . . . . . . . . . . . . . . . . . . . . . . . . . . . . . . . . . . \ . . . . . . .34 Program Play . . . . . . . . . . . . . . . . . . . . . . . . . . . . . . . . . . . . \ . . . . . . . . . . . . . . . . . . . . . . . . . . . .35 INITIAL SETTINGS Common procedures of initial settings . . . . . . . . . . . . . . . . . . . . . . . . . . . . . . . . . . . . \ . . . . . . .36 Selecting disc Languages . . . . . . . . . . . . . . . . . . . . . . . . . . . . . . . . . . . . \ . . . . . . . . . . . . . . . . . .37 Selecting rating level and password . . . . . . . . . . . . . . . . . . . . . . . . . . . . . . . . . . . . \ . . . . . . .38-39 Selecting TV Aspect . . . . . . . . . . . . . . . . . . . . . . . . . . . . . . . . . . . . \ . . . . . . . . . . . . . . . . . . . . . . .40 Selecting Menu Language . . . . . . . . . . . . . . . . . . . . . . . . . . . . . . . . . . . . \ . . . . . . . . . . . . . . . . .41 Selecting the TV Type . . . . . . . . . . . . . . . . . . . . . . . . . . . . . . . . . . . . \ . . . . . . . . . . . . . . . . . . . . .42 Selecting Digital Audio Output . . . . . . . . . . . . . . . . . . . . . . . . . . . . . . . . . . . . \ . . . . . . . . . . . . .43 REFERENCE Disc Requirements/Copyright Information . . . . . . . . . . . . . . . . . . . . . . . . . . . . . . . . . . . . \ . . . .45 Before Calling Service Personnel . . . . . . . . . . . . . . . . . . . . . . . . . . . . . . . . . . . . \ . . . . . . . . . . . .46 Specifications . . . . . . . . . . . . . . . . . . . . . . . . . . . . . . . . . . . . \ . . . . . . . . . . . . . . . . . . . . . . . . . . . 47
Page 5
GB 6 PRECAUTIONS Introduction NOTES ON HANDLING - When shipping the DVD player, always use the original shipping carton and packing materials. For maximum protection, repack the unit as it was originally packed at the factory. - Do not use volatile liquids, such as insect spray, near the DVD player. Do not leave rubber or plastic products in contact with the DVD player for a long time. They will leave m\ arks on the finish. - The top and rear panels of the DVD player may become warm after a long period of use.\ This is normal and not a malfunction. - When the DVD player is not in use, be sure to remove the disc and turn off the power. - If you do not use the DVD player for a long period, the unit may not fun\ ction properly in the future. Turn on and use the DVD player occasionally. NOTES ON LOCATING - When you place this DVD player near a TV, radio, or VCR, the playback picture may become poor and the sound may be distorted. In this case, move the DVD player away from the TV, radio, or VCR. NOTES ON CLEANING Use a soft, dry cloth for cleaning. - For stubborn dirt, soak the cloth in a weak detergent solution, wring well and wipe\ . Use a dry cloth to wipe it dry. Do not use any type of solvent, such as thinner and benzine, as they m\ ay damage the surface of the DVD player. - If you use a chemical saturated cloth to clean the unit, follow that products instructions. WARNING Cleaning and adjustment of lenses and/or other components of playback me\ chanism should be performed by a qualified service technician. TO OBTAIN A CLEAR PICTURE The DVD player is a high technology, precision device. If the optical pick-up lens and disc drive parts are dirty or worn down, the picture quality becomes poor. To obtain a clear picture, we recommend regular inspection and maintenance (cleaning or parts replacement) every 1,000 hours of use depending on the operating environment. For details, contact your nearest dealer. NOTES ON MOISTURE CONDENSATION Moisture condensation damages the DVD player. Please read the following carefully. Moisture condensation occurs, for example, when you pour a cold drink into a gl\ ass on a warm day. Drops of water form on the outside of the glass. In the same way, moisture may condense on the opti-cal pick- up lens inside this unit, one of the most crucial internal parts of the DVD player. Moisture condensation occurs during the following cases. - When you bring the DVD player directly from a cold place to a warm place. - When you use the DVD player in a room where you just turned on the heater, or a place where the cold wind from the air conditioner directly hits the unit. - In summer, when you use the DVD player in a hot and humid place just after you mo\ ve the unit from an air conditioned room. - When you use the DVD player in a humid place. - Do not use the DVD player when moisture condensation may occur. If you use the DVD player in such a situation, it may damage discs and internal parts. Remove the disc, connect the power cord of the DVD player to the wall outlet, turn on the DVD player and leave it ON for two or three hours. After two or three hours, the DVD player will have warmed up and evaporated any moisture. Keep the DVD player connected to the wall outlet and moisture condensation will seldom occur.
Page 6
GB 7 Introduction This section shows you how to handle, clean and store discs. ON HANDLING DISCS - Do not touch the playback side of the disc. - Do not attach paper or tape to discs. ON CLEANING DISCS - Fingerprints and dust on the disc cause picture and sound deterioration. Wipe the disc from the center outward with a soft cloth. Always keep the disc clean. - If you cannot wipe off the dust with a soft cloth, wipe the disc lightly with a slightly mois\ tened soft cloth and finish with a dry cloth. Do not use any type of solvents such \ as thinner, benzine, commercially available cleaners or anti-static spray for vinyl LPs. They may damage t\ he disc. ON STORING DISCS - Do not store discs in a place subject to direct sunlight or near heat sources. - Do not store discs in places subject to moisture and dust such as a bathroom or near a humidifier. - Store discs vertically in a case. Stacking or placing objects on discs outsi\ de of their case may cause warping. ABOUT THIS OWNERS MANUAL - This owners manual explains the basic instructions of this DVD player. - Some DVD video discs have functions that may not be explained in this ow\ ners manual. Therefore, some instructions may differ from this owners manual, and there may be extra instructions. In this case, follow the instructions displayed on the TV screen or package. - may appear on the TV screen during operation. This icon means the function explained in this owners manual is not available on that specific DVD video disc. NOTES ON DISCS
Page 23
GB 24 BASIC PLAYBACK Basic Operation 5 Press and press ENTER, or press the numericbutton(s), to select the desired item. Play of the selected item now begins. For further info, also refer to the jacket or case of the disc you are playing. AFTER OPERATION When the unit is not in use, remove the disc and press POWER to turn off the power. NOTES - Do not move the DVD player during playback. Doing so may damage the disc and the DVD player. - Use the OPEN/CLOSE button on the remote control or DVD player to open and close the disc tray. Do not push the disc tray while it is moving. Doing so may cause the DVD player to malfunction. - Do not push up the disc tray or put any objects other than discs on the disc tray. Doing so may cause the DVD video player to malfunction. - Keep your fingers well clear of the disc tray as it is closing. Be especially careful with childrens fingers around the closing disc tray as there is a risk of personal injury. - When appears on the TV screen while a button is pressed, it means that this function is not available on the disc you are playing. - Depending on the DVD disc, some operations may be different or restricted. Refer to the jacket or case of the disc you are playing.
Page 25
GB 26 VARIOUS SPEED PLAYBACK Basic Operation You can play back discs at various speeds, and resume normal playback. TO PLAY IN SLOW-MOTION Press SLOW or SLOW during playback. - During slow playback, the playback speed and direction can beselected with SLOW or SLOW . - To increase the playback speed, press the one button as the playback direction. - To reverse the playback direction, press the other button opposite to the playback direction. - With Video CD, reverse play is not possible. To return to normal playback, press PLAY button. TO SCAN AT FAST FORWARD OR FAST REVERSE - Fast forward and reverse, press and hold SKIP / SCAN on remote control unit for more than 0.5 second during play-back. - On the front panel, continue pressing the or button. - During fast playback, the playback speed and direction can be selected with SKIP / SCAN . - To increase the playback speed, press the button as the playback direction. - To reverse the playback direction, press the other button opposite to the playback direction. To return to normal playback, press PLAY NOTES - When SKIP/SCAN button is pressed and held for more than 0.5 second, scan function will engage. - The DVD player does not play back sound during slow-motion playback, the high speed reverse and forward playback of DVD video discs. However, the DVD player plays back sound during fast forward or fast reverse playback of audio CDs. - Subtitles do not appear on the screen during slow motion and scan playback. - The DVD player provides four (4) scan speeds for DVD movie play. Only one (1) scan speed is available dung Audio CD play. - The DVD player does not play back in slow-motion in case of audio CD. - In some equipment that is connected to digital output for DTS sound, a noise can occur during fast forward or fast reverse playback of DTS CDs.
Page 26
GB 27 GENERAL INFORMATION ABOUT DISPLAY MENU ICONS Operation Using Display Menu Icons This unit features DISPLAY Menu Icons showing disc information (title/chapter/track number, elapsed playing time, audio/subtitle language, angle and sound) and player info\ rmation (repeat play, play mode, etc.). Some icons only show the indicated information. Other icons allo\ w the settings to be changed. COMMON PROCEDURES 1 Press DISPLAY during playback.- Title function can be accessed from the stop mode. 2 Press to select the desired item. - The currently selected item is indicated by a yellow frame on its DISPLAY menu icons. 3 Press to select the desired setting. - When numbers are displayed (e.g. title number), the numeric buttons can also be used \ for settinginstead of - For some functions, the setting will be registered immediately; for others, ENTER must be pressed. To clear the DISPLAY Menu Icons, press DISPLAY. EXAMPLES OF DISPLAY MENU ICONS The screens may differ depending on the disc contents. 1 1 0:16:57 1 ENG D 6 CH OFF 1 NORM. TITLE CHAPT ALL TRACK OFF 1 16:57 STER. NORM. DVD DISPLAY CD DISPLAY DVD and CD DISPLAY
Page 37
This is to prohibit the playing of specified DVDs which are unsuitable for children. Some DVD discs contain a restriction level which enables parents to remove scenes or prevent playback of discs by children. DVD players are equipped with a password designed to prevent children changing the level. SELECTING RATING LEVEL (DVD ONLY) 1 At the SETUP screen, press to select Rating andpress 2 Press 1 - 7 to select the desired level and press ENTER. You cannot play DVD video discs rated higher than the level you selected unless you cancel the parental lock function. For example, when you select level 7, discs rated higher than level 7 ar\ e blocked and cannot be played. The parent lock level is equivalent to the following USA movie ratings. Level 7: NC-17 Level 6: R Level 4: PG 13 Level 3: PG Level 1: G - Some titles do not match with the rating level described as above. If you change the level and enter a password, playback of all DVDs with ratings higher than your selection will be blocked, unless the correct password is entered again. For example: if you change the level to 5, the DVD player will not play discs with ratings of 6, 7 \ or 8 unless the correct password is entered on the remote control. GB 38 SELECTING RATING LEVEL AND PASSWORD Initial Settings
Page 45
GB 46 BEFORE CALLING SERVICE PERSONNEL Reference SYMPTOMS AND CORRECTION Check the following guide for the possible cause of a problem before contacting service. SYMPTOM CAUSE CORRECTION No power- The power cord is disconnected - Plug the power cord into the wall outlet securely. The power is on, but the DVD player does not work.- No disc is inserted. - Insert a disc (Check that the DVD or, audio CD indicator in the DVD display is lit). No picture- The TV is not set to receive DVD signal output. - Select the appropriate video input mode on the TV so that the picture from the DVD player appears on the TV screen. - The video cable is not connected securely. - Connect the video cable into the jacks securely. - The connected TV power is turned off. - Turn on the TV. No sound- The equipment connected with the audio cable is not set to receive DVD signal output. - Select the correct input mode of the audio receiver so you can listen to the sound from the DVD player. - The audio cables are not connectedsecurely. - Connect the audio cable into the jacks securely. - The power of the equipment connectedwith the audio cable is turned off. - Turn on the equipment connected with the audio cable. - The Digital Audio Output is set to thewrong position. - Set the Digital Audio Output to the correct position, then turn on the DVD player again by pressing the POWER button. The playback picture is poor - The disc is dirty. - Clean the disc. The DVD player does not start playback- No disc is inserted. - Insert a disc (Check that the DVD, or audio CD indicator in the DVD display is lit). - An unplayable disc is inserted. - Insert a playable disc (Check the disc type,color system and Regional code). - The disc is placed upside down. - Place the disc with the playback sidedown. - The disc is not placed within the guide. - Place the disc on the disc tray correctlyinside the guide. - The disc is dirty. - Clean the disc. - A menu is on the TV screen. - Press the SETUP button to turn off themenu screen. - The Rating level is set. - Cancel the Rating function or change therating level. The remote control does not work properly.- The remote control is not pointed at the remote sensor of the DVD player. - Point the remote control at the remote sensor of the DVD player. - The remote control is too far from theDVD player. - Operate the remote control within about 23 ft (7 m). - There is an obstacle in the path of theremote control and the DVD player. - Remove the obstacle. - The batteries in the remote control are exhausted. - Replace the batteries with new ones.
Page 123
D 32 WIEDERHOLEN DER WIEDERGABE Erweiterter Betrieb BILD (TON) WIEDERHOLEN Taste REPEAT während der Wiedergabe drücken. Bei jedem Tastendruck ändert sich der TV-Bildschirm wie unten dargestellt und ein Kapitel oder Titel (DVD) oder ein Titel (CD) wird wiederholt. DVD Wiederholung der Wiedergabe eines Kapitels Wiederholung der Wiedergabe eines Filmtitels Repeat-Modus abbrechen (normale Wiedergabe) CD Der aktuelle Titel wird wiederholt abgespielt Die ganze CD wird wiederholt abgespielt Repeat-Modus abbrechen (normale Wiedergabe) Um zur normalen Wiedergabe zurückzukehren Taste REPEAT so oft drücken, bis OFF angezeigt wird. Notes HINWEISE - Repeat-Play funktioniert nur bei CD/DVDs mit Anzeige der Spielzeit wä\ hrend der Wiedergabe im DVD- Anzeigefenster. - Bei manchen DVDs funktioniert Repeat-Play u. U. nicht einwandfrei. CHAPT TITLE OFF TRACK ALL OFF
Page 126
D 35 PROGRAMMIERTE WIEDERGABE Erweiterter Betrieb Der DVD-Player spielt die Titel der CD in einer von Ihnen festgelegten Reihenfolge ab. HINWEIS Die Funktion Programmierte Wiedergabe kann nur mit Audio-CDs ausgeführt werden. Sie arbeitet nicht mit Film-DVDs. 1 Taste PROGRAM drücken im Stop-Modus oder während der Wiedergabe. Am Bildschirm wird das Wiedergabe- Programmierungsfenster angezeigt. - Dieses Fenster können Sie durch Drücken von PLAY, PROGRAM schließen. 2 und die numerischen Tasten drücken, um die gewünschten Titelnummern auszuwählen. - Zur Auswahl weiterer Titel Schritt 2 wiederholen. - Es können bis zu 20 Titel programmiert werden. 3 PLAY oder ENTER drücken, um das Programmierungsfenster zu schließen. Der ausgewählte Titel wird gespeichert und die Wiedergabe beginnt in der programmierten Reihenfolge. Wenn Sie mit PROGRAM das Fenster schließen, werden die ausgewählten Titel nicht gespeichert. Nach der Wiedergabe aller programmierten Titel Wiedergabe wird beendet. LÖSCHEN EINES PROGRAMMS - Löschen von einzelnen Titeln drücken, um den nicht mehr gewünschten Titel auszuwählen und anschließend CLEAR drücken. - Löschen des ganzes Programms drücken bis „Alles löschen„ angezeigt wird und anschließend ENTER drücken. PLAY oder ENTER drücken, um das Programmierungsfenster zu schließen. Wenn Sie mit PROGRAM das Fenster schließen, wird das Programm nicht gelöscht. (Programme werden auch nach dem Ausschalten des Gerätes oder der Entnahme einer CD gelöscht).
Page 135
D 44
Page 153
Para entrar en el Modo de borrado (Delete Mode), pulse y mantenga puls\ adas simultáneamente durante 3 segundo tanto la tecla Selectora de dispositivos (Device Selector) d\ e la tecla deseada, como la tecla RTN, hasta que el diodo LED de Aprender (Learn) se encienda en verde. Pulse la tecla de funciones cuya orden desee borrar; el diodo LED de Aprender (Learn) parpadea; el número de veces indica qué tipo de función se ha puesto activa - véase el cuadro más adelante. Pulse otra vez la tecla Selectora de dispositivos (Device Selector) activa para salir del Modo de borrado (Delete Mode)\ . NOTA Puede borrar múltiples órdenes de la tecla de funciones e la misma\ página Selectora de dispositivos (Device Selector), pero para borrar de más de una página Selecto\ ra de dispositivos (Device Selector) tendrá que salir del Modo de borrado (Delete Mode) y luego entrarlo\ de nuevo en la página requerida.Destellos Tipo de orden 1O rden de biblioteca por defecto 2O rden de biblioteca copiada 3O rden aprendida CARGA DE BIBLIOTECAS DE CODIGOS El HTR L76 puede memorizar una biblioteca diferente de códigos NAD por defecto para cada una de sus páginas Selectoras de dispositivos (Device Selector). Si la\ biblioteca original por defecto no controla su tocadiscos CD, platina de magnetófono, reproductor DVD u otro componente NAD, proceda como se indica a continuación para cambiar la biblioteca de códigos. Comience por cerciorarse de que esté enchufado y encendido (on no simplement\ e en Reserva (Standby)) el componente que desee que controle el HTR L76. Para entrar en el Modo de Biblioteca (Library Mode) del HTR L76, pulse y mantenga pulsadas simultáneamente durante 3 segundos tanto \ la tecla Selectora de dispositivos (Device Selector) deseada, como la tec\ la PROGRAM, hasta que se encienda en verde el diodo LED de Aprender (Learn). Mientras mantiene el HTR L76 apuntando hacia el componente, entre el primer número de tres dígitos correspondiente de la biblioteca de códigos del cuadro siguiente. Si el componente se apaga, pulse ENTER para aceptar\ ese número de biblioteca de códigos y salga del Modo de Biblioteca (Library Mode). Si el compon\ ente no se apaga, entre el siguiente número de tres dígitos de la biblioteca de códigos del cuadro. Cuando entre el número correcto, se apagará el componente; pulse ENTER para aceptar ese número de biblioteca de códigos y salga del Modo de Biblioteca (Library Mode). Componente de la marca NAD Números de biblioteca de códigos del HTR L76 T ocadiscos CD (nuevo) 200 T ocadiscos CD (antiguo) 201 DVD T562 600 DVD T550, L56 601 DVD T531, T571 602 DVD T512, T532, T572 602 MODO DE BUSQUEDA Si ninguno de los códigos del cuadro apaga el componente y está absolutamente seguro de haber seguido al procedimiento anterior por completo y cuidadosamente, tal vez desee intent\ ar el método de búsqueda (search) como sigue: Entre en el Modo de biblioteca (Library Mode), pulse y mantenga pulsadas s\ imultáneamente durante 3 segundos tanto la tecla Selectora de dispositivos (Device Selector) de\ seada, como la tecla PROGRAM, hasta que se encienda en verde el diodo LED de Aprender (Learn). Acto seguido, pulse la tecla o del HTR L76; el mando a distancia avanzará por todos los códigos disponibles \ a la velocidad de aproximadamente 1 por segundo. Cuando se apague el componente, suelte inmediatamente la \ tecla del cursor y pulse ENTER para aceptar esa biblioteca de códigos y salir del Modo de biblioteca\ (Library Mode). Pruebe unas pocas órdenes; en caso de que compruebe que ha avanzado más allá de la bib\ lioteca de códigos requerida, entre otra vez en el Modo de biblioteca (Library Mode) y use la tecla del cu\ rsor para volver a ella. NOTA Es posible que el modo de búsqueda encuentre bibliotecas de código\ s que operen, por lo menos parcialmente, algunos componentes de otras marcas (distintas a la de NA\ D). Podrá explotar, ciertamente, esas posibilidades a medida que las encuentre. Sin embargo,\ dado que sólo posemos asegurar la amplitud o precisión de bibliotecas de códigos de NAD,\ no podemos respaldar el funcionamiento del HTR L76 con componentes de otras marcas. IDENTIFICACIÓN DE LOS CONTROLES Introduccion E 16
Page 154
COMPROBACION DEL NUMERO DE LA BIBLIOTECA DE CODIGOS Puede comprobar la biblioteca de códigos actual en cualquier tecla Selectora de \ dispositivos (Device Selector) como sigue: Entre en el Modo de biblioteca (Library Mode) pulsando y manteniendo pulsa\ das simultáneamente durante 3 segundos tanto la tecla Selectora de dispos\ itivos (Device Selector) del componente deseado, como la tecla PROGRAM hasta que se encienda \ en verde el diodo LED de Aprender (Learn). Pulse la tecla DISP y el HTR L76 indica la actual biblioteca de códigos parpadeando sus teclas TAPE, VCR y MACRO. Por ejemplo, para indicar el nº\ 501 de la biblioteca de códigos, el HTR L76 parpadeará 5 veces TAPE, hará una pausa y luego parpadeará MACRO una vez. \ Tal vez desee usted tomar nota de los números de la biblioteca de códigos de su componente. RESUMEN DE MODOS DEL HTR L76 ModoTeclas a pulsar (durante 3 segundos) Aprender/Copiar/Acceso directo Tecla de dispositivo + tecla de ABRIR/CERRAR (Learn/Copy/Punch Through) (Device Key + OPEN/CLOSE) Modo de borrado (Delete Mode) Tecla de dispositivo + Tecla de retorno (Device Key + Return Key) Grabar macro (Macro Record) Tecla de macro + Tecla de funciones (Macro Key + Function Key) Modo de biblioteca (Library Mode) Tecla de dispositivo + Tecla de programa (Device Key + Program Key) T iempo límite de la luz de fondo Tecla de visualizador + Tecla de dígitos (Back Light Timeout) (Display Key + Digit Key) Reposición al estado de fábrica (Factory Reset) (véase Reposición al estado de fábrica (Factory Reset) anteriormente) IDENTIFICACIÓN DE LOS CONTROLESIntroduccion E 17