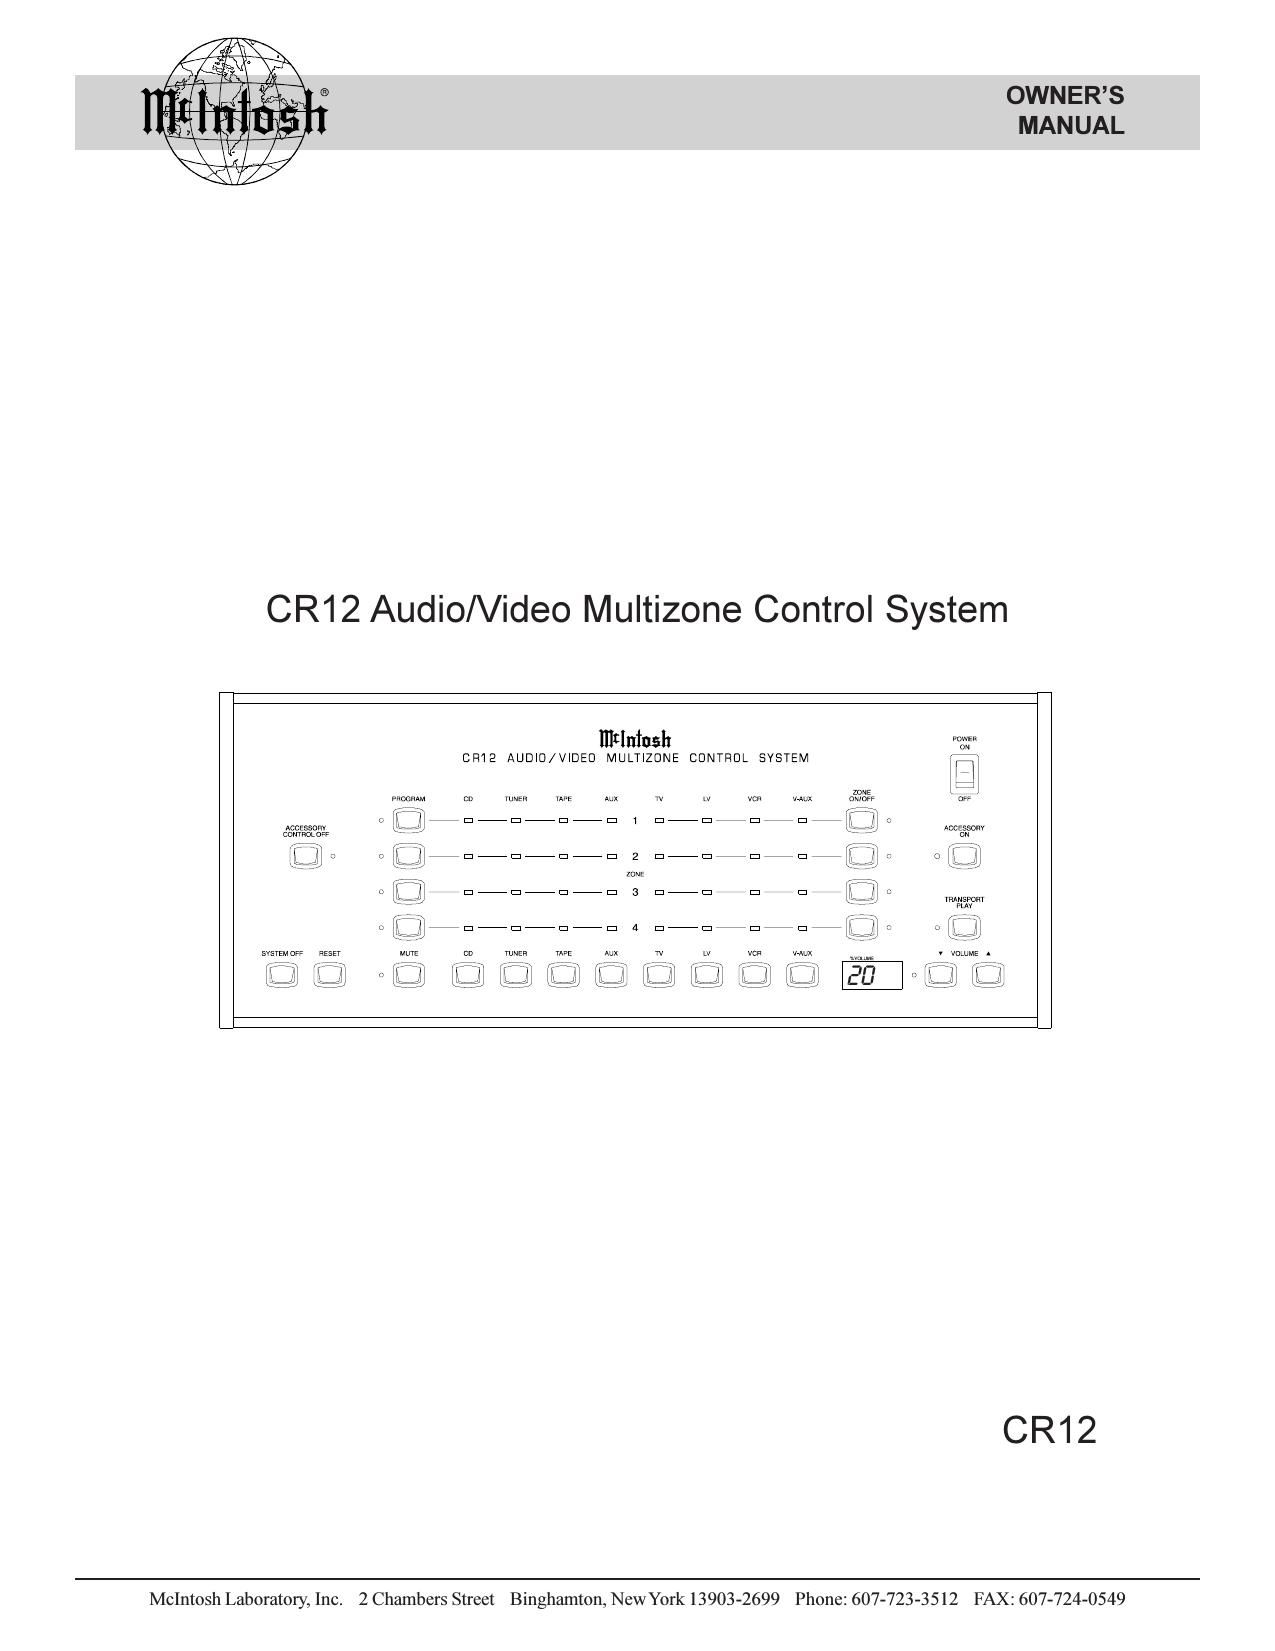
McIntosh CR 12 Owners Manual
This is the 20 pages manual for McIntosh CR 12 Owners Manual.
Read or download the pdf for free. If you want to contribute, please upload pdfs to audioservicemanuals.wetransfer.com.
Extracted text from McIntosh CR 12 Owners Manual (Ocr-read)
Page 1
2 Thank You .......................................................................... 2 Please Take a Moment ....................................................... 2 Customer Service ............................................................... 2 Table of Contents ............................................................... 2 Safety Instructions ............................................................. 3 Introduction ........................................................................ 4 Performance Features ........................................................ 4 Pre-Installation .................................................................. 5 Installation ......................................................................... 6 Rear Panel Controls, Connections and Switches ............... 7 How to Connect the CR12 with a C39/MX130 ................. 8 How to Connect Additional CR12s .................................. 9 How to Connect the CR12 in a Stand Alone System ...... 10 CR12 Front Panel Displays, Push-Buttons, and Switch ....................................................................... 11 How to Operate from the Front and Rear ........................ 12 How to Operate in Remote Zones ................................... 13 How to Program the CR12 .............................................. 14 HR-033 Push-Buttons ...................................................... 16 How to Operate by Remote Control ................................ 17 Specifications .................................................................. 18 Packing Instructions ........................................................ 19 NOTES: 1. Up to four sensors or keypads can be wired in parallel for a single zone. 2. For additional information on Video and Audio connections , refer to the owners manual(s) for the component(s). Serial Number: Purchase Date: Dealer Name: Customer Service Copyright 1997 ã by McIntosh Laboratory, Inc. Thank You, Please Take A Moment, Customer Service and Table of Contents Thank You Please Take A Moment The serial number, purchase date and McIntosh dealer name are important to you for possible insurance claim or future service. The serial number is located on the rear panel of the equipment. The spaces below have been provided for you to record that information: For your decision to own this McIntosh CR12 Auido/Video Multizone Control System ranks you at the very top among discriminating music listeners. You now have The Best. The McIntosh dedication to Quality, is assurance that you will receive many years of musical enjoyment from this unit. Please take a short time to read the information in this manual. We want you to be as familiar as possible with all the features and functions of your new McIntosh CR12. This will ensure that you receive all the performance ben- efits this equipment can offer you, and that it will become a highly valued part of your home entertainment system. If at any time you have questions about your CR12 Auido/ Video Multizone Control System, please contact: McIntosh Laboratory, Inc. 2 Chambers Street Binghamton, New York 13903 Phone: 607-723-3512 FAX: 607-724-0549 Table of Contents
Page 2
3 IMPOR TANT SAFETY INSTRUCTIONS! PLEASE READ THEM BEFORE OPERATING THIS EQUIPMENT. Safety Intructions WARNING SHOCK HAZARD - DO NOT OPEN. AVIS RISQUE DE CHOC - NE PAS OUVRIR. NO USER-SERVICEABLE PARTS INSIDE. REFER SERVICING TO QUALIFIED PERSONNEL General: 1. Read all the safety and operating instructions, contained in this owners manual, before operating this equipment. 2. Retain this owners manual for future reference about safety and operating instructions. 3. Adhere to all warnings and operating instructions. 4. Follow all operating and use instructions. 5. Warning: To reduce risk of fire or electrical shock, do not expose this equipment to rain or moisture. This unit is capable of producing high sound pressure levels. Continued exposure to high sound pressure levels can cause permanent hearing impairment or loss. User caution is advised and ear protection is recommended when playing at high volumes. 6. Caution: to prevent electrical shock do not use this (polarized) plug with an extension cord, receptacle or other outlet unless the blades can be fully inserted to prevent blade exposure. Attention: pour pevenir les chocs elecriques pas utiliser cette fiche polarisee avec un prolongateur, une prise de courant ou un autre sortie de courant, sauf si les lames peuvent etre inserees afond ans en laisser aucune partie a decouvert. 7. For added protection for this product during a lightning storm, or when it is left unattended and unused for long periods of time, unplug it from the wall outlet and dis- connect the antenna or cable system. This will prevent damage to the product due to lightning or power line surges.8. Do not use attachments not recommended in this owners manual as they may cause hazards. Installation: 9. Locate the equipment for proper ventilation. For ex- ample, the equipment should not be placed on a bed, sofa, rug, or similar surface that may block ventilation openings; or, placed in a built-in installation, such as a bookcase or cabinet, that may impede the flow of air through the ventilation openings. 10. Locate the equipment away from heat sources such as radiators, heat registers, stoves, or other appliance (in- cluding amplifiers) that produce heat. 11. Mount the equipment in a wall or cabinet only as de- scribed in this owners manual 12. Do not use this equipment near water; for example, near a bathtub, washbowl, kitchen sink, laundry tub, in a wet basement or near a swimming pool, etc. 13. Do not place this product on an unstable cart, stand, tripod, bracket, or table. The equipment may fall, caus- ing serious injury to a person, and serious damage to the product. Connection: 14. Connect this equipment only to the type of AC power source as marked on the unit. 15. Route AC power cords so that they are not likely to be walked on or pinched by items placed upon or against them, paying particular attention to cords at plugs, con- venience receptacles, and the point where they exit from the instrument. 16. Do not defeat the inherent design features of the polar- ized plug. Non-polarized line cord adapters will defeat the safety provided by the polarized AC plug. If the plug should fail to fit, contact your electrician to re- place your obsolete outlet. Do not defeat the safety pur- pose of the grounding-type plug. 17. Do not overload wall outlets, extension cords or inte- gral convenience receptacles as this can result in a risk of fire or electric shock. Care of Equipment: 18. Clean the instrument by dusting with a dry cloth. Un- plug this equipment from the wall outlet and clean the panel with a cloth moistened with a window cleaner. Do not use liquid cleaners or aerosol cleaners. 19. Do not permit objects of any kind to be pushed and/or fall into the equipment through enclosure openings.
Page 11
12 How to Operate from the Front and Rear Panel Power On Press the front panel Power switch to turn on the CR12. The power switch is normally left in the on position with the power cord in a live AC outlet. The red LED power in- dicator will stay on to indicate the CR12 is ready for use. Refer to figure 1. Note: Turn the power switch off only when the system is not going to be used for an extended time. Zone On/Off Turn on and operate any of the four zones by pressing a Zone On/Off push-button. The zone will turn on with the default or programmed signal source and volume level. Press the Zone On/Off push-button a second time to turn the zone off. Note: If zones 2, 3 or 4 are turned on, all front panel operating functions return to zone 1 after 10 seconds. If no programming has been performed, all zones will turn on to the tuner source at a volume indication of 20. Reset of Microprocessors In the event that the controls of the CR12 stop functioning, there is a user reset function built in. Press the Reset push- button and this will reset the CR12 microprocessors. Dedicated zone source components If a specific CR12 zone has a source component dedicated exclusively to that zone, it can be operated in that zone with a keypad or remote control. When a dedicated zone source component is connected, it replaces the source com- ponent that is connected to the CR12 Aux inputs. If the CR12 is connected with a Control Center which has a source component connected to its Aux inputs, that com- ponent will not be available in the zone with the dedicated source com- ponent. System Off Normally remote zones are turned on and off individually in each respec- tive zone by pressing the Power push- button on a keypad or remote control.If you desire to turn off all zones of an entire CR12 system simultaneously, including a control center and accessory source components, you can press the Sys Off push-button on the front panel,. You can also turn off the entire system in any remote zone by pressing the Sys Off push-button on a keypad or remote control. Note: Individual remote zones should normally be turned off with the Power push-button since there may be other zones in use that would automatically be turned off by the Sys Off push-button in a specific zone. Bass, Treble and Level Controls Adjust the bass and treble controls for the desired tone shaping in each zone. Adjust the zone level controls to increase or decrease a maximum of 6dB from the center de- tent position. Volume changes with the level controls add or subtract from the turn on levels. Refer to figure 2. Balanced and UnBalanced Outputs Place the slide switch to the correct position according to the output hook-up, balanced or unbalanced connections. How to Operate from the Front and Rear Panel 2 6 Figure 1 Figure 2
Page 12
13 Power Press the Power push-button and the zone will turn on with either the default or programmed signal source and volume level. Press the Power push-button a second time to turn the zone off. Note: Operations in remote zones can be performed by pressing a push-button on a keypad or remote control. Refer to figures 3 and 4 Source Selection Select and operate any available signal source by pressing the appropriate keypad or Remote Control push-button. Volume The turn on volume level can be changed by pressing an up or down volume push-button. System Off Normally remote zones are turned on and off individually in each respective zone by pressing the Power push-button on a keypad or remote control. If you desire to turn off all zones of an entire CR12 system simultaneously, including a control center and accessory components, you can press the Sys Off push-button. You can also turn off the entire system in any remote zone by pressing the Sys Off push- button on a keypad or remote control. Note: Individual remote zones should normally be turned off with the Power push-button since there may be other zones in use that would automatically be turned off by the Sys Off push-button in a specific zone. Dedicated zone source components If a specific CR12 zone has a source compo- nent dedicated exclusively to that zone, it can be operated in that zone with a keypad or re- mote control. When a dedicated zone source component is connected, it replaces the source component that is connected to the CR12 Aux inputs. If the CR12 is connected with a Control Center which has a source component con- nected to its Aux inputs, that component will not be available in the zone with the dedicated source component. How to Operate in Remote ZonesHow to Operate in Remote Zones Figure 3 Figure 4 Note: The shaded push-buttons operate with the CR12 as well as with a McIntosh Control Center connected to the CR12. The push-buttons shown in black only operate functions on McIntosh Control Centers. The white push-buttons are operational with other McIntosh models which also use the HR033 Remote Control.