Krell resolution c owners manual

This is the 2 pages manual for krell resolution c owners manual.
Read or download the pdf for free. If you want to contribute, please upload pdfs to audioservicemanuals.wetransfer.com.

Page: 1 / 2
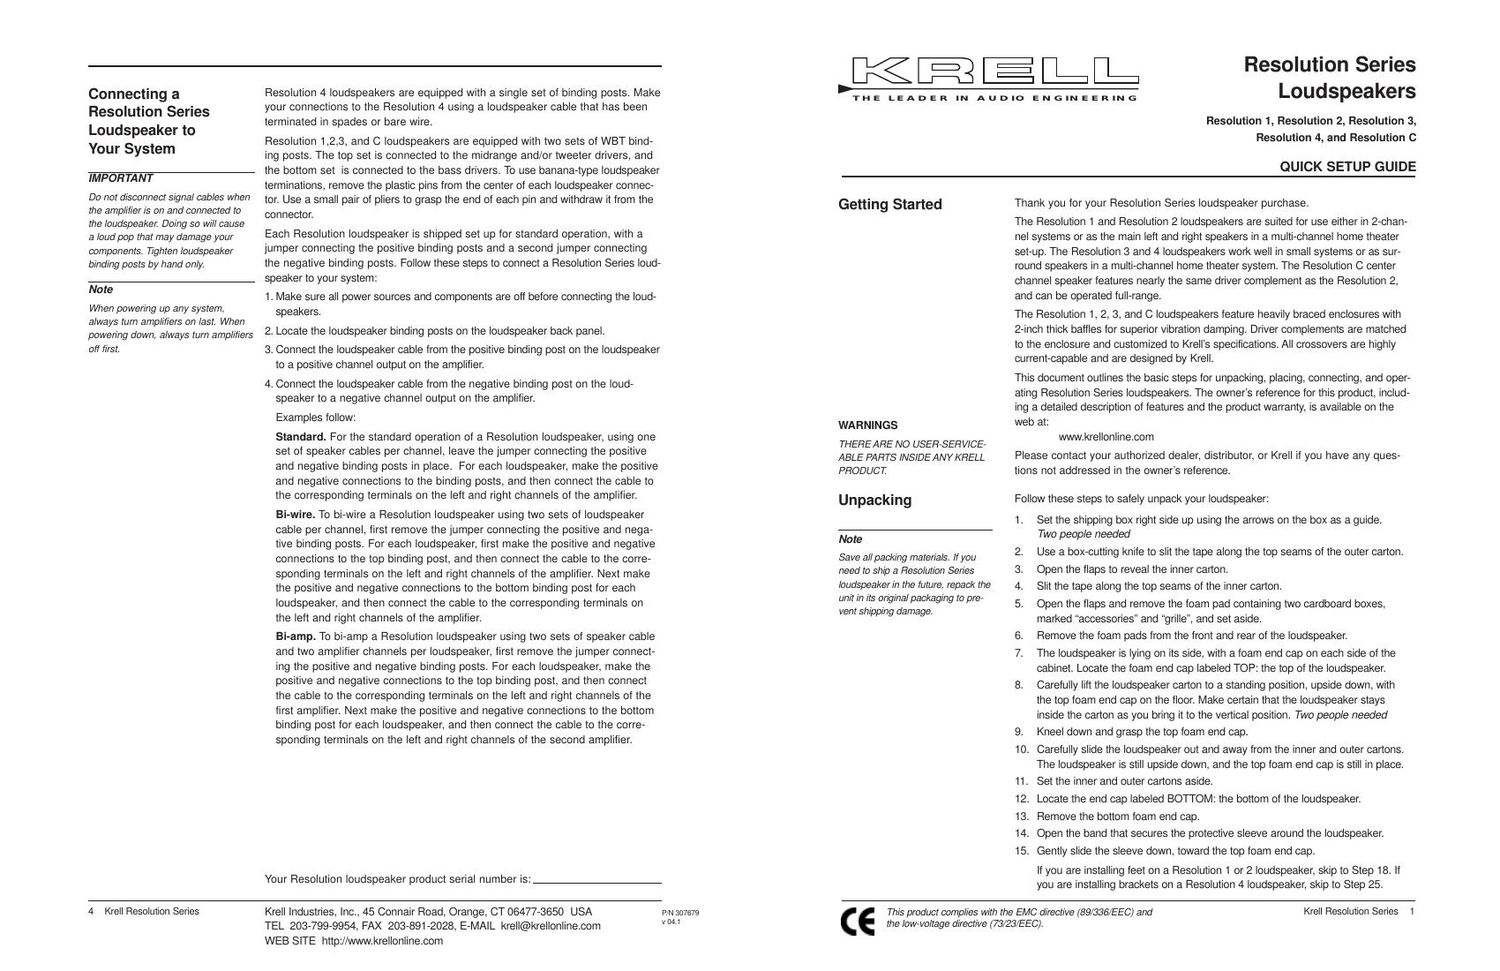
krell resolution c owners manual

Extracted text from krell resolution c owners manual (Ocr-read)


Page 1

Each Resolution 1 and Resolution 2 loudspeaker is provided with two setsof feet: four spikes and four rubberfeet. The sharp, pointed spikes are ideal for carpeted floors. The rubberfeet protect tile and wood floors. To Attach/Detach the Loudspeaker Grille ,continued Detach the Grille Before You Move the Loudspeaker: 1. Grasp the grille block (1) attached to the top front of the loudspeaker. On the Resolution C, grasp the grille block attached to one side of the loudspeaker. 2.Gently pull the grille block straight out until the grille locator pins slide out of the grille holes. 3. Remove the grille block with the Krell logo (2) from the bottom front of the loudspeaker. On the Resolution C, remove the grille block from the other side ofthe loudspeaker. 4. To protect the grille, place it in the grille box until you are readyto reinstall it. Attach the grille to the loudspeaker before you play music. Each ResolutionSeries loudspeaker is equipped with a snap-on grille, which consists of grille cord (3) strung between two metal grille blocks (1). This grille is shipped in thecardboard box marked grille. Attach the Loudspeaker Grille: 1.Grasp the grille blocks on each end of the grille and lift the grille out of the grille box. On the Resolution 1, 2, 3, and 4 loudspeakers, place the grille blockwith the Krell logo (2) on the bottomfront. Place the other grille block (1)on the top front. On the Resolution C loudspeaker , place one grille block on the left front.Place the other grille block on theright front. 2. Gently guide the grille locator pins (4) into the two grille holes (14) on the bottom front of the loudspeaker. On the Resolution C, guide the grille locator pins into the two grille holes on the left or right front of the loud-speaker. 3. Grasp the remaining grille block, allowing it to rest between the thumband forefinger of each hand. 4. Pull firmly to stretch the grille cords, until the grille locator pins align withthe two grille holes on the top front of the loudspeaker. On the Resolution C, stretch the grille cords to the right or left. 5. Gently guide the pins into the grille holes. You hear a click when thegrille is in place. 2 Krell Resolution SeriesKrell Resolution Series 3 This product is manufactured in the United States of America. Krell ®is a registered trademark of Krell Industries, Inc., and is restricted for use by Krell Industries, Inc., its subsidiaries, and authorized agents. All rights reserved. All other trademarks and trade names are registered to their respective companies. © 2004 by Krell Industries, Inc., All rights reserved Figure 1 Resolution 1 Front and Back Figure 4 Resolution 3 Front and Back Figure 6 Resolution C Front and BackFigure 2 Resolution 2 Front and Back Figure 3 Loudspeaker Grille 1Grille Block 2 Grille Block with Logo 3Grille Cord 4Grill Locator Pins 5 Top 6 Enclosure. Cherry finish 7 8-inch Magnesium Cone Mid-woofer 8 4-inch Midrange Driver 9 1-inch Dual Concentric Ring Tweeter 1010-inch Aluminum Cone Woofer 11 Bottom 126.5-inch Midrange Driver 138-inch Aluminum Cone Woofer 14 Grille Holes 15 Port 16 Back Panel 17 Binding Posts 18 Feet196.5-inch Midbass Driver 20 Back Panel Screws 1 2 34 4 16. Carefully invert the loudspeaker so that the bottom is on the floor. 17. Remove the top foam end cap and sleeve. You are ready to position the loud- speaker in the listening area. Two people needed 18. Locate the spikes, rubber feet and locking washers, in the small cardboard box marked accessories. 19.Choose the set of feet you want to use on your loudspeaker. 20.Thread the washers onto the feet. 21. Screw each foot/washer assembly into the four screw holes located on the bot- tom of the loudspeaker. 22. Carefully invert the loudspeaker so that it is resting on the feet. 23. Spin the washers counterclockwise up the shaft of each foot to fix the height of the foot. 24. Remove the top foam end cap and sleeve. You are ready to position the Resoluton 1 or 2 loudspeaker in the listening area. Two people needed 25. Remove the protective sleeve from the Resolution 4 loudspeaker. 26. Locate the brackets, in the small cardboard box marked accessories. 27. Using two back panel screws of your choice, affix one Resolution 4 bracket to the back of the loudspeaker. 28. Affix the other bracket to the wall using hardware rated for 25 lbs.(11.4 k) or more (not provided). 29.Remove the top foam end cap and mount the Resolution 4 on the wall. A Resolution Series loudspeaker is simple to set up and use, and is engineered to perform well in a wide variety of listening environments. The closer a Resolution 1, 2, 3, or C loudspeaker is to the rear wall, the more pronounced the bass response. To minimize unwanted reflected sound and maximize the width and depth of the sound- stage, be careful not to set the Resolution 1, 2, 3, or C loudspeakers too close to the side walls. The Resolution 4 loudspeaker has been designed to work well in closeproximity to walls and other room boundaries, and can function as a main, surround,or center channel loudspeaker. Krell encourages you to experiment and find the placement that reflects your personal preference. Placement To Install Feet On the Resolution 1 and 2 Loudspeaker Each Resolution 4 loudspeaker is provided with two brackets. To Install Brackets on the Resolution 4 Loudspeaker Position the loudspeaker in the listening area before attaching thegrille. Unpacking , continued To Attach/Detach the Loudspeaker Grille Notes Be careful not to scratch the loud- speaker cabinet with the grille locator pins. Clean the grille periodically to remove accumulated dust. Gentlywipe the grille from top to bottomusing a soft, dry, lint-free cloth. Do not use rubber conditioner or solvent. 14 6 5 7 8 9 10 11 11 11 5 5 14 6 12 9 13 15 18 18 16 17 14 14 15 1617 17 16 15 14 6 6 7 9 115 Figure 5 Resolution 4 Front and Back 115 16 20 17 14 6 9 15 19 13 8 9 17 16