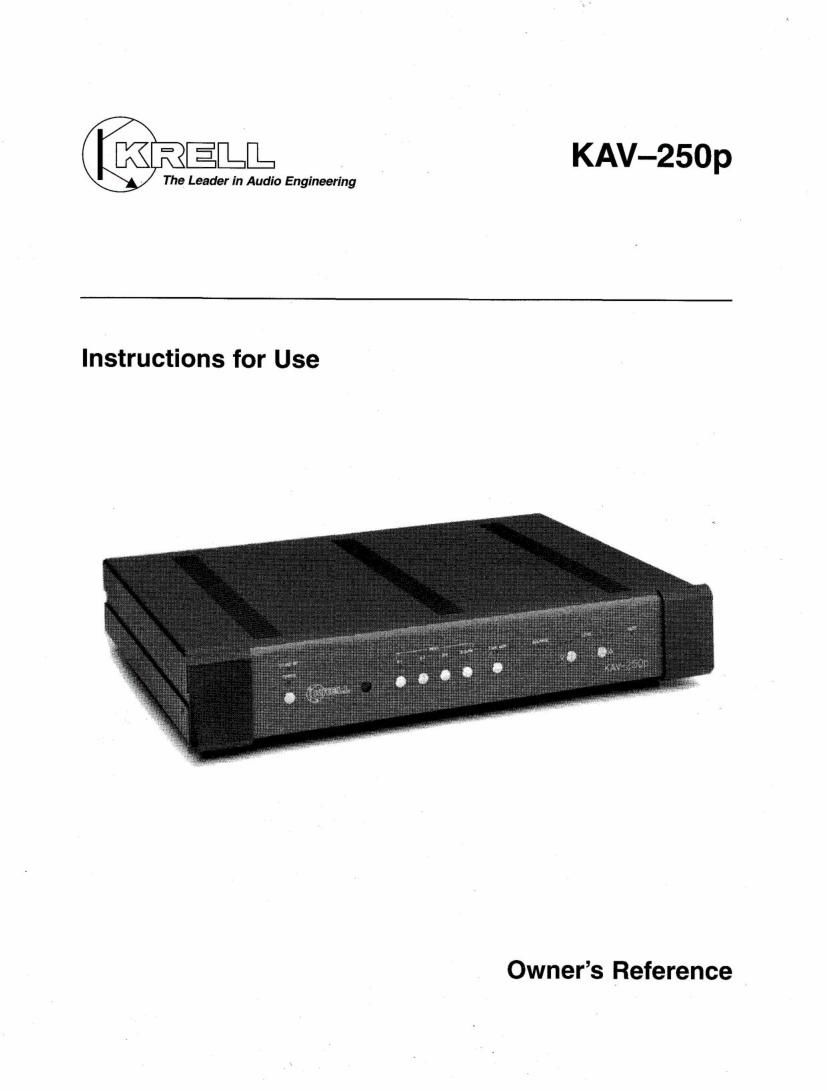
Krell kav 250 p owners manual
This is the 11 pages manual for krell kav 250 p owners manual.
Read or download the pdf for free. If you want to contribute, please upload pdfs to audioservicemanuals.wetransfer.com.
Extracted text from krell kav 250 p owners manual (Ocr-read)
Page 1
CONTENTS KAV-250p Preamplifier Krell ® Industries, Inc. 45 Connair Road Orange, CT 06477-3650 USA TEL 203-799-9954 FAX 203-799-9796 E-MAIL krell @ krellonline.com Page INTRODUCTION 3 UNPACKING 3 PLACEMENT 3 AC Power Guidelines 4 CONNECTING THE KAV-250p TO YOUR SYSTEM 4 Inputs 4 Outputs 4 Connecting the KAV-250p 5 Additional Connections 5 PREAMPLIFIER AND REMOTE CONTROL OPERATION 5 Battery Installation and Removal 6 OPTIONAL CONFIGURATIONS ~ 8 WARRANTY 9 RETURN AUTHORIZATION PROCEDURE 10 SPECI FICATIO N S 12 ILLUSTRATIONS REMOTE CONTROL S-3/PR OPTIONAL INPUT CONFIGURATION Page 7 8 © 1997 by KRELL ® Industries, Inc. All rights reserved P/N 19608,0240,0000
Page 2
CE Marking This product complies with the EMC direc- tive (89/336/EEC) and the low-voltage directive (73/23/EEC). Introduction Thank you for your purchase of the Krell KAV-250p. To obtain the best performance from your KAV-250p preamplifier, pay care- ful attention to its placement, installation, and operation. A thorough understanding of these details will help insure satisfactory operation and long life for the KAV-250p and related system components. THERE ARE NO USER-SERVICEABLE PARTS INSIDE ANY KRELL PRODUCT. Please contact your authorized dealer, distributor, or KrelP, if you have any questions not addressed in this refer- ence manual. Unpacking 1. Open the box and remove the top layer of foam. You will see these items: 1 KAV-250p 1 KAV-250p remote control 1 T-10 Torx wrench 1 AC power cord 1 packet containing the Owner's Reference and the Warranty Registration Card NOTE: ff any of these items are not includ- ed, please contact your authorized Krell dealer or distributor immediately for assis- tance. 2. Carefully remove the unit and acces- sories from the box. Remove the protec- tive plastic wrap from the unit. NOTE: Save all packing materials. If you must ship your KAV-250p in the future, repack the un# in its original packaging to prevent transit damage. Placement WARNINGS The preamplifier must not be located where it could be exposed to dripping or splashing fluids. Before you install the KAV-250p into your system, review the following guidelines to choose the location for the KAV-250p. This will facilitate a clean, trouble-free installation. The KAV-250p does not require any type of special rack or cabinet for installation. For the dimensions of the KAV-250p, see Specifi- cations, on page 12. KRELL ® KAV-250p English Page 3 of 12