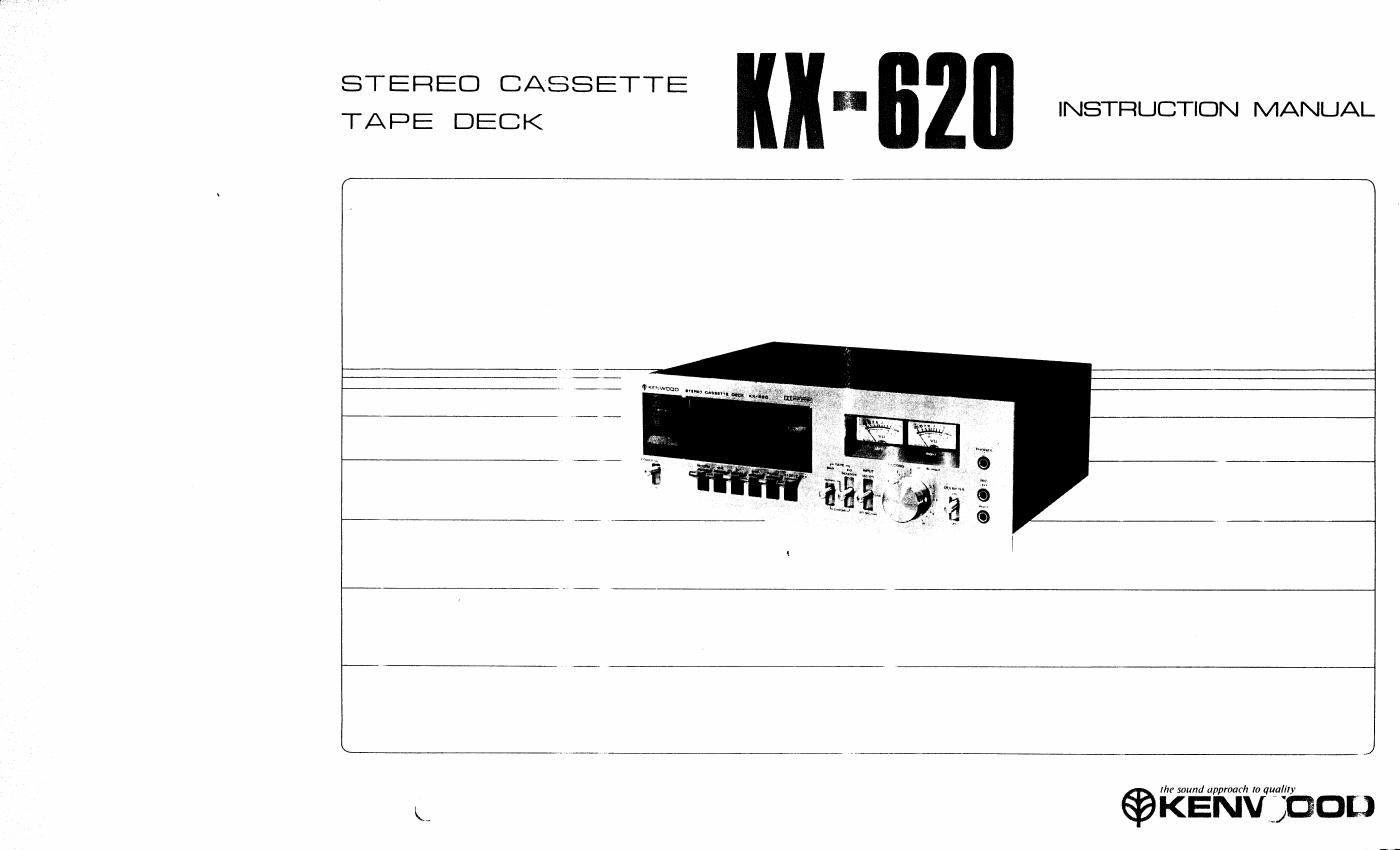
Kenwood KX 620 Schematic
This is the 12 pages manual for Kenwood KX 620 Schematic.
Read or download the pdf for free. If you want to contribute, please upload pdfs to audioservicemanuals.wetransfer.com.
Extracted text from Kenwood KX 620 Schematic (Ocr-read)
Page 1
STEREO CASSETTE fl
TAPE DECK INSTRUCTION MANUAL
J
the sound approach I!) qua/fly
x, KENVJDOL)
Page 2
INTRODUCTION
Thank you for purchasing our cassette deck. Because we take great
pride in the long tradition of quality components the name KENWOOD
represents, your choice of our product places you in a disxinguished
family of connoisseurs of superb high-fidelity sound reproduction.
SERIAL NUMBER
Record your SERIAL NUMBER on the spaces designated on the
warranty card. You will find the serial number on the back or the unit.
AFTER UNPACKING
After unpacking, we recommend you inspect and examine the unit
for any possible shipping damage. If your unit is damaged or fails to
operate, notify your dealer immediately. If your unit was shipped to you
directly, notify the shipping company without delay. Only the consignee
(the person or company receiving the unit) can file a claim against the
carrier for shipping damage.
We recommend you retain the original carton and packing materials
to prevent any damage should you transport or ship your unit in the
future.
CONTENTS
N
lNTRODUCTlON.
FEATURES.
NOTES ........
CONTROLS AND THEIR FUNCTIONS.
CONNECTING lNSTRUCTIONS
CASSETTE TAPE .......................
LOADING AND UNLOADING OF CASSETTE TAPE.
HOW TO MAKE PLAYBACK .....
HOW TO MAKE RECORDING ..
DOLBY NOlSE REDUCTION SYSTEM.
MAINTENANCE ..........
TROUBLE SHOOTING
SPECIFICATIONS ...................................................................................
ommwumawm
2 F
FEATURES
1.
Front-loading with optimum convenience
All controls are neatly arranged on the front panel for easy operation.
Designed to provide excellent performance when used with any type of
Hi-Fi component system. The tape deck can be placed anywhere. even
on amplifier, tuner or receiver.
. Adoption of Dolby Noise Reduction System
The Dolby N.R. system eliminates undesirable tape hiss noise, im-
proving S/N ratio in high frequency range by about 10 dB.
. Unique tape selector switch
The tape selector switch functions to select bias" in 2 steps and e-
qualization in 3 steps to ensure optimum recording and playback of
various types of tapes, such as normal tape, L.H. tape, chrome tape
and Perri-chrome tape.
. input selector with MlC/DIN attenuator
The MIC/DIN attenuator built in the input selector protects the head
amplifier against saturation due to over-input; use the attenuator
according to the amount of MlC/DlN Input. The input selector allows
the line input to bypass the head amplifier, improving both S/N ratio
and distortion.
Full auto stop mechanism
in all mode such as recording, playback, fast forward or rewind, the
tape drive mechanism stops automatically as the tape reaches its end.
. Mirror and lamp in cassette compartment
A mirror and lamp furnished in the cassette compartment provide a full
view of the tape running condition.
. Satety-locked elect mechanism
Model KX~620 is provided with the safety-locked eject mechanism for
the tape ejection. When the cassette door is closed, the mechanism is
in effect and the cassette tape can not be ejected by pressing the
STOP/EJECT button.
. Free-to-change motor pulley
The tape mechanism is driven by DC motor, so the unit accepts both 50
Hz and 60 Hz power without making any modification.
DOLBY is a Trade Mark of Dolby Laboratories, Inc.
Page 4
CONTROLS AND THEIR FUNCTIONS
' l
CASSETTE door
To open the cassette door. push it up until It looks,
To close, lightly push it once again until it is unlocked (see page all
1
RECORDING Indicator |
This lamp glows red as the record button is pressed. indicating that the deck is in
record mode.
J
r 1
TAPE counter 8t RESET button
The tape counter drive is associated with tape transport to enztble you to accurately
locate each point on the tape.
Pushing the reset button resets the counter Indication to 000 , you do litis normally
when starting the tape trom its very end.
b J
. 1
POWER smtch
To turn on the power, set this switch to ON"; the lamps in the =,assette L tmpartment
and the VU meters will light.
To turn oft, St. the switch to "OFF". 4
fi r r r
RECORD button
Press this butt tor rracor-
ding. it can not I ' pressed it
cassette is irnprtn erly loaded
or a claw to prevent acciden-
tal erasure is removed.
During record mode. the
record pilot lamp lights up
and the level meters indicate
input levels.
newmo («) button
Pressing this button starts
sending the tape last to the
lett~hand reel. When the tape
reaches the end, the button ls
automatically released from
the locked position.
PLAY (>) button
The tape starts running tor
playback as this button Is
pressed.
For recording, keep pressing
the record button and press
the play button.
In either case, each button is
released from the locked
position and the tape stops
automatically when the tape
reaches the end.
FAST FORWARD (») button
Pressing this button starts
sending the tape last to the
right-hand reel. When the
tape reaches the end. the
button is automatically
released trom the locked
position
PAUSE button
Pressing thlS button during
recording or playback allows
the tape to stop tor a brief
period at time. Pressing the
same button once again
allows the tape to resume
running for recording or
playback.
CAUTION:
Pressing FAST FORWARD or
REWIND button with this
PAUSE button pressed does
not automatically stop the
tape running even when the
tape reaches the end.
fi 7
STOP, ' JECT button
As yet- press this button any
other peration buttons get
releas- i and the tape stops
runninu Pressing the button
once again ejects the
cassei > tor removal.
Bear 7 s in mind: When the
casst» 9 door is closed,
pressr q the button does
stop tw i tape running but not
eject t ,9 cassette.