Jvc XVK 505 TN Owners Manual

This is the 109 pages manual for Jvc XVK 505 TN Owners Manual.
Read or download the pdf for free. If you want to contribute, please upload pdfs to audioservicemanuals.wetransfer.com.

Page: 1 / 109
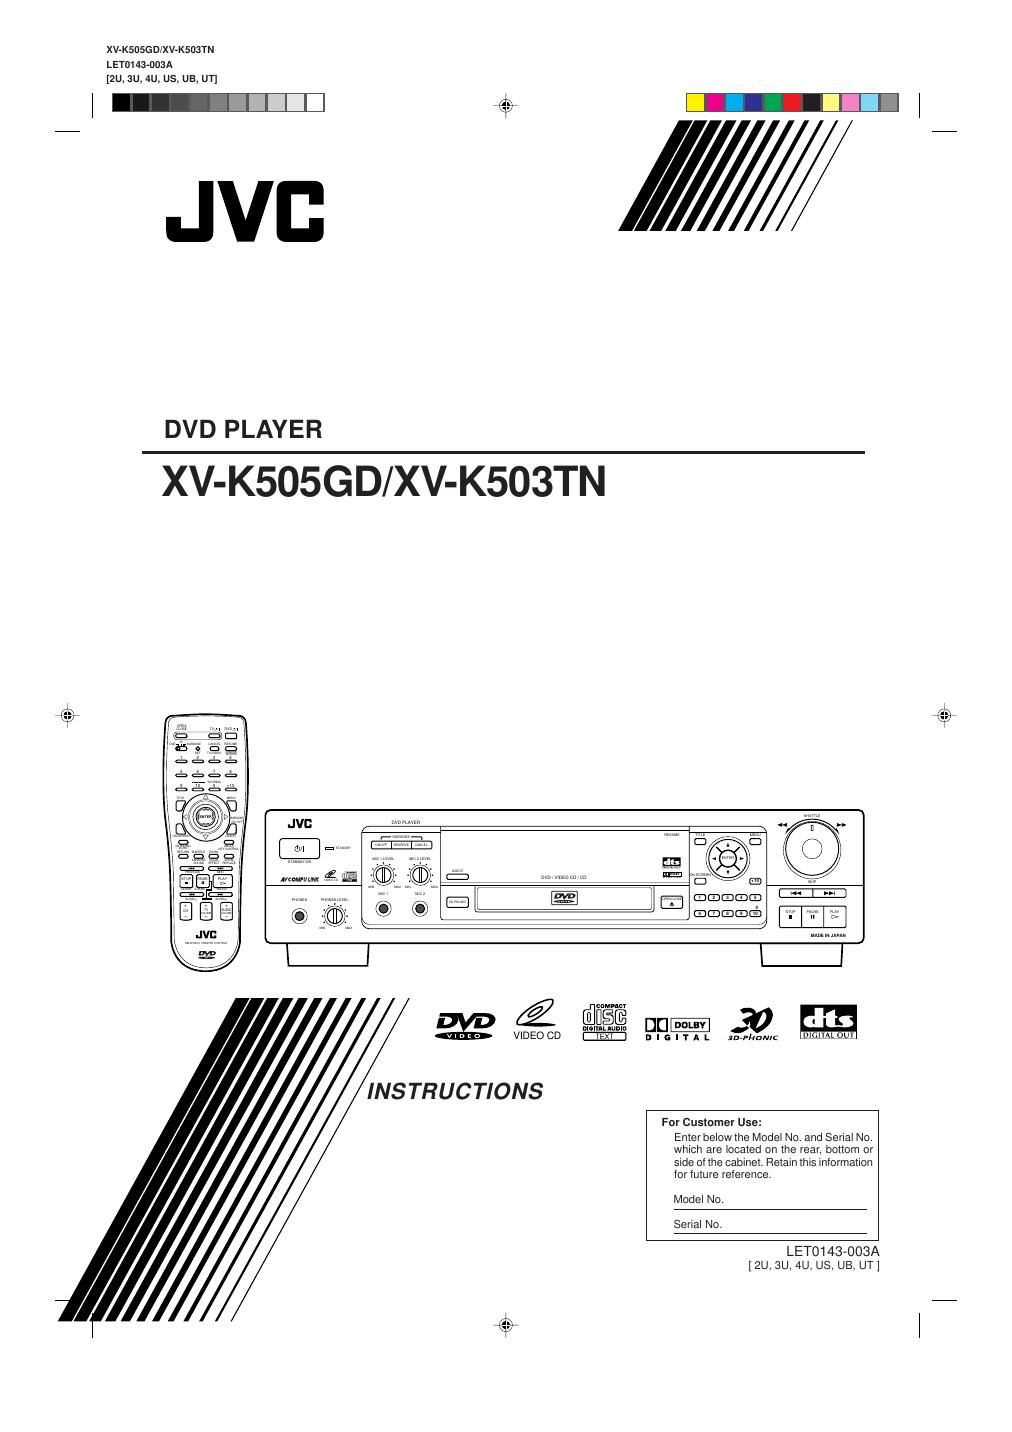
Jvc XVK 505 TN Owners Manual

Extracted text from Jvc XVK 505 TN Owners Manual (Ocr-read)


Page 2

XV-K505GD/XV-K503TN
LET0143-003A
[2U, 3U, 4U, US, US, UT]

Warnings, Cautions and Others
Avisos, precuciones y otras notas
Advertécias, precaugoes e outras notas
gag? iififififlfléfiifl$lfi

til-3 JééJ OW, Obgztaz

CAUTION

To reduce the risk 01 electrical shocks, fire, etc.:

1. Do not remove screws, covers or cabinet.

2. Do not expose this appliance to rain or moisture.

PRECAucION

Para reducir riesgos de choques electricos, incendio, etc.:
1. No extraiga los tornillos, Ios cubiertas ni Ia caja.

2. No exponga este aparato a la lluvia o a la humedad.

ATENng
Para reduzir riscos de choques eléctricos, incendio, etc.:

1. Nao retire parafusos nem desmonte as tampas ou o gabinete.

2. Nao exponha este aparelho a chuva nem a umidade.

L55
=éJ'13-JP ,i «we»: an» as: ,5; deli
.mlflgflui 1.5911653; y .\
4.1.9." 3i) 5L9): m 0;}; y .r

ii???

fiTllililEjfififli s Xfiéfifilfi- 2
1. .. thElfiIJTlfilhfifil ' g ffilfléfi s
2. Wfllfizlifiififiifififilsflrfiffiififil "

ETllfiitflxfliLXZifiE ' fifigzfifi

~ 9

Caution - 0n button!

Disconnect the mains plug to shut the power off completely. The (b/l
button in any position does not disconnect the mains line. The power
can be remote controlled.

iAtencion - botén (5/1!
Desconectar el cable de alimentacion para desactivar Ia alimentacion
totalmente. Cualquier que sea Ia posicion de aiuste del boton 0/1, Ia
alimentacién no es cortada completamente. La alimentacién puede ser
controlada remotamente.

Atengéo -- botéo (')/ l!

Desconecte o plugue principal para interrornper a energia
completamente. O botao on em qualquer posicao nao desconecta a
linha principal. A energia pode ser controlada remotamente.

!<')/|J3-" - 9+3
.LLJ ,ucul may! :14... Ma Mi
MI 05.. Lu: auswuw Jaie v at: ans: 4 a on w
4*! 0" 3L9 9-
3%? - OII we
ass»? ('J/I fififllflfllfiifi EfitflflflgfiifiifiiflfitfiUlfil

aammgaasam , mama amalgam . mama JR
gas fiffill . GP

Page 20

XV-K505GD/XV-K503TN
LET0143-001A
[3U, 4U, US, UB, UT] (EN)

ICED a} l

16

Getting started

I Connections

Before using the unit, you have to connect the unit to a TV or amplifier. By connecting to an amplifier which has a
digital terminal or Dolby digital capability, you can enhance the sound quality.

Before making any connections

- Do not connect the AC power cord until all other connections have been made.
- Since different components often have different terminal names, carefully read the instructions supplied with the
component you wish to connect.

To connect to a TV, monitor, or projector with the audio input and video input
iacks

You can enjoy using the unit by simply connecting it to a television set. To hear improved audio sound quality,
connect the audio outputs to your audio equipment. (See the following pages.)

* If the TV has an AV COMPU LINK terminal, see "AV
COMPU LINK remote control system" on page 98.

The unit
VIDNDUI ©

© um All mum mu
m
mum nvr gull ®


-S-video cable

rm (supplied)
TV, monitor, or projector
Yellow ' White - Red
l
Audio/video cable
(supplied)

Connect the unit to a television set equipped with stereo audio input and video input jacks using the supplied audio/
video cables.

- If your television set has a monaural audio input instead of stereo, you need to use an optional audio cable which

converts stereo audio output to monaural.
- If your television set has an S-video input, you should connect it with the S-VIDEO output of the unit using the

supplied S-video cable in addition to the (standard) video connection to get better picture quality.

IN:
The unit is compatible with the PAL and NTSC color systems. Set "lg according to the color system of your TV,
monitor, or projector. (Make sure the color system ofthe DVD disc labeled of the package. If you play the disc
recorded on the different color system, the unit play it incorrectly. Use the disc recorded of the same color system.)
When you use the multi-system TV, monitor, or projector, you can play the disc recorded on both the PAL and NTSC
color systems. Set "3% according or the color system of the disc.
on off

The Amman beside the AUDIO OUT jacks should be normally set to OFF. If you hear the audio distorted because the
sensitivity of the TV's audio input is too high, set If to ON.

Autumn!

0 Connect VIDEO OUT of the unit 'to the video input of a television set. Connecting VIDEO OUT of the unit to a TV
via a VCR may cause a monitor problem when playing back a copy-protected disc.

Page 76

xv-KsoseD/xv-Ksosm
LET0143-001A
[3u, 4U, us, UB, UT] (EN)

l -:l:l:l:lj

Video
CD Video CD Operations


Remote Conlrol Fronl Panel

@2

- To enter 0 on the from panel,

0
press -.

- &, and 1% on the remote

control unit or on the
front panel are not used in this
function.

72

{in
GP

Cl 7l

I During playback without the PBC function

To locate a desired position by specitying the time
[TIME SEARCH]

You can playback a disc from the desired position by specifying the elapsed time
from the beginning of the disc.

1 Press [3.

ON SCREEN

The on-screen display appears on the TV screen.

2 Use to movegto
[TIME SEARCH] and press

0.

The color of "TIME SEARCH"
changes.

_.... nil
4:58

so To 7 : #ENTER

AUDIO 4-D

REPEAT
A-B REPEAT
TIME SEARCH

-"

3 Use 0: t0 (9: to select the
time (minute and second)

then press ..

Example:
To select playback from 2 minutes 34

seconds.

~l« Press (fin
GO TO 0_ :

~L Press (2:.
GO TO 02 : _

~l Press &;.
GO TO 02 : 3 _

l Press (4:.

GOT002 :34

Press

Gun) 92:34 #ENTER


REPEAT
A-B REPEAT


PBc cALL

Selected time

I The unit starts playback from the selected time.