Jvc XLR 5000 BK Owners Manual

This is the 48 pages manual for Jvc XLR 5000 BK Owners Manual.
Read or download the pdf for free. If you want to contribute, please upload pdfs to audioservicemanuals.wetransfer.com.

Page: 1 / 48
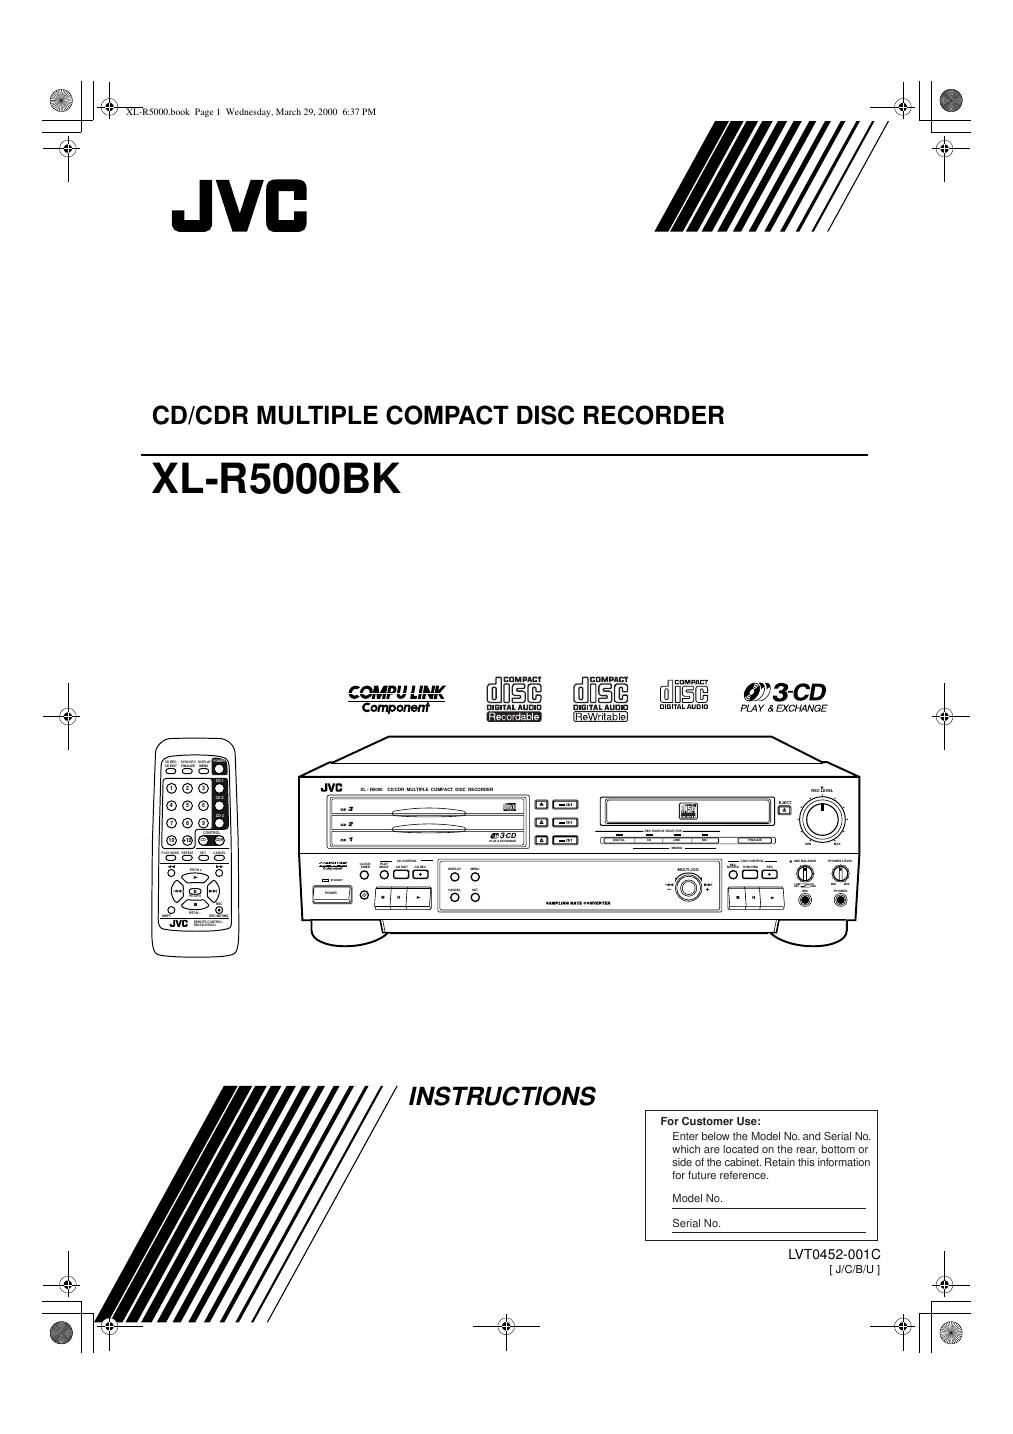
Jvc XLR 5000 BK Owners Manual

Extracted text from Jvc XLR 5000 BK Owners Manual (Ocr-read)


Page 1

G-1 Warnings, Cautions and Others For U.S.A.This equipment has been tested and found to comply with the limits for a Class B digital device, pursuant to part 15 of the FCC Rules. These limits are designed to provide reasonable protection against harmful interference in a residential installation. This equipment generates, uses and can radiate radio frequency energy and, if not installed and used in accordance with the instructions, may cause harmful interference to radio communications. However, there is no guarantee that interference will not occur in a particular installation. If this equipment does cause harmful interference to radio or television reception, which can be determined by turning the equipment off and on, the user is encouraged to try to correct the interference by one or more of the following measures: Reorient or relocate the receiving antenna. Increase the separation between the equipment and receiver. Connect the equipment into an outlet on a circuit different from that to which the receiver is connected. Consult the dealer or an experienced radio/TV technician for help. CAUTION: TO REDUCE THE RISK OF ELECTRIC SHOCK, DO NOT REMOVE COVER (OR BACK). NO USER SERVICEABLE PARTS INSIDE. REFER SERVICING TO QUALIFIED SERVICE PERSONNEL. RISK OF ELECTRIC SHOCK DO NOT OPEN The lightning flash with arrowhead symbol, within an equilateral triangle is intended to alert the user to the presence of uninsulated "dangerous voltage" within the product's enclosure that may be of sufficient magnitude to constitute a risk of electric shock to persons. The exclamation point within an equilateral triangle is intended to alert the user to the presence of important operating and maintenance (servicing) instructions in the literature accompanying the appliance. CAUTION IMPORTANT for the U.K. DO NOT cut off the mains plug from this equipment. If the plug fitted is not suitable for the power points in your home or the cable is too short to reach a power point, then obtain an appropriate safety approved extension lead or consult your dealer. BE SURE to replace the fuse only with an identical approved type, as originally fitted. If nontheless the mains plug is cut off ensure to remove the fuse and dispose of the plug immediately, to avoid a possible shock hazard by inadvertent connection to the mains supply. If this product is not supplied fitted with a mains plug then follow the instructions given below: IMPORTANT. DO NOT make any connection to the terminal which is marked with the letter E or by the safety earth symbol or coloured green or green-and-yellow. The wires in the mains lead on this product are coloured in accordance with the following code: Blue : Neutral Brown : Live As these colours may not correspond with the coloured markings identifying the terminals in your plug proceed as follows: The wire which is coloured blue must be connected to the terminal which is marked with the letter N or coloured black. The wire which is coloured brown must be connected to the terminal which is marked with the letter L or coloured red. IF IN DOUBT - CONSULT A COMPETENT ELECTRICIAN. WARNING: TO REDUCE THE RISK OF FIRE OR ELECTRIC SHOCK, DO NOT EXPOSE THIS APPLIANCE TO RAIN OR MOISTURE. XL-R5000.book Page 1 Wednesday, March 29, 2000 6:37 PM

Page 2

G-2 CAUTION To reduce the risk of electrical shocks, fire, etc.: 1. Do not remove screws, covers or cabinet. 2. Do not expose this appliance to rain or moisture. ATTENTION Afin d'éviter tout risque d'électrocution, d'incendie, etc.: 1. Ne pas enlever les vis ni les panneaux et ne pas ouvrir le coffret de l'appareil. 2. Ne pas exposer l'appareil à la pluie ni à l'humidité. For Canada & USA Caution –– POWER switch! Disconnect the mains plug to shut the power off completely. The POWER switch in any position does not disconnect the mains line. The power can be remote controlled. Attention –– Commutateur POWER! Déconnecter la fiche de secteur pour couper complètement le courant. Le commutateur POWER ne coupe jamais complètement la ligne de secteur, quelle que soit sa position. Le courant peut être télécommandé modèle. For other countries Caution –– switch! Disconnect the mains plug to shut the power off completely. The switch in any position does not disconnect the mains line. The power can be remote controlled. For Canada/pour le CanadaTHIS DIGITAL APPARATUS DOES NOT EXCEED THE CLASS B LIMITS FOR RADIO NOISE EMISSIONS FROM DIGITAL APPARATUS AS SET OUT IN THE INTERFERENCE-CAUSING EQUIPMENT STANDARD ENTITLED "DIGITAL APPARATUS", ICES-003 OF THE DEPARTMENT OF COMMUNICATIONS. CET APPAREIL NUMERIQUE RESPECTE LES LIMITES DE BRUITS RADIOELECTRIQUES APPLICABLES AUX APPAREILS NUMERIQUES DE CLASSE B PRESCRITES DANS LA NORME SUR LE MATERIEL BROUILLEUR: "APPAREILS NUMERIQUES", NMB-003 EDICTEE PAR LE MINISTRE DES COMMUNICATIONS. For Canada/pour le Canada CAUTION: TO PREVENT ELECTRIC SHOCK, MATCH WIDE BLADE OF PLUG TO WIDE SLOT, FULLY INSERT ATTENTION: POUR EVITER LES CHOCS ELECTRIQUES, INTRODUIRE LA LAME LA PLUS LARGE DE LA FICHE DANS LA BORNE CORRESPONDANTE DE LA PRISE ET POUSSER JUSQUAU FOND XL-R5000.book Page 2 Wednesday, March 29, 2000 6:37 PM

Page 14

10 English Power ON/STANDBY Operations To turn on the power Press the POWER (for Canada and U.S.A.)/ (for other coun- tries) button on the front panel or remote control. - The currently selected function appears in the display window. To put the power to standby Press the POWER (for Canada and U.S.A.)/ (for other coun- tries) button on the front panel or remote control.- The clock display appears in the display window. It flashes if the clock has not been set. - The power can only be put to standby by pressing the POWER (for Canada and U.S.A.)/ (for other countries) button press- ing. If the POWER (for Canada and U.S.A.)/ (for other countries) button is pressed during recording, the standby lamp flashes while the unit brings the operation to a stop. Once the unit has been put in the stop mode, the unit is put in standby and the standby lamp lights steady. During this time, there is no effect if any of the but- tons on the front panel or remote control (including POWER (for Canada and U.S.A.)/ (for other countries)) are pressed. To turn on the power by pressing a function button When the power is switched to STANDBY, it can be turned on and a function selected simply by pressing one of the buttons shown in the figure below - When the 3 button for either the 3-CD changer or CDR is pressed, the power is turned on and the corresponding tray is selected. If a disc is loaded in the selected tray, playback begins. If the power has been turned on, pressing 3 on the remote con- trol selects the last selected function (3-CD changer or CDR) and starts playback of the disc loaded in the selected tray. - When one of the 3-CD changer 0 (eject) buttons or the CDR EJECT 0 button is pressed, the power is turned on and the tray opens, but the currently selected function (3-CD changer or CDR) does not change. - If the main power is turned off or if the AC power cord is unplugged from the wall outlet for longer than an hour, the internal clock, program etc. of this unit may be reset. When this occurs, please set the clock (and timer functions) again. Turning the power on and putting in standby XL - R5000 CD/CDR MULTIPLE COMPACT DISC RECORDER MIX BALANCE STANDBYPHONES LEVEL MAX MIN MULTI JOG + – POWER REC LEVEL 12 3 4 56 78 10+ 109 PLAY MODE REPEAT SET CANCEL CONTROL PITCH 0PITCH + PITCH – SHIFT REMOTE CONTROL RM-SXLR5000JREC MUTINGREC DISPLAY SYNCHRO CD REC CD EDIT FINALIZE MENU POWER CD 1 CD 2 CD 3 CD CDR CD1, CD2, CD3 POWER () POWER ( ) CD1, CD2, CD3 3 33 00 STANDBY POWER POWER Lamp goes out. Main Unit Remote Control Main Unit Remote Control For Canada and U.S.A. STANDBY/ON STANDBY Lamp goes out. For other countries. STANDBY POWER POWER Lamp lights Main Unit Remote Control Main Unit Remote Control For Canada and U.S.A. Lamp lights For other countries. STANDBY/ON STANDBY Function Operation Main unit Remote control CDThe function is set to CD. The CD PLAYER indiator lights. If one of these buttons is pressed when a CD is on the corresponding CD tray, con- tinuous play starts from the CD tray which corresponds to the button pressed. These buttons do not function during program and random play modes. Main unit (CD control) CDThe function is set to CD. The CD PLAYER indicator lights. Main unit (CDR control) CDRThe function is set to CDR. The CD RECORDER indica- tor lights. CD 1 CD 2 CD 3 XL-R5000.book Page 10 Wednesday, March 29, 2000 6:37 PM

Page 28

24 English 5 Turn the MULTI JOG dial or press the 4/¢ button on the remote control to select DUB- SPEED 2X or DUB-SPEED 1X. - If DUB-SPEED 2X is selected, the HIGH SPEED indicator lights in the display. - Press the CANCEL button to cancel the procedure and return to the normal display. Notes - High-speed (2x) recording is not possible under the following conditions: - When analog recording is performed - When pitch adjustments have been made to the playback CD - When mixed input recording is being performed - When high-speed (2x) recording is performed, there is no audio output from any of the output connectors (LINE OUT, OPTI- CAL OUT, HEADPHONE), and therefore it is not possible to monitor the recording. However, the current recording level is displayed in the level meter.When this function is turned on, the unit records 2 seconds of silence at the beginning of each track during any automatic record- ing from the 3-CD changer to the CDR. 1 When the unit is in the stop mode, press the MENU button on the main unit (or the DISPLAY/ MENU button on the remote control while holding down the SHIFT button). 2 Turn the MULTI JOG dial or press the 4/¢ button on the remote control until TRACK SPACE appears in the display. 3 Press the SET button. - The current setting is displayed on the screen. (The setting is on by default.) 4 Turn the MULTI JOG dial or press the 4/¢ button on the remote control until TR SPACE ON or TR SPACE OFF. - There is no indicator to show that lights to the status of this function. During synchronized one-button recording, Listening Edit recording, and Program Edit recording modes, a 2 second silence will be recorded before every track . - Press the CANCEL button to cancel the procedure and return to the normal display. Note This function works for all types of recording where recording is started from the record pause mode with the exception of synchro- nized recording. Setting the auto track spacing function MIX BALANCE STANDBYPHONES LEVEL MAX MIN MULTI JOG + – POWER REC LEVEL 1 3 2,4 XL - R5000 CD/CDR MULTIPLE COMPACT DISC RECORDER 12 3 4 56 78 10+ 109 PLAY MODE REPEAT SET CANCEL CONTROL PITCH 0PITCH + PITCH – SHIFT REC MUTINGREC DISPLAY SYNCHRO CD REC CD EDIT FINALIZE MENU POWER CD 1 CD 2 CD 3 CD CDR 1 2,4 3 1 REMOTE CONTROL RM-SXLR5000J CANCEL CANCEL XL-R5000.book Page 24 Wednesday, March 29, 2000 6:37 PM