Jvc SPX 100 Service Manual

This is the 14 pages manual for Jvc SPX 100 Service Manual.
Read or download the pdf for free. If you want to contribute, please upload pdfs to audioservicemanuals.wetransfer.com.

Page: 1 / 14
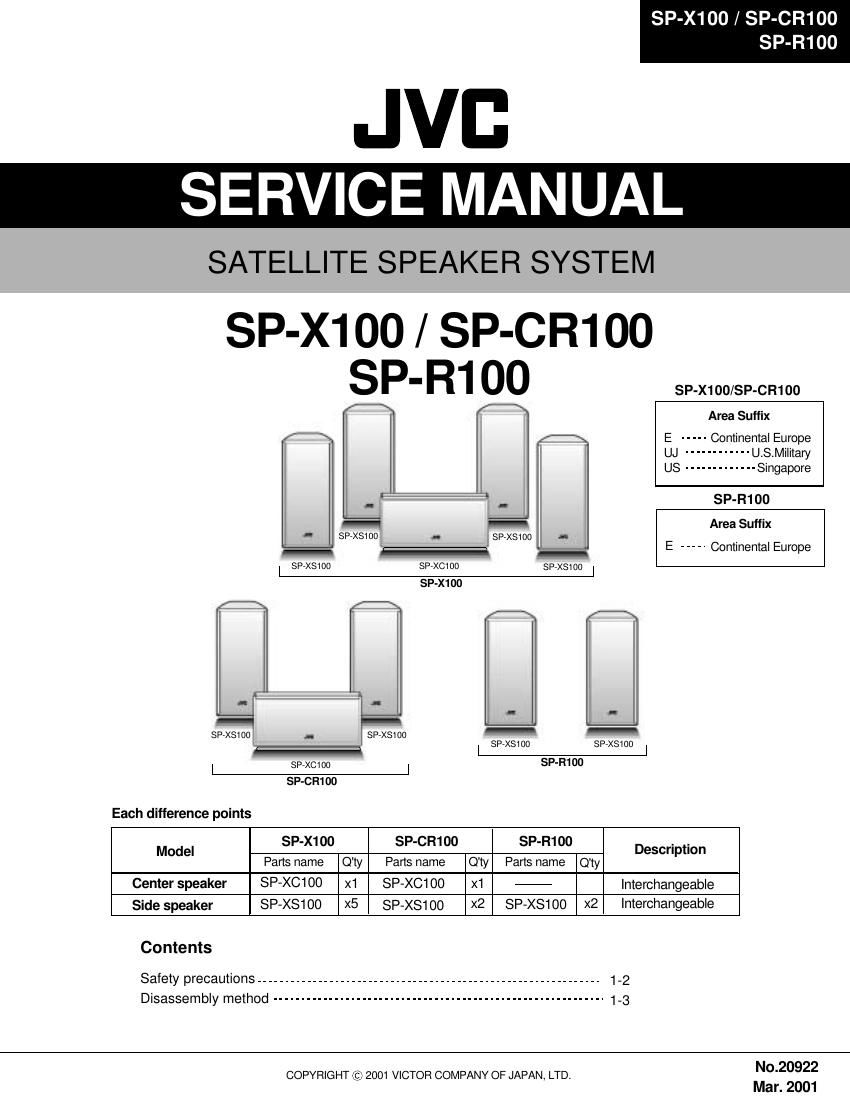
Jvc SPX 100 Service Manual

Extracted text from Jvc SPX 100 Service Manual (Ocr-read)


Page 1

SP-X100/SP-CR100 SP-R100 1-2 ! Burrs formed during molding may be left over on some parts of the chassis. Therefore, pay attention to such burrs in the case of preforming repair of this system. Safety precaution

Page 2

SP-X100/SP-CR100 SP-R100 1-3 Remove the six hooks a attaching the ornament panel from front side. In that case, ornament panel is fixed with the adhesive, and remove the ornament panel by using a minus driver etc. , please. 1. Disassembly method Removing the Ornament Panel (See Fig.1) Prior to performing the following procedure, remove the ornament panel. Remove the two screws A attaching the front panel. Pull out the front Panel. In that case, front panel is fixed with the adhesive, and remove the front panel by using a minus driver etc. , please. 1. 2. Removing the front panel (See Fig.2 ) 1. 2. Prior to performing the following procedure, remove the ornament panel. and front panel. Disconnect the speaker wire from speaker terminal. Remove the four screws B attaching the speaker. Removing the speaker (See Fig.3 to 4) The speaker box of this model is a unit supply. Therefore, we do not supply it as individual parts though the method of disassembling the speaker box has been described. Fig.1 Fig.2 Fig.3 a Ornament Panel B B Front panel assembly Front panel assembly Fig.4 Speaker wire Speaker terminal A a B B Speaker B