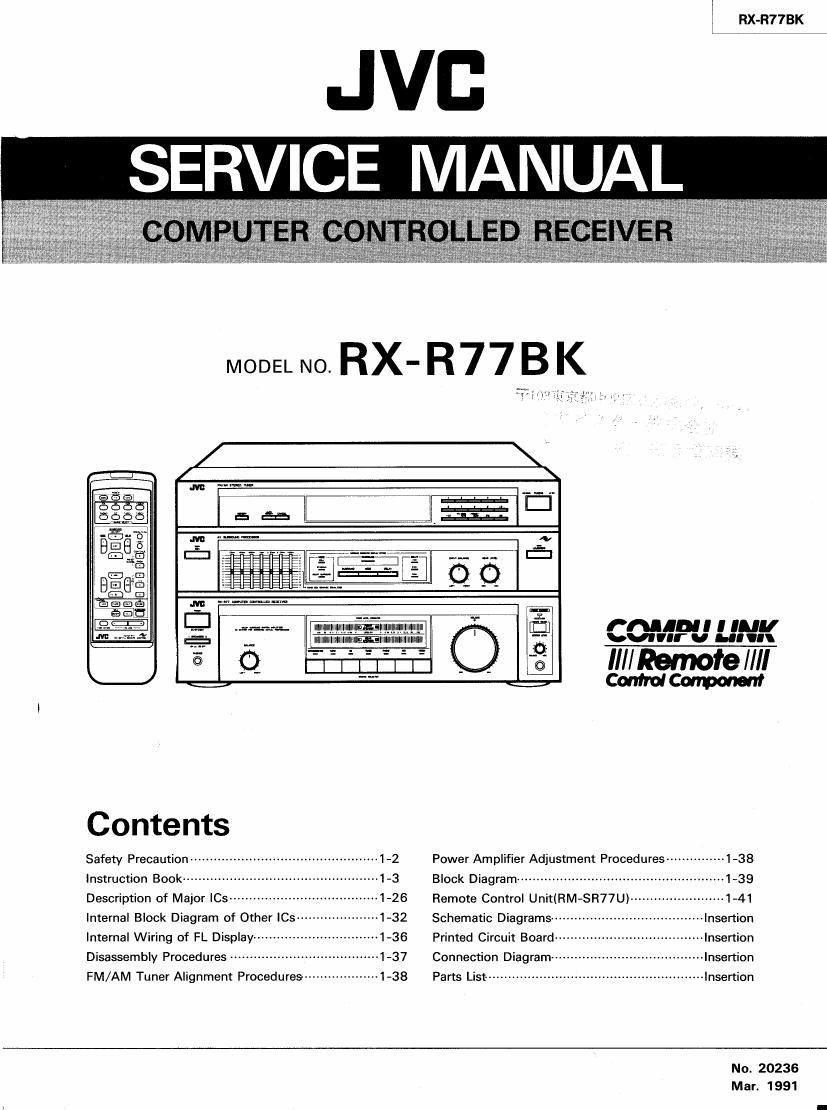
Jvc RXR 77 BK Service Manual
This is the 83 pages manual for Jvc RXR 77 BK Service Manual.
Read or download the pdf for free. If you want to contribute, please upload pdfs to audioservicemanuals.wetransfer.com.
Extracted text from Jvc RXR 77 BK Service Manual (Ocr-read)
Page 1
RX-R77BK
JVC
SERVICE MANUAL
l 9392.5
1 a ""72
Wage-E
fi 23
than!!! I I luv
4 HVIIII' U I Ill
II// Remote //II
Control Coupons!"
Contents
Safety Precaution- Power Amplifier Adjustment Procedures ---1-38
139
Instruction Bookw Block Diagram~~-
Description of Major ICs ------------------------------------- 1-26 Remote Control UnithM-SR77U)~ ~~1-41
Internal Block Diagram of Other le- Schematic Diagrams--- Insertion
Internal Wiring of FL Display Printed Circuit Board insertion
Disassembly Procedures --------- Connection Diagramm Insertion
FM/AM Tuner Alignment Procedures ------------------- 1-38 Parts List- --------------------------------------------------- Insertion
No. 20236
Mar. 1991
Page 2
1 RX-R77BK
--$afety Precautions
1. The design of this product contains special hardware and many circuits and components
specially for safety purposes. For continued protection, no changes should be made to the
original design unless authorized in writing by the manufacturer. Replacement parts must
be identical to those used in the original circuits. Services should be performed by
qualified personnel only. ,
2. Alterations of the design or circuitry of the product should not be made. Any design
alterations of the product should not be made. Any design alterations or additions will
void the manufacturer's warranty and will further relieve the manufacture of responsibility
for personal injury or property damage resulting therefrom.
3. Many electrical and mechanical parts in the products have special safety-related
characteristics. These characteristics are often not evident from visual inspection nor can
the protection afforded by them necessarily be obtained by using replacement components
rated for higher voltage, wattage, etc. Replacement parts which have these special safety
characteristics are identified in the Parts List of Service Manual. Electrical components
having such features are identified by shading on the schematics and by (A) on the Parts
List in the Service Manual. The use of a substitute repalcement which does not have the
same safety characteristics as the recommended replacement parts shown in the Parts List of
Service Manual may create shock, fire, or other hazards.
4. The leads in the products are routed and dressed with ties, clamps, tubings, barriers and
the like to be separated from live parts, high temperature parts, moving parts and/or sharp
edges for the prevention of electric shock and fire hazard. When service is required, the
original lead routing and dress should be observed, and it should be confirmed that they
have been returned to normal, after re-assembling.
5. Leakage currnet check (Electrical shock hazard testing)
After re-assembling the product, always perform an isolation check on the exposed metal
parts of the product (antenna terminals, knobs, metal cabinet, screw heads, headphone jack,
contorl shafts, etc.) to be sure the product is safe to operate without danger of electrical
shock.
Do not use a line isolation transformer during this check.
0 Plug the AC line cord directly into the AC outlet. Using a "Leakage Current Tester,
measure the leakage current from each exposed metal parts of the cabinet, particularily
any exposed metal part having a return path to the chassis, to a known good earth
ground. Any leakage current must not exceed 0.5mA AC (r.m.s.).
0 Alternate check method
Plug the AC line cord directly into the AC outlet. Use an AC voltmeter having, 1,000
ohms per volt or more sensitivity in the following manner. Connect a 1,5000 10 W
resistor paralleled by a 0.15 pF AC-type capacitor between an exposed metal part and a
known good earth ground.
Measure the AC voltage across the resistor 31231359353
with the AC voltmeter. E ohms/volts, _ _
Move the resistor connection to each exposed O °_ ° "we senstVitYJ
metal part, particularly any exposed metal part
having a return path to the chassis, and 015,; AC Type
meausre the AC voltage across the resistor. -||-
Now, reverse the plug in the AC outlet and math
repeat each measurement. Any voltage W >23}, eggosed
measured must not exceed 0.75VAC (r.m.s.). 15°0910W metal part.
This corresponds to 0.5 mA AC (r.m.s.). Good earth ground
-Warnmg
1. This equipment has been designed and manufactured to meet international safety standards.
2. It is the legal responsibility of the repairer to ensure that these safety standards are
maintained.
3. Repairs must be made in accordance with the relevant safety standards.
4. it is essential that safety critical components are replaced by approved parts.
5. If mains voltage selector is provided, check setting for local voltage.
172(Nn20236)
Page 20
RX-R77BK
Operation with the Remote Control Unit
I 720(No.20236)
PM m me new
wow cu TAFU TAPEQ
0000
m SELEEV
oFERAron
r
m
a CONTINUE
was
i
Er
cum Firm
L
{rm/arr]
C)-
nn: mm: trauma? ,
JV: max-R71 4/
RM~SR77U mm: comm
E
Aim the signals at the REMOTE SENSOR on the
receiver.
0 Aim the remote control unit at a Video equipment to use (such
as TV, VCR).
0 The remote control unit provrded control the receiver and
JVCs audio visual gear from a remote place we the COMPU
LiNK Remote Control SYstem
- Direct the transmitter window of the remote control unit at
target equipment Within a distance of 7 meters. Take care to
avoid obstacles between the transmitter and the target. Press
keys slowly and posnively, making sure the desired functions
result.
0 The key markings on the transmitter may not match those on
the equipment, Check the markings.
The remote control unit cannot control egurprneht functions
they do not support Older equipment may not be receptive to
their input.
0 Check tor connection of the COMPU LINK-HSYNCHRO
terminals on the remote equipment by a remote cable.
0 The operation of each key on the remote control unit is clearly
displayed on the receiver.
For specific procedures, refer to the Instructions for the
particular equipment.
I Switch on the power to all the equipment required before
starting operation, The POWER key on the remote control unit
can switch on the power to the AUDlO receiver, TV and VCR,
Name of Parts and Their Functions
0 Power
AUDIO: Press to change the power for the receiver ON or
STANDBY,
TV: Press to turn on or oil the power to JVCs TV
receiver
VCR: Press to turn on or oil the power to JVC's VCR.
9 SOURCE SELECT
Press to change the source selected for input to the receiver.
Dillerent functions are assigned to the Selectable Function
keys depending on the source.
9 Selectable Function Keys
These keys function in the mode selected with SOURCE
SELECT keys or Function Mode Select keys,
9 Function Mode Select
Press to select the equipment you wish to operate.
Different functions are aSSIgned to the Selectable Function
keys depending on the equipment
Pressing these buttons does not change the source selected
for input to the receiver.
6 SEA ONIOFF
SEA ON/OFF, Turn the SEA ON or OFF.
(3 Volume and Fade Mutlng
- To increase the volume, press the + key. To decrease the
volume, press - key.
When ustng the remote controls VOLUME key, the VOLUME
indicator light on the receiver will blink, The receivers
VOLUME control knob Will rotate, registering the new volume
level.
0 To decrease the volume. press the FADE MUTING key Each
time you press the key, the volume is reduced slightly
When you use VOLUME + - and FADE MUTEING on the
remote control, the Volume Indicator on the receiver blinks.