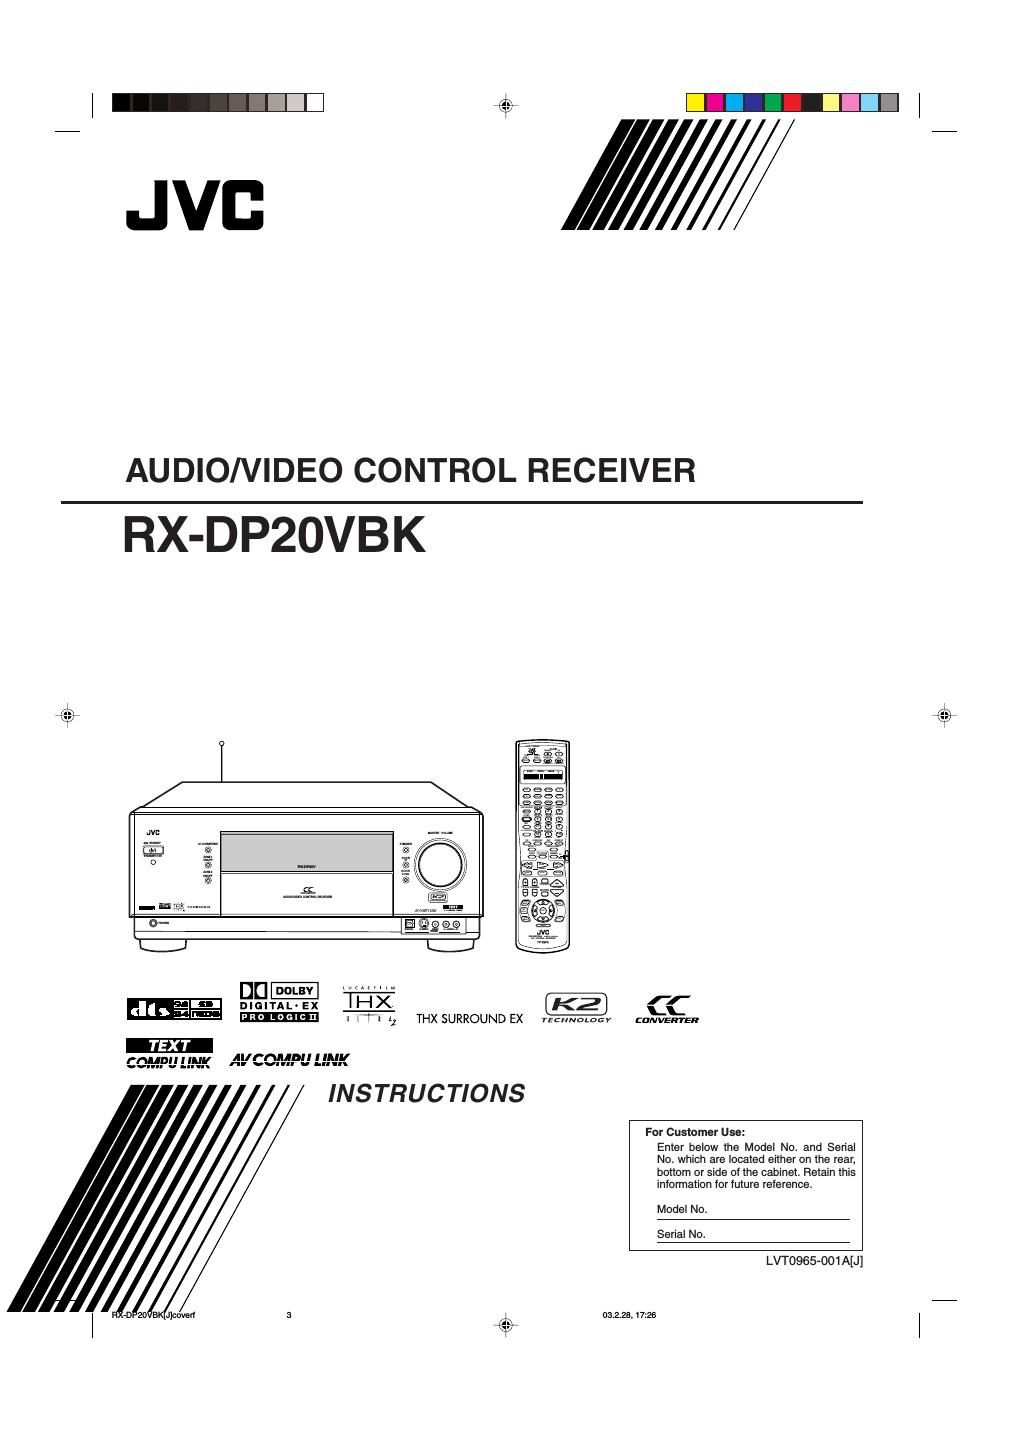
Jvc RXDP 20 VBK Owners Manual
This is the 90 pages manual for Jvc RXDP 20 VBK Owners Manual.
Read or download the pdf for free. If you want to contribute, please upload pdfs to audioservicemanuals.wetransfer.com.
Extracted text from Jvc RXDP 20 VBK Owners Manual (Ocr-read)
Page 1
G-1 Warnings, Cautions and Others CAUTION To reduce the risk of electrical shocks, fire, etc.: 1. Do not remove screws, covers or cabinet. 2. Do not expose this appliance to rain or moisture. Caution –– (STANDBY/ON) switch! Disconnect the mains plug to shut the power off completely. The (STANDBY/ON) switch in any position does not discon- nect the mains line. The power can be remote controlled. CAUTION! To avoid personal injury or accidentally dropping the unit, have two persons unpack, carry, and install the unit. WARNING: TO REDUCE THE RISK OF FIRE OR ELECTRIC SHOCK, DO NOT EXPOSE THIS APPLIANCE TO RAIN OR MOISTURE. CAUTION: TO REDUCE THE RISK OF ELECTRIC SHOCK. DO NOT REMOVE COVER (OR BACK) NO USER SERVICEABLE PARTS INSIDE. REFER SERVICING TO QUALIFIED SERVICE PERSONNEL. RISK OF ELECTRIC SHOCK DO NOT OPEN The lightning flash with arrowhead symbol, within an equilateral triangle is intended to alert the user to the presence of uninsulated "dangerous voltage" within the product's enclosure that may be of sufficient magnitude to constitute a risk of electric shock to persons. The exclamation point within an equilateral triangle is intended to alert the user to the presence of important operating and maintenance (servicing) instructions in the literature accompanying the appliance. CAUTION 23.5 kg / 52.0 lb. RX-DP20VBK[J]safetyf03.2.28, 19:32 1
Page 2
G-2 Note to CATV system installer: This reminder is provided to call the CATV system installers attention to Section 820-40 of the NEC which provides guidelines for proper grounding and, in particular, specifies that the cable ground shall be connected to the grounding system of the building, as close to the point of cable entry as practical. For the main unit:This equipment has been tested and found to comply with the limits for a Class B digital device, pursuant to part 15 of the FCC Rules. These limits are designed to provide reasonable protection against harmful interference in a residential installation. This equipment generates, uses and can radiate radio frequency energy and, if not installed and used in accordance with the instructions, may cause harmful interference to radio communications. However, there is no guarantee that interference will not occur in a particular installation. If this equipment does cause harmful interference to radio or television reception, which can be determined by turning the equipment off and on, the user is encouraged to try to correct the interference by one or more of the following measures: Reorient or relocate the receiving antenna. Increase the separation between the equipment and receiver. Connect the equipment into an outlet on a circuit different from that to which the receiver is connected. Consult the dealer or an experienced radio/TV technician for help. Changes or modifications not expressly approved by the manufacturer for compliance could void the users authority to operate the equipment. For the remote control:This device complies with Part 15 of the FCC Rules. Operation is subject to the following two conditions: (1) This device may not cause harmful interference, and (2) this device must accept any interference received, including interference that may cause undesired operation. Changes or modifications not expressly approved by the manufacturer for compliance could void the users authority to operate the equipment. RX-DP20VBK[J]safetyf03.2.28, 19:32 2
Page 46
44 rShowing the Text Information on the Display-FL DISPLAY When you have connected an MD recorder or CD player equipped with the TEXT COMPU LINK remote control system (see page 63), you can show text information, such as disc title or track title, on the display of this receiver. 7 FL DISPLA Y Turn on or off the text information display. TEXT :Text information appears during play. NORMAL :Surround/THX/DSP mode appear during play. Note: Though you have selected TEXT, the source name and Surround/THX/DSP mode will appear while playing a disc that has no text information. t Memorizing the Volume Level for Each Source-ONE TOUCH OPE This unit memorizes many settings separately for each source (see page 28). In addition, you can store the volume level for each source together with the other memorized settings. 7 ONE TOUCH OPE Select one of the following to store the volume level for each source: ON :Select to store the volume level setting separately for each source. (The ONE TOUCH OPERATION indicator lights up on the main units display.) This receiver memorizes the volume level- -when you turn on the power, -when you change the source, and -when you turn on One Touch Operation. OFF :Select not to store the volume level setting. To recall the volume level With the ONE TOUCH OPERATION indicator lit, the volume level for the currently selected source is recalled when the source is selected. To cancel the One Touch Operation Set One Touch Operation to OFF so that the ONE TOUCH OPERATION indicator goes off. 7 SPEAKER 2 When using the FRONT 2/ZONE 2 SPEAKERS terminals, determine the speaker terminal usage: SPEAKER 2 :Select to connect the second front speakers in Zone 1. ZONE 2 SPK :Select to connect the front speakers in Zone 2. BI-AMP OUT :Select to connect the front speakers in Zone 1 using bi-amplifier connection*. The BI-AMP indicator (as well as the front speaker 1 indicator) will light up when the front speakers 1 are activated. Notes: *If your speaker has two pairs of input terminal (one for the high frequency range and the other for the low frequency range), you can connect the speakers by using both the FRONT 1 SPEAKERS and FRONT 2/ZONE 2 SPEAKERS terminals on the rear of this unit. -When BI-AMP OUT is selected, the surround back speakers are automatically deactivated. In this case, the SURR CH OUT submenu cannot be adjusted (see page 42). -When BI-AMP OUT is selected, SURR BACK SP is set to NONE on the SPEAKER SETTING submenu (see page 38). eSuperimposing the Menus-SUPERIMPOSE You can select whether or not to superimpose the menus on the playback pictures on the TV screen. 7 SUPERIMPOSE Turn on or off superimpose: ON :Select to superimpose the menus on the playback pictures on the TV screen. OFF :Select to cancel superimposition. Menus will be shown on the blue background screen. Notes: -If a video component and this unit are connected only using component cords, Superimpose will not work. -While Superimpose is in use, the menus may fluctuate or may be distorted depending on the playback pictures. EN35-44_RX-DP20VBK[J]f03.2.28, 20:03 44
Page 77
75 To change the transmittable signals for operating another manufacturers CATV converter and DBS tuner 1. Set the TV operation mode selector to CATV/DBS. 2. Press and hold TV/CATV/DBS (STANDBY/ON). 3. Press TV/DBS. 4. Enter a manufacturers code using buttons 1–9, and 0. See page 77 to find the code. 5. Release TV/CATV/DBS (STANDBY/ON). After setting the TV operation mode selector to CATV/DBS, you can turn on and off the CATV convertor or the DBS tuner: TV/CATV/DBS (STANDBY/ON) : Turns on or off the CATV converter or DBS tuner. After pressing TV/DBS (with TV operation mode selector set to CATV/DBS), you can perform the following operations on the CATV convertor or on the DBS tuner: CHANNEL +/–:Changes the channels. 1–10, 0, 100+ (+10) :Selects the channels. Number button 10 will function as the ENTER button if your equipment requires pressing ENTER after selecting a channel number. Note: Refer to the manual supplied for your CATV convertor or DBS tuner. 6. Try to operate your CATV converter or DBS tuner by pressing TV/CATV/ DBS (STANDBY/ON). When your CATV converter or DBS tuner turns on or off, you have entered the correct code. If more than one code is listed for your brand of CATV converter or DBS tuner, try each one until the correct one is entered. Note: You cannot preset the signals for both the CATV converter and DBS tuner at the same time. To change the transmittable signals for operating another manufacturers VCR 1. Press and hold VCR 1 (STANDBY/ON). 2. Press VCR 1. 3. Enter a manufacturers code using buttons 1–9, and 0. See page 77 to find the code. 4. Release VCR 1 (STANDBY/ON). The following button can be used for operating the VCR : VCR 1 (STANDBY/ON) :Turns on or off the VCR. After pressing VCR 1, you can perform the following operations on the VCR: 1–10, 0, 100+ (+10) :Selects the TV channels. Number button 10 will function as the ENTER button if your VCR requires pressing ENTER after selecting a channel number. PLAY :Starts playback. REW :Rewinds a video tape. FF :Fast-winds a video tape. STOP :Stops operation. PAUSE :Pauses playing. ¶ REC: Press this button together with the PLAY button to start recording (only for Zone 1 operation). Press this button together with the PAUSE button to enter recording pause (only for Zone 1 operation). CHANNEL +/–:Changes the TV channels on the VCR. Note: Refer to the manual supplied for your VCR. 5. Try to operate your VCR by pressing VCR 1 (STANDBY/ON). When your VCR turns on or off, you have entered the correct code. If more than one code is listed for your brand of VCR, try each one until the correct one is entered. VCR1 Remotes display EFFECT LIVENESS FM MODE RETURN 100+ 123 456 7 /P 89 10 +10 0 VCR 1 STANDBY/ON TVCATV/ DBS Remotes display TV/CATV/DBS STANDBY/ON TV/DBS EFFECT LIVENESS FM MODE RETURN 100+ 123 456 7 /P 89 10 +10 0 TV/CATV/DBS STANDBY/ON VCR 1 STANDBY/ON EN68-84_RX-DP20VBK[J]f03.2.28, 20:22 75