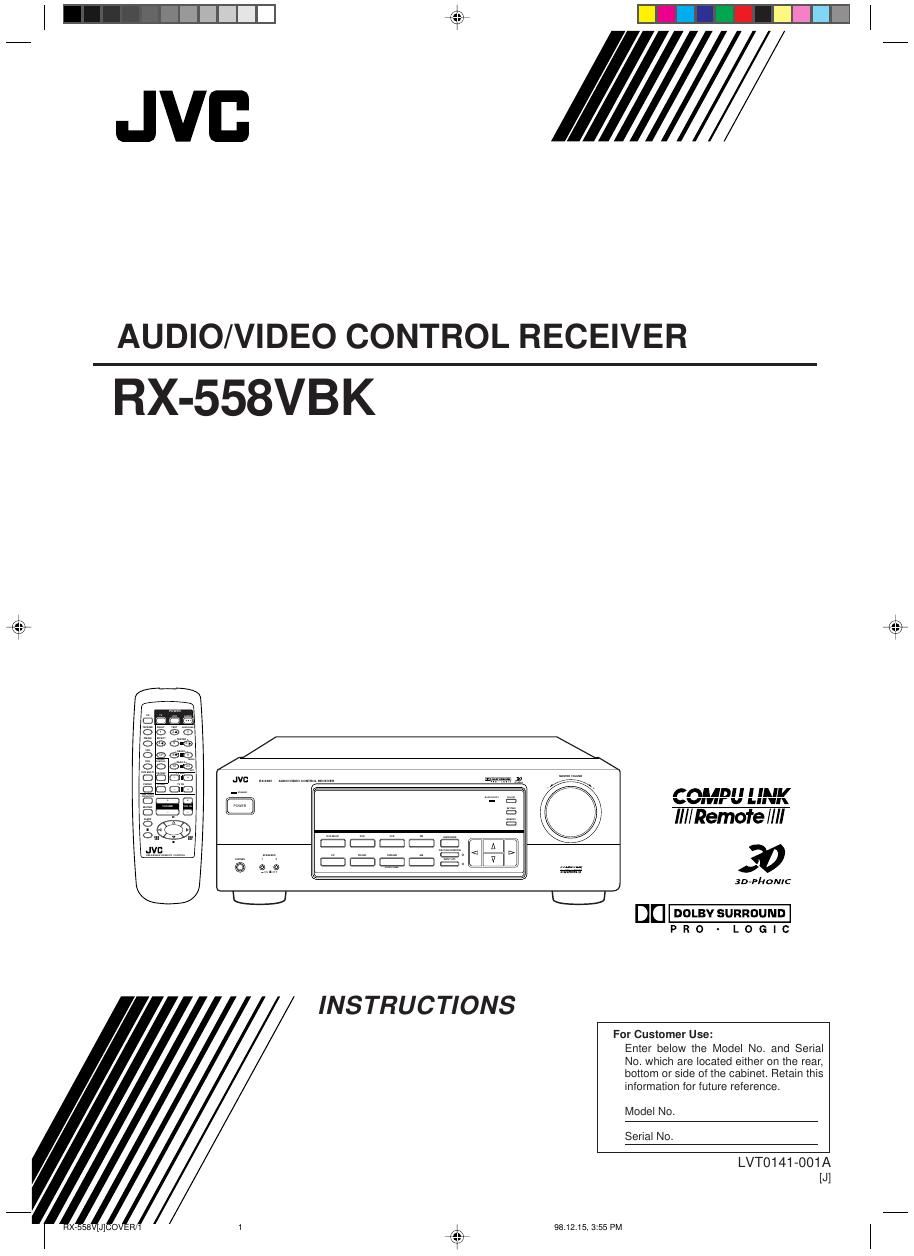
Jvc RX 558 VBK Owners Manual
This is the 30 pages manual for Jvc RX 558 VBK Owners Manual.
Read or download the pdf for free. If you want to contribute, please upload pdfs to audioservicemanuals.wetransfer.com.
Extracted text from Jvc RX 558 VBK Owners Manual (Ocr-read)
Page 1
G-1 Warnings, Cautions and Others Caution ÐÐ POWER switch! Disconnect the mains plug to shut the power off completely. The POWER switch in any position does not disconnect the mains line. The power can be remote controlled. CAUTION: TO REDUCE THE RISK OF ELECTRIC SHOCK. DO NOT REMOVE COVER (OR BACK) NO USER SERVICEABLE PARTS INSIDE. REFER SERVICING TO QUALIFIED SERVICE PERSONNEL. RISK OF ELECTRIC SHOCK DO NOT OPEN The lightning flash with arrowhead symbol, within an equilateral triangle is intended to alert the user to the presence of uninsulated "dangerous voltage" within the product's enclosure that may be of sufficient magnitude to constitute a risk of electric shock to persons. The exclamation point within an equilateral triangle is intended to alert the user to the presence of important operating and maintenance (servicing) instructions in the literature accompanying the appliance. CAUTION WARNING: TO REDUCE THE RISK OF FIRE OR ELECTRIC SHOCK, DO NOT EXPOSE THIS APPLIANCE TO RAIN OR MOISTURE. CAUTION To reduce the risk of electrical shocks, fire, etc.: 1. Do not remove screws, covers or cabinet. 2. Do not expose this appliance to rain or moisture. Caution: Proper Ventilation To avoide risk of electric shock and fire and to protect from damage. Locate the apparatus as follows: Front: No obstructions open spacing. Sides: No obstructions in 10 cm from the sides. Top: No obstructions in 10 cm from the top. Back: No obstructions in 15 cm from the back Bottom: No obstructions, place on the level surface. In addition, maintain the best possible air circulation as illustrated. RX-558VBK Floor Spacing 15 cm or more Stand height 15 cm or more Wall or obstructionsFront RX-558V[J]SAFETY/F98.12.1, 9:08 AM 1
Page 2
1 English Table of Contents Parts Identification ...................................... 2 Getting Started ........................................... 3 Before Installation ...................................................................... 3 Checking the Supplied Accessories ........................................... 3 Setting the Voltage Selector Switch ........................................... 3 Connecting the FM and AM Antennas ....................................... 3 Connecting the Speakers ............................................................ 4 Connecting Audio/Video Components ....................................... 5 Connecting the Power Cord ....................................................... 7 Putting Batteries in the Remote Control .................................... 7 Basic Operations ......................................... 8 Turning the Power On and Off (Standby) .................................. 8 Selecting the Source to Play ....................................................... 8 Adjusting the Volume ................................................................. 9 Selecting the Front Speakers ...................................................... 9 Muting the Sound ....................................................................... 9 Recording a Source .................................................................... 9 Attenuating the Input Signal .................................................... 10 Adjusting the Front Speaker Output Balance ........................... 10 Reinforcing the Bass ................................................................ 10 Adjusting the Tone ................................................................... 10 Basic Settings ........................................... 11 Changing the Source Name ...................................................... 11 Setting Center and Rear Speakers for the DSP Modes ............ 11 Storing the Basic Settings and Adjustments Ñ One Touch Operation ........................................................................... 12 Using the Sleep Timer .............................................................. 12 Receiving Radio Broadcasts ........................ 13 Setting the AM Tuner Internal spacing .................................... 13 Tuning in Stations Manually .................................................... 13 Using Preset Tuning ................................................................. 13 Selecting the FM Reception Mode ........................................... 14 Using the DSP Modes ................................ 15 Available DSP Modes According to the Speaker Arrangement .. 16 Adjusting the 3D-PHONIC Modes .......................................... 17 Adjusting the DAP Modes ....................................................... 17 Adjusting the Surround Modes Ñ Dolby Surround and JVC Theater Surround ............................................................... 18 Activating the DSP Modes ....................................................... 19 Using the DVD MULTI Playback Mode .......... 20 Activating the DVD MULTI Playback Mode .......................... 20 COMPU LINK Remote Control System ......... 21 Operating JVCÕs Audio/Video Components ... 22 Troubleshooting ......................................... 24 Specifications ............................................ 25 EN01-07.RX-558V[U]/198.12.21, 11:06 AM 1
Page 21
20 Using the DVD MULTI Playback Mode This receiver provides the DVD MULTI playback mode for reproducing the analog discrete output mode of the DVD player. Before playing back a DVD, refer also to the manual supplied with the DVD player. 7. Press cursor control @ / # to adjust the left rear speaker output level (from Ð10 to +10). 8. Press cursor control % / Þ repeatedly until ÒÐREAR R+Ó appears on the display. 9. Press cursor control @ / # to adjust the right rear speaker output level (from Ð10 to +10). Fr om the r emote contr ol: 1. Press DVD MULTI. Note: When you select ÒDVDMULTIÓ as the source to play, the DSP mode is canceled temporarily, and the SURROUND button does not work. 2. Select the analog discrete output mode on the DVD player, and start playing a DVD. ¥ Refer to the manual supplied with the DVD player. If you need to make any adjustment, go to the following steps. 3. Press SOUND CONTROL. The 10 keys are activated for adjusting the sound. 4. Press CENTER Ð / + to adjust the center speaker output level. ¥ Pressing CENTER Ð decreases the output level up to Ð10 dB. ¥ Pressing CENTER + increases the output level up to +10 dB. 5. Press REAR¥L Ð / + to adjust the left rear speaker output level. ¥ Pressing REAR¥L Ð decreases the output level up to Ð10 dB. ¥ Pressing REAR¥L + increases the output level up to +10 dB. 6. Press REAR¥R Ð / + to adjust the right rear speaker output level. ¥ Pressing REAR¥R Ð decreases the output level up to Ð10 dB. ¥ Pressing REAR¥R + increases the output level up to +10 dB. Activating the DVD MULTI Playback Mode You can adjust the DVD MULTI playback mode while playing back a DVD using the analog discrete output mode on the DVD player. Once you made adjustments, the receiver memorizes the adjustments until you change them. Before you start, remember... ¥Make sure that you have set the speaker information correctly (see page 11). ¥ There is a time limit in doing the following steps. If the setting is canceled before you finish, start from step 1 again. ¥ You can only adjust the rear and/or center speaker output levels when you have connected rear speakers and/or a center speaker and have set ÒREAR SPKÓ and/or ÒCNTR SPKÓ correctly. See page 11. On the fr ont panel: 1. Press DVD MULTI . Note: When you select ÒDVDMULTIÓ as the source to play, the DSP mode is canceled temporarily, and the SURROUND button does not work. 2. Select the analog discrete output mode on the DVD player, and start playing a DVD. ¥ Refer to the manual supplied with the DVD player. If you need to make any adjustment, go to the following steps. 3. Press ADJUST so that the cursor control % / Þ / @ / # buttons work for adjusting the DVD MULTI playback setting. 4. Press cursor control % / Þ repeatedly until ÒÐCENTER+Ó appears on the display. 5. Press cursor control @ / # to adjust the center speaker output level (from Ð10 to +10). 6. Press cursor control % / Þ repeatedly until ÒÐREAR L+Ó appears on the display. DVD MULTI ADJUST DVD MULTI SOUND CONTROL 6 5 – CENTER + 5 9 8 – REAR-L +5 +10 10 – REAR-R + EN08-20.RX-558V[J]/198.12.21, 2:25 PM 20
Page 27
G-2 Sophisticated electronic products may require occasional service. Just as quality is a keyword in the engineering and production of the wide array of JVC products, service is the key to maintaining the high level of performance for which JVC is world famous. The JVC service and engineering organization stands behind our products. NATIONAL HEADQUARTERS JVC SERVICE & ENGINEERING COMPANY OF AMERICA DIVISION OF JVC AMERICAS CORP. 1700 Valley Road Wayne, NJ 07470 QUALITY SERVICE HOW TO LOCATE YOUR JVC SERVICE CENTER TOLL FREE : 1-800-537-5722 http://www.jvcservice.com Dear customer: In order to receive the most satisfaction from your purchase, read the instruction booklet before operating the unit. In the event that repair is necessary, or for the address nearest your location, please refer to the factory service center list below or within the Continental United States, Call 1-800-537-5722 for your authorized servicer. Remember to retain your Bill of Sale for Warranty Service. ÑJVC JVC SERVICE & ENGINEERING COMPANY OF AMERICA DIVISION OF JVC AMERICAS CORP. FACTORY SERVICE CENTER LOCATIONS 107 Little Falls Road Fairfield, NJ 07004-2105 (973) 808-9279 5665 Corporate Avenue Cypress, CA 90630-0024 (714) 229-8011 13 Cummings Park Woburn, MA 01801 (781) 376-9100705 Enterprise Street Aurora, IL 60504-8149 (630) 851-7855 10700 Hammerly, Suite 110 Houston, TX 77043 (713) 935-9331 890 Dubuque Avenue South San Francisco, CA 94080-1804 (650) 871-2666 1500 Lakes Parkway Lawrenceville, GA 30243-5857 (770) 339-2522 2969 Mapunapuna Place Honolulu, HI 96819-2040 (808) 833-5828 8192 State Road 84 Davie, FL 33324 (954) 472-1960 (1098) If you ship the product ¥ ¥ ¥ Pack your JVC unit in the original carton or one of equivalent size and strength. Enclose, with the unit, a letter stating the problem or symptom that exists and also a copy of the receipt or bill of sale you received when you purchased your JVC unit. Print your home return address on the outside and the inside of the carton. Send to the appropriate JVC Factory Service Center as listed above. CAUTION To prevent electrical shock, do not open the cabinet. No user serviceable parts inside. Refer servicing to qualified service personnel. DonÕt service it yourself. ACCESSORIES To purchase accessories for your JVC product, you may contact your local JVC Dealer. Or from the 48 Continental United States call toll free : 800-882-2345 RX-558V[J]SAFETY/F98.12.1, 9:08 AM 2