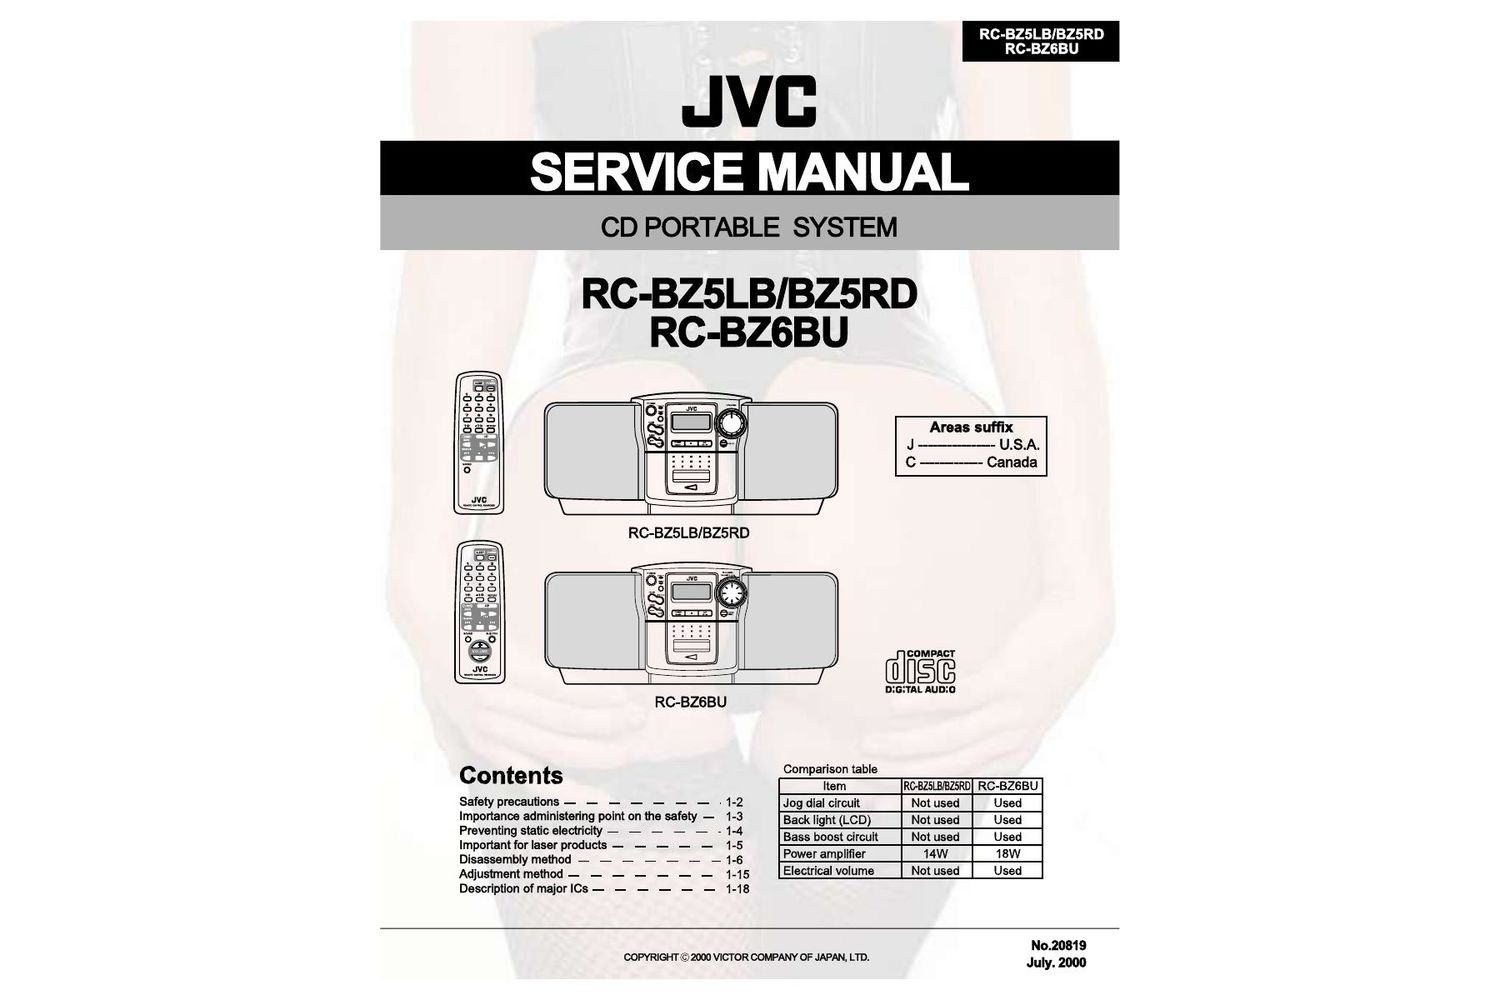
Jvc RCBZ 5 RD Service Manual
This is the 99 pages manual for Jvc RCBZ 5 RD Service Manual.
Read or download the pdf for free. If you want to contribute, please upload pdfs to audioservicemanuals.wetransfer.com.
Extracted text from Jvc RCBZ 5 RD Service Manual (Ocr-read)
Page 2
RC-BZSLB/BZ5RD
RC-BZGBU
-Safety precautions
1-2
1.This design of this product contains special hardware and many circuits and components specially
for safety purposes. For continued protection. no changes should be made to the original design
unless authorized in writing by the manufacturer. Replacement parts must be identical to those
used in the original circuits. Services should be performed by qualified personnel only.
2.Alterations of the design or circuitry of the product should not be made. Any design alterations of
the product should not be made. Any design alterations or additions will void the manufacturers
warranty and will further relieve the manufacture of responsibility for personal injury or property
damage resulting therefrom.
3. Many electrical and mechanical parts in the products have special safety-related characteristics.
These characteristics are often not evident from visual inspection nor can the protection afforded
by them necessarily be obtained by using replacement components rated for higher voltage,
wattage, etc. Replacement parts which have these special safety characteristics are identified in
the Parts List of Service Manual. Electrical components having such features are identified by
shading on the schematics and by (A;) on the Parts List in the Service Manual. The use of a
substitute replacement which does not have the same safety characteristics as the recommended
replacement parts shown in the Parts List of Service Manual may create shock, fire, or other
hazards.
4.The leads in the products are routed and dressed with ties, clamps, tubings, barriers and the
like to be separated from live parts, high temperature parts, moving parts and/or sharp edges
for the prevention of electric shock and fire hazard. When service is required, the original lead
routing and dress should be observed, and it should be confirmed that they have been returned
to normal, after re-assembling.
5. Leakage current check (Electrical shock hazard testing)
After re-assembling the product, always perform an isolation check on the exposed metal parts
of the product (antenna terminals, knobs. metal cabinet, screw heads, headphone jack, control
shafts, etc.) to be sure the product is safe to operate without danger of electrical shock.
Do not use a line isolation transformer during this check.
0 Plug the AC line cord directly into the AC outlet. Using a "Leakage Current Tester", measure
the leakage current from each exposed metal parts of the cabinet, particularly any exposed
metal part having a return path to the chassis. to a known good earth ground. Any leakage
current must not exceed 0.5mA AC (r.m.s.)
.Alternate check method
Plug the AC line cord directly into the AC outlet. Use an AC voltmeter having, 1,000 ohms
per volt or more sensitivity in the following manner. Connect a 1,5009 10W resistor paralleled by
a 0.1511 F AC-type capacitor between an exposed
metal part and a known good earth ground. a girl/ISSAAIEJER
Measure the AC voltage across the resistor with the ohms/yous,
AC voltmeter. or more sensitivity)
Move the resistor connection to each exposed metal ° c
part, particularly any exposed metal part having a (115): ACTYPE
return path to the chassis, and measure the AC _| Place this
voltage across the resistor. Now reverse the plug in |_ probe on
the AC outlet and repeat each measurement voltage W) V each exposed
measured any must not exceed 0.75 V AC (r.m.s.). 15009 10W metal part.
This corresponds to 0.5 mA AC (r.m.s.).
Good earth ground
A CAUTION Buns formed during molding may be left over on some parts of the chassis. Therefore,
pay attention to such burrs in the case of preforming repair of this system.
Page 42
Gonexion del cable de alimentacion principal CA
Inserts e1 cable de alimenmién principal CA (suministrado) firmemente en la toma CA de la parte
posterior del sistema.
Le cordon d'allmentetlon secteur fouml avec cet apparail ne peut étre branché qus dans un seul sens
afin d'avter tout nsque dc choc électrique. Se rélérer é lilustmtion pour le racorder correctcment.
CUIDADO:
0 UTILICE SOLO EL CABLE DE ALIMENTACICN PRINCIPAL DE JVC SUMI-
NISTRADO CON LA UNIDAD PARA EVITAR UN MAL FUNCIONAMIENTO
0 DANOS EN EL SISTEMA.
- ASEGURESE DE DESENCHUFAR EL CABLE DE ALIMENTACICN PRINCIPAL CA DE LA TOMA DE CORRI-
ENTE CUANDO VAYA A SALIR 0 N0 VAYA A UTILIZAR EL EQUIPO DURANTE CIERTO TIEMPO.
Gonecla cl cable do alimonlacion principal CA a la tom: do corrionte y su oquipo oslaré bajo su control.
COMPU PLAY (solo corriente alterna)
La funcién COMPU PLAY de IVC 1e permite controlar las funciones mas frecuetltes utilimdas en el sistema con un simple botén.
Con el funcionamiento mediante un solo botén puede reproducir una cinta 0 un CD 0 encender 1:: radio con solo presionar el baton PLAY".
E1 funcionamiento mediante un solo baton enciende la unidad para usted y luego comienza la fimcién elegida por usted. Si el sistema no esté
listo (no hay CD insertado), el sistema signs encendido asi que usted puede insertar mi CD.
E1 fimcionamiento mediante un solo baton se explica en cada caso en la seccién relacionada con esta funcion.
Los botones COMPU PLAY son:
En el equipo
Botén CD >Ill
Baton TUNER BAND (sintonizador/banda)
Bonsn PLAY (TAPE)
Botén CD >lll
En el mam-lo a distancia
Botén TUNER BAND (sintonizador/banda)
Funciones comunes
POWER POWER
SOUND
AHB PRO
FVOLUME +, _
Encendido y espcra del equipo
Encendido del sistema
Presione cl bolén POWER.
POWER E sm
m
POWER D
/ r \
0 mm
c)
E1 indicador d2 encendido POWER ON (de color verde) se en-
ciende y la pamalla se ilumina.
E1 sistema esta listo para continuar en la funcion en que estaba cuan-
do se apagé por filtima vez.
I Pot ej emplo, si 10 liltimo que hizo fue escuchar un CD, ahora es-
taré listo para continuar escuchando 61 CD. Si 10 desea, puede
cambiar a otra fuente de audio.
Indicador POWER 7
Pantalla
|ndicador STANDBY
Manda VOLUME
AHB PRO -
PHONES
I Si estaba escuchando la radio, a] encender se pondra en marcha
el sintonizador en la emisora que tenia a1 apagar.
Nola: Si e1 equipo fimciona con la alimentacion a pilas, e1 boton
POWER del mimic a distancia no respondera
Estado de espera del sistema
presione de nuevo el baton POWER.
Si el equipo esté enchufado a la corriente:
POWER
(m vmvsnou
POWER 0
_ x ,
STANLEY
° 707
/ \
EL indicador de espera STANDBY se enciende y la panlalla queda
an blanco.
Page 46
Reproduccién con blisqueda
Durante la reproduccién, mantenga pulsado el botén 144
0 el botén m.
Esta procedimiento hard que 61 CD avance o retroceda répidamente
para que encuentre una seccion de la pista qua esté escuchando (:1
disco compacto se reproduce a baja velocidad durante unos in-
stantes y después amenta de velocidad).
coma encontrar una pista directa-
mente desde el mando a distancia -
Con el teclado numérico del mando a distancia se accede directa-
mente al principio de cualquier pista del CD.
Durante la reproduccién, introduzca el numero de la pis-
Ia que desee sscuchar mediante el teclado numérico.
Empieza a oirse 1a pista seleccionada.
- Ejemplo: Para la pista 5, presione el 5. Para la pista 15 presione
+10 y luego e1 5. Para la pista 20, presione +10 y Image 10. Para
la pista 32 presione +10 tres veces y luego 2.
Reproduccién repetida
Puede repetir una pista o todas las pistas del CD.
Durante la reproduccién, presione el botén REPEAT del
mando a distancia para seleccionar el modo de
repelicién.
El indicador Repeat cambia cada vez que se pulsa e1 boton, como
muestra 1a figura
C -> C ALL #pantalla en blanco -> (de vuelta a] principio)
C : Repite una pista.
C ALL : Repite todas las pistas.
Para salir del modo de repeticién, presione e1 botén REPEAT
hast/a que el indicador REPEAT desaparezca de la pantalla.
Uso de la platina de casete <2scucharunacinta»
«7 7»
La platina d: casete le permite reproducir y grabar una cinta de audio.
Notas:
- La platina funciona mejor si se utilizan cintas normales (no se
recomienda el uso dc cintas de metal 0 cromo).
- No se recomienda el uso de cintas de duracion mayor a 120
minutos, ya que estas cintas se estropean facilmenve y se suelen
enrollar en el rodillo de presion y en el mastre.
Reproduccién mediante un s6lo
bot6n (sélo corriente alterna (6)
S610 fiene que presionar e1 baton PLAY de la \midati E1
equipo se enciende autométicamente y aparece el mensaje TAPE
en la pantalla; 1a reproduccién se inicia si hay alguna cinta en la plati-
rm
Reproduccidn
1. Presione el bol6n IIA STOPIEJECT para
abrir el compartimento del casete.
2. Inserts la cinta con la cinla magnélica
hacia arriba, come so mueslra en la ilus-
tracién.
« H3013 delante
3. cierre suavemento el eomparlimento hasta
oir un clic.
4. Presione el bolén PLAY .
- La reproduccién se defiene cuando 1a cinta llega al final de
la cam.
- El indicator TAPE siempre gira a la derecha cuando 1a cinta
se esta moviendo.
lndicador TAPE/reloj analégico
(Mos1rar al usar 1a platina de caseme)
Para hacer una pausa, presione e1 boton II PAUSE del equipo.
Para cancelar la pausa, presione e1 botén II PAUSE otm vez.
Se reanuda 1a reproduccién desde el punto en que se entré en la
pausa.
Para parar la reproduccién, presione e1 botén l/A STOP/
EJECT.
Para sacar la cinta, para la reproduccién y presione de nuevo el
botén l/A STOP/EJECT.
Para avanzar rapidamente o
rebobinar una clnta
Prosiono el baton « (avanco rapido) del oquipo
para que la cinta avarice rapidamenle.
Presione el boldn » (rebobinado) del equipo
para que retroeeda Ia cinta.
- La platina de 035615 56 para autométicamente cuando 1a cinta
llega al final.