Jvc QLF 6 Owners Manual

This is the 12 pages manual for Jvc QLF 6 Owners Manual.
Read or download the pdf for free. If you want to contribute, please upload pdfs to audioservicemanuals.wetransfer.com.

Page: 1 / 12
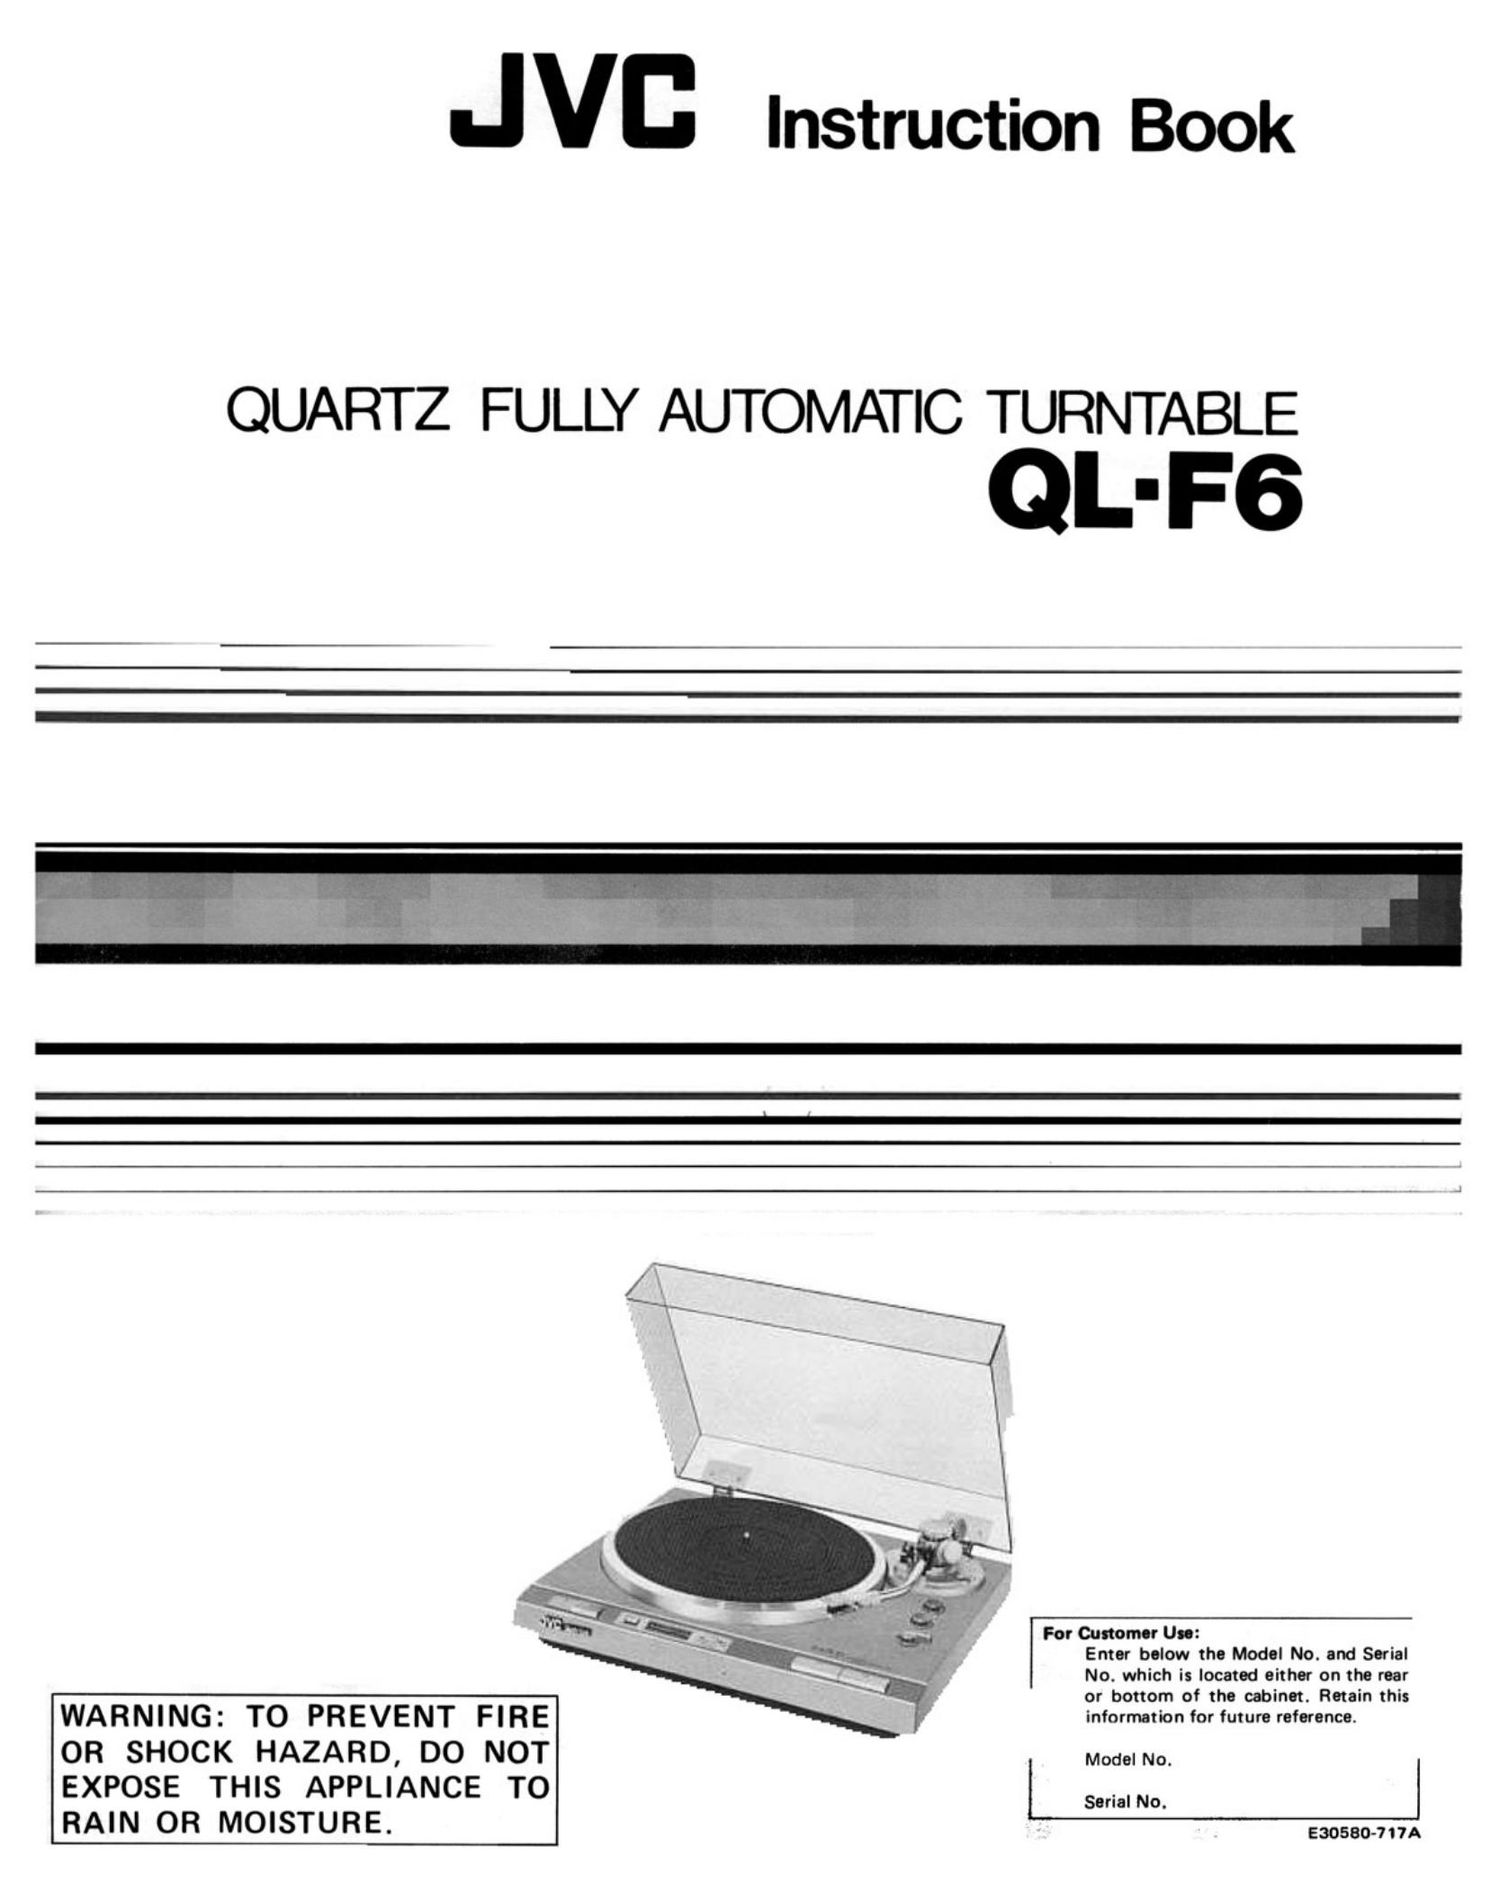
Jvc QLF 6 Owners Manual

Extracted text from Jvc QLF 6 Owners Manual (Ocr-read)


Page 1

JVC Instruction Book

QUARTZ FULLY AUTOMATIC TURNTABLE

QL- F6

WARNING: TO PREVENT FIRE
OR SHOCK HAZARD, DO NOT
EXPOSE THIS APPLIANCE TO
RAIN OR MOISTURE.

For Customer Use:
Enter below the Model No. and Serial
No. which is located either on the rear
or bottom of the cabinet. Retain this
information for future reference.

I Model No.

Serial No.

630580-717A

Page 2

IMPORTANT (In the United Kingdom)
Mains Supply (AC 240 Vv, 50 Hz only)

IMPORTANT

Do not make any connection to the Larger Terminal coded E
or Green. The wires in the mains lead are coloured in

accordance with following code:

(- l-l

If these colours do not correspond with the terminal identifi-
cations of your plug, connect as follows:

Blue wire to terminal coded N (Neutral) or coloured Black.
Brown wire to terminal coded L (Live) 0r coloured Red.

If in doubt - consult a competent electrician.

Note

We recommend that you should disconnect the AC cord from
the outlet.

Blue to N (Neutral) or Black
Brown to L (Live) or Red

WARNING

Dangerous voltage inside

CAUTION

To prevent electric shock, do not remove screws, covers or
cabinet.

No user-serviceable parts inside. Refer servicing to qualified
service personnel.

INTRODUCTION

Thank you for purchasing JVC's OL-F6 Quartz Fully Auto-
matic turntable. Many advanced features of this turntable can
be correctly and efficiently utilized only when you have read
this instruction book, and understood it for operating the
turntable correctly. Wishing you successful and enjoyable
listening.

CONTENTS

Introduction .....................
Precautions ......................
Preparations .....................
Names of parts and their functions .......
Necessary procedures prior to record playing
Stylus replacement .................
Cartridge replacement ...............
Adjustment ......................
Troubleshooting ...................
Specifications ....................

DocmflmwM-I

d-l

PRECAUTIONS

Installation
0 Select place which is level, dry and neither too hot nor
too cold (between -5°c and 40°C/23°F and 104°F).
0 Keep the turntable from direct sunlight.
000 not put it too close to a heater.
0 To decrease noise
0 Keep it as far from your TV as possible.
0 Do not place it where it is dusty.
000 not place the turntable just on top of an amplifier as
hum noises may be induced from the power transformer.
0 To prevent stylus tripping
0 Do not place it in a place subject to vibrations.
oPlace the turntable as far away from speakers to prevent
howling as possible.

Power

0 Do not handle the power cord with wet hands!

0 Do not bend the power cord sharply.

0 When unplugging from the wall outlet, always pull the
plug, not the power cord.

Malfunctions, etc.

0 There are no user-serviceable parts inside. If anything goes
wrong, unplug the power cord and consult your dealer.

0 Do not insert any metallic object inside the turntable.

0 Do not allow water to get inside the turntable.

0 Tracking force will affect the reproduced sound quality.
It should be properly adjusted.
Refer to the "Tracking force adjustment".