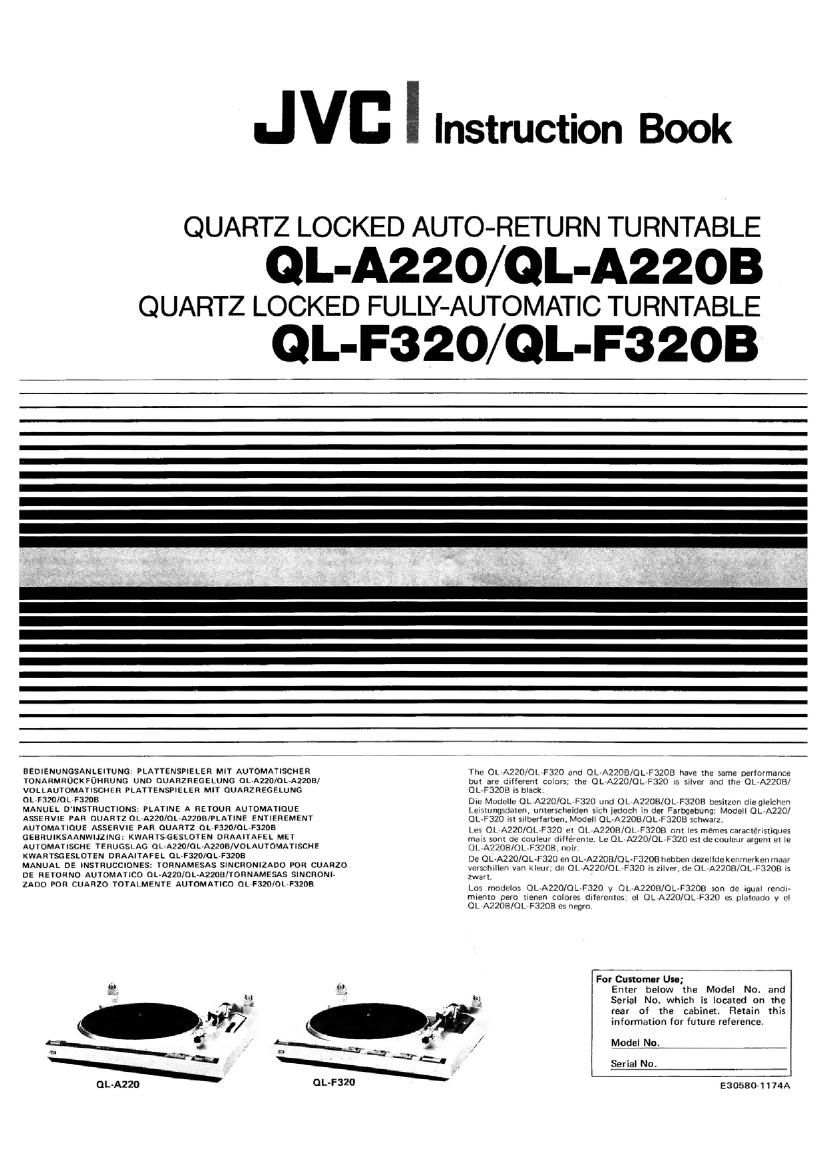
Jvc QLA 220 Owners Manual
This is the 15 pages manual for Jvc QLA 220 Owners Manual.
Read or download the pdf for free. If you want to contribute, please upload pdfs to audioservicemanuals.wetransfer.com.
Extracted text from Jvc QLA 220 Owners Manual (Ocr-read)
Page 2
IMPORTANT (In the United Kingdom)
min: Supply (AC 240 V», 50 Hz only)
IMPORTANT
Do not make any connection to the Larger Terminal coded E
or Green. The wires in the mains lead are coloured in
accordance with following code:
Blue to N (Neutral) or Black
Brown to L (Live) or Red
If these colours do not correspond with the terminal identifi-
cations of your plug, connect as follows:
Blue wire to terminal coded N (Neutral) or coloured Black.
Brown wire to terminal coded L (Live) or coloured Red.
If in doubt - consult a competent electrician.
CAUTION
To reduce the risk of electrical shocks,lire,etc.:
1. Do not remove screws, covers or cabinet
OBS:
Denna utrustning b6r kopplas bort fran v'agguttaget niir
den inte envii'nds.
Eftersom denna apparat anviinda det sekundiir striim-
knappsystem, konsumeras en liten mingd strom (ungerfir
" 2 " W) Even om POWER knappen star pa STANDBYt
For an stings av strornen helt och hallet, drag ut Strom-
kontnktan frén AC mynningan.
BEMAERK: l stilling OFF er apparatet stadig forbundet
med lysnettet Hvis det onskes fuldstmndig afbrudt skal
netledningen trmkkes ud.
WARNING: TO REDUCE THE RISK OF
FIRE OR ELECTRIC SHOCK, DO NOT
EXPOSE THIS APPLIANCE TO RAIN OR
MOISTURE
ACHTUNG
Zur Verhinderung von elektrischen Schlagen,
Brandgefahr usw.
2. Do not expose this appliance to rain or I. Keine Schrauben losen Oder Abdeckungan
moisture.
entfernen und nicht das Gehéuse fiffnen,
2. Dieses Gerat weder Regen noch Feucl
kcit aussetzen.
Thank you for purchasing this JVC product.
Before you begin operating this unit, please
read the instructions carefully to be sure you
get the best possible performance.
It you have any question. consult your JVC
dealer.
Note:
This instruction booklet covers four modal: -
III- 0LvA220/2203 and 0L-F320I32OB. The
diff-linen in operation are dearly mibed
with the model numhn.
CONTENTS
Preparation ...................
Adjustment .....
Cartridge mounting
Connection to a stereo amplifier
Stylus replacement ........
Description and functions . . .
Specifications .................. l
__\I\I~IUIDQ
Vielen Dank fiir den Kaul diesesJVC-Produkts.
Bitte lesen Sie diese Bedienungsanleitung som-
lélrig, bevor Sie disses Carat in Betrieb nehmen.
um die beste Leistung zu erhalten.
Falls Sie Fragen haben, wenden Sue sich bitte an
lhran JVC-Fachhéindler.
Hirwveis:
Dlose Bedlenungsnnleitung dient fir vier
Mod-lie - 0L-A220/220I! und 0L-F320/320B.
Die Una-railed. In der Bedlonung Ilnd unur
Anoah der Modellnnmrner klar amphen.
lNHALT
Vorbereitunoen ................ 3
Einstellunoen . .
Anbringung des Tonabnehmers .
Anschlqu an einen Stereo-Verstirker
Auswechseln der Naml
Bachreibuno und Funktionen . . . .
Technische Daten .............. 1 1
Page 9
RACCORDEMENT A UN
AMPLIFICATEUR
'3TEREO
Brancher Ia fiche blanche du cordon de sortie
des platines OLAA220/2205, 0L-F320/3ZOB 3
la prise PHONO L (gauche) de l'amplificateur
stéréo et la fiche rouge a la prise R (drone).
S'assurer que les raccordements som bien faits.
(Fig. 12)
REMPLACEMENT DE LA
POINTE DE LECTURE
mmant onlwnr I: paint. mafia
'ir Ia cellule entre vos doigts et tirer las-
wrulllagc de la poinle de lecture vers le has
(Fig. 13).
Comment menu Ill plant unn nouv-Ile point-
1. Inséror lc taquet de I'asscmblage dc Ia pointe
de lecture verticalcment (Fig. 14).
2. Le pousser vers lc haut avcc deux doigts
iumu'é Ce qu'il soil bien en place (Fig. 13).
Rem-mun:
Lars du rompllccmnm do ll point. do lectun.
gun!" I- point. «convene dc son coward.
protoctour afln do no pls Iblmor son extrimifi.
DESCRIPTION ET
FONCTIONS
. Touch. do Iikcion do In VM de rotation
lSPEED)
Sélectionner la vitesse de lecture suivant Ie
,disquc.
45 tours Enfom:er la touche sur sex
position cntrée" (-l.
334/3 tours: Enlonccr Ia muche é nouvcau
sur sa position "sortie (1.).
La vitcsse esl indiquée par les indicatcurs
de vitesse (SPEED)
AANSLUITING OP EEN
STEREO VERSTERKER
Sluit de witte stekker van het uitgangssnosr van
de OL-A220/2ZDB, 0L»F320/3208 stewg op de
linker draaitalelaansluiting van de stereo ver-
sterker an en sIUit de rode stekker op de
rechter draaitafelaansluiting aan. Kontroleer
vervolgens of de aansluitingen juisl let stand
zijn gebracht. (Alb. 12)
VERVANGING VAN DE
NAALD
Verwiideven Vln do nude nnld
Houd het element vast en druk de naaldhouder
in benedenwaartse richiing (Alb. 13).
Anubnngnn van dc niouwo null
1, Steak de nok van de naaldhcuder venicaal
in (Afb. 14).
2. Druk dc naaldhoudcr met twee vingers in
bovenwaartse richting, totdat de houder
vaslgezct wordt (All). 13).
Omnarking:
Bram do nuldbumhermor tiidens vorvan-
glng van de naald an In! voovkoming van
basalt-fining van do nuldpunt.
BESCHRIJVING EN
FUNCTIES
1. Toonnul-kwusdllkolur (SPEED)
Stel de toels uvereenkomstig hm ioeremal
van de plaat in:
45 tom: Druk de ioeis in (L
33-1/31pm: Druk de (oats nogrnaals in (1).
He! toerental wordt door de toerentalin-
dikators (SPEED) aangcgevan.
CONEXION A UN
AMPLIFICADOR
ESTEREO
Conecte firmemente Ia clavija blanca dal cable
dP. salida del OL-A220/22OB, OL-F320/3ZOB al
terminal PHONO L lizquierdo) del amplificador
estéreo, y la clavija roia al terminal PHONO Fl
(derecho), confirmando el posicionamiemo
correclo de las conexiones. (Fig. 12)
CAMBIO DE LA AGUJA
66ml: utmr Ia nui- gut-d-
Sujete la cépsula y prasione el coniunto de la
aguia hacia abaio (Fig. 13).
Cdnw insular Ia agula nuova
1. Insane la lengiieta del conjunto dc la
aguia verticalmente (Fig. 14).
2. Presiénelo hacia arriba con ambns dcdos
hasta que encaje en su lugar (Fig. 13).
Nola:
Rumpus. ol uranium-1 do la mi! con su
up: must- pnn no dill! Ia man" do In aw];
DESCRIPCIONES Y
FUNCIONES
0 Snloctor do valocidnd (SPEED)
Presione este botbn de acuerdo con la
velocidad del disco.
45 rpm: Pasicién dc adenlro (L
33-1/3 rpm: Posicién de aluera (1 .
La velacldad es moslrada nor Ios indicadores
currespondisntes.