Jvc PCX 105 Service Manual

This is the 74 pages manual for Jvc PCX 105 Service Manual.
Read or download the pdf for free. If you want to contribute, please upload pdfs to audioservicemanuals.wetransfer.com.

Page: 1 / 74
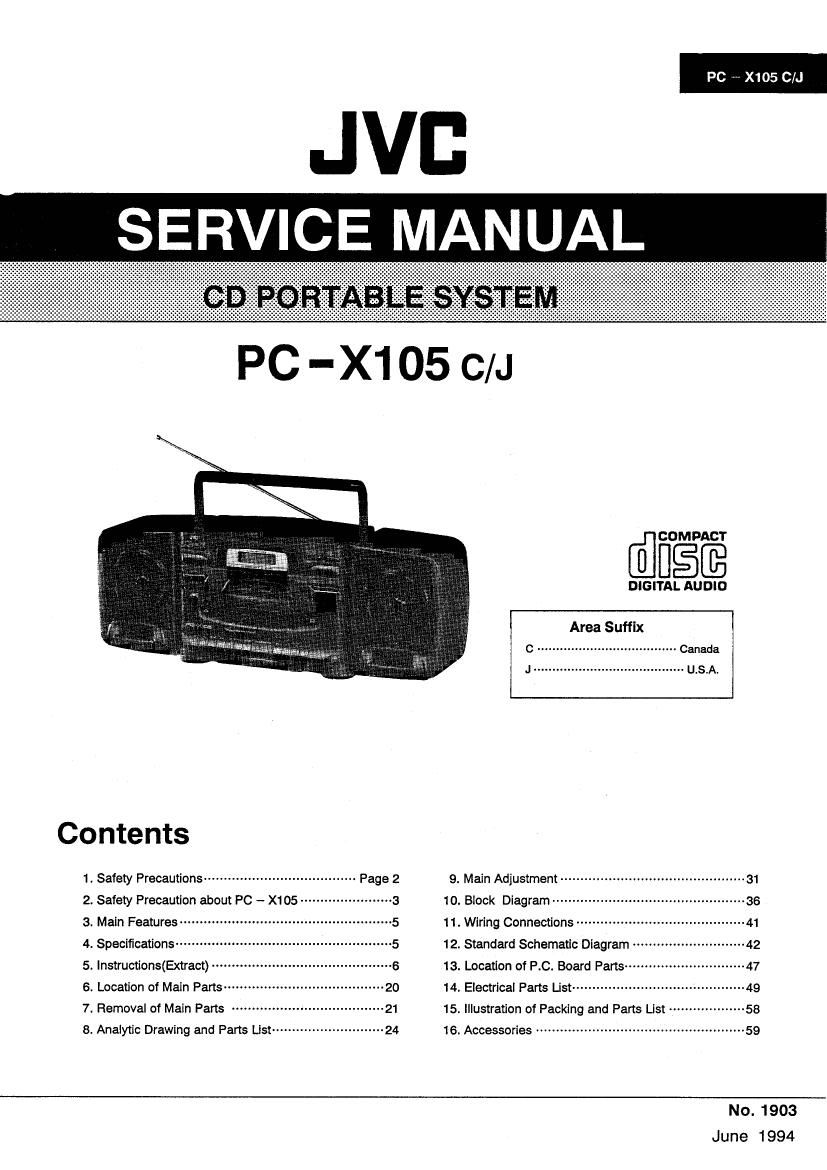
Jvc PCX 105 Service Manual

Extracted text from Jvc PCX 105 Service Manual (Ocr-read)


Page 1

PC X105 C/J

[933%

DIGITAL AUDIO

Area Suffix
Canada

Contents

1, Safety Precautions ...................................... Page 2 9. Main Adjustment .............................................. 31
2, Safety Precaution about pc _ x105 ....................... 3 10. Block Diagram ................................................ 36
3. Main Features ~~~~~~~~ 11. Wiring Connections ~~~~~~~~~~~~~~~
4. Specifications--- 12. Standard Schematic Diagram .
5- Instructions(Extract) 13. Location of RC. Board Pans-~-
6_ Location of Main Parts ........................................ 20 14_ Electrical part5 List ........................................... 49
7. Removal of Main Pans ------------- 15. iilustratlon of Packing and Pans List ~- -------- 58
8_ Analytic Drawing and Pans List-m 16. Accessories ........................................... 59
N0. 1903

June 1994

Page 2

2

PC -X105 C/J

1. Safety Precautions

.The design this product contains specialhardware and many circuits and components specially for safety purposes. For continued

protection. no changes should be made to the original design unless authorized in writing by the manufacturer. Replacement parts must
be identical to those used in the original circuits. Service should be performed byqualified personnel only.

. Alterations of the design or circuitry of the product should not be made. Any design alterations of the product should not be made. Any

design alterations or additions will void the manufactures warranty and will further relieve the manufacture of responsibility for personal
injury or property damage resulting therefrom

. Many electrical and mechanical parts in the product have special safety - related characteristics. These characteristics are often not

evident from visual inspection nor can the protection afforded by them necessarily be obtained by using replacement components rated
for higher voltage. wattage. etc. Replacement parts which have these special safety characteristics are identified in the parts list of
service manual. Electrical components having such features are identified by ( A )on the schematic diagram and parts list in the
service manual. The use of a substitute replacement which does not have the same safety characteristics as the recommended

replacement part shown in the parts list of service manual may create shock. fire. or other hazards.

. The leads in the products are routed and dressed with ties. clamps . tubings. barriers and the like to be separated from live pans. high

temperature parts. mpving parts and or sharp edges for the prevention of electric shock and fire hazard. When service is required, the
original lead routing and dress should be observed. and it should be confirmed that they have been returned to normal, alter

reassem bling.

. Leakage current check (Electrical shock hazard testing)

After re - assembling the product. always perform an isolation check on the exposed metal parts of the product (antenna terminals.

knobs. metal cabinet. screw heads. headphone jack. control shafts. etc.) to be sure the product is safe to operate without danger of

electriml shock. Do not use a line isolation transformer during this check.

- Plug the AC line cord directly into the AC outlet. using aLeakage current tester. measure the leakage current from each exposed
metal part of the cabinet, particulary any exposed metal part having a return path to the chassis. to a known good earth ground. Any
leakage current must not exposeed 0.5mA AC(r.rn.s.)

. Alternate check method Ac V 0LTMETER

Plug the AC line cord directly into the AC outlet. Use an AC voltmeter E (Having 1000 ohms/volt,
having 1.000 ohms per volt or more sensitivity in the following manner. or more any)
Connect a 1,500 ohms 10W resistor paralleled by a 0.15 ,1). F AC type

capacitor between an exposed metal part and a known good earth

a c

0.15 uF AC TYPE

ground. Measure the AC voltage across the resistor with the AC n pm. this probe

. . 4w on each exposed
voltmeter. Move the realstor connection to each exposed metal part. D 1500.0 10W metal part.
particularly any exposed metal part having a return path to the chassis.

and measure the AC voltage across the resistor. Now. reverse the plug 600d earth around

in the AC outlet and repeat each measurement. Any voltage measured must not exceed 0.75V AC(r.m.s.).This corresponds to 0.5mA

TM lightning lluh filth urlwthud Ivml,

Illlllll In airliner-l triangle. 5! [undid to
aim the «Ir to tho pnunal at minim-d
dawn who! with!!! an wdua'l

Inflow that "V M M lulllclont may.
Illdl to mlwtl a risk of maul: met to
pom-m.

1M dun-tho halal within All Iqullllllll
uWnle-Immwurm
mm at him-oi overall-1 Ind IMM-

CAUYIUN
mm W

«uncut To "one! mi suit 0! mm M
no not nmovi covru ion Mutt.
W usual-amount: UM" Illlul.
null unvtcmo To muffin township-comm.

munc- lwvldnl luxuueilou in tin Iitm
on :60va mo lull".

(No. 1903)