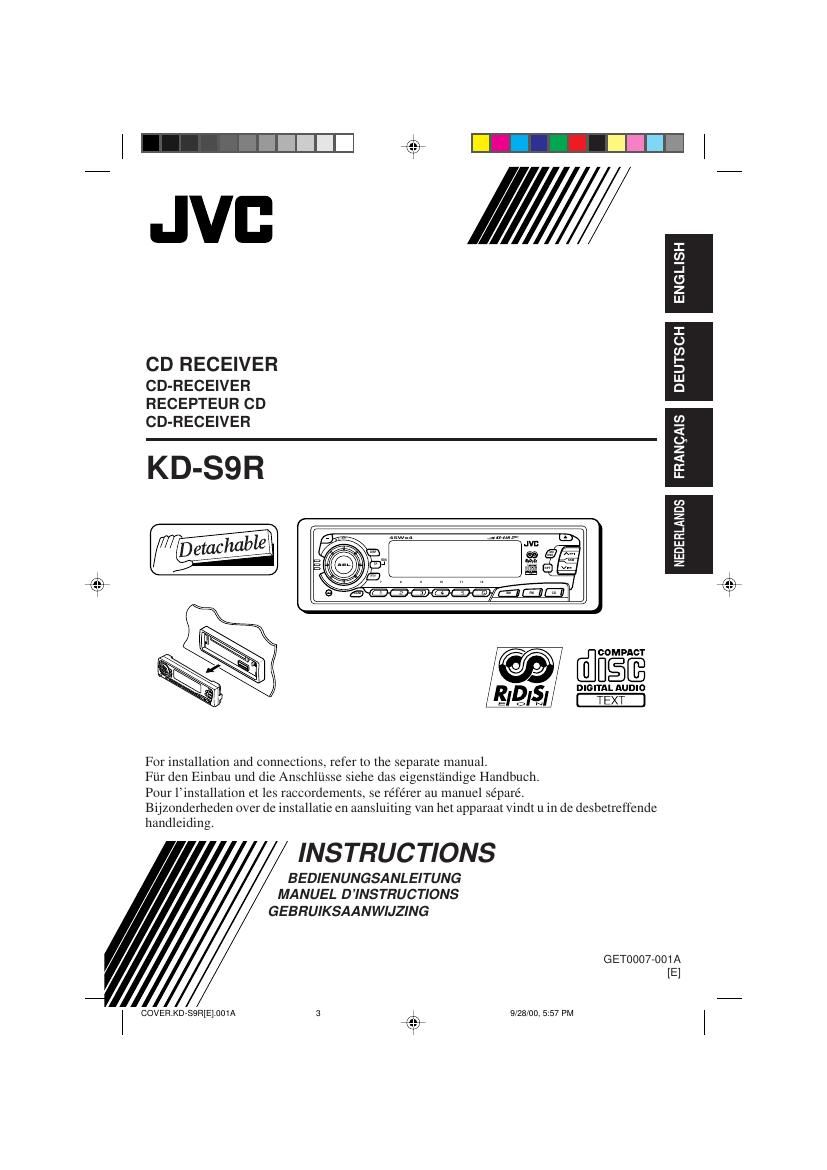
Jvc KDS 9 R Owners Manual
This is the 240 pages manual for Jvc KDS 9 R Owners Manual.
Read or download the pdf for free. If you want to contribute, please upload pdfs to audioservicemanuals.wetransfer.com.
Extracted text from Jvc KDS 9 R Owners Manual (Ocr-read)
Page 1
2 ENGLISH Position And Reproduction Of Labels DANGER: Invisible laser radiation when open and interlock failed or defeated. AVOID DIRECT EXPOSURE TO BEAM. ( e )ADVARSEL: Usynlig laser- stråling ved åbning, når sikkerhedsafbrydere er ude af funkti on. Undgåudsæt- telse for stråling. (d)VARNING: Osynlig laser- strålning när denna del ä r öppnad och spärren är urkopplad. Betrakta ej strålen. (s)VA RO : Avattaessa ja suo- jalukitus ohitettaessa olet alttiina näkymättömälle lasersäteilylle. Älä katso säteeseen. (f) Caution: This product contains a laser component of higher laser class than Class 1. IMPORTANT FOR LASER PRODUCTS Precautions:1. CLASS 1 LASER PRODUCT 2.DANGER: Invisible laser radiation when open and interlock failed or defeated. Avoid direct exposure to beam. 3.CAUTION: Do not open the top cover. There are no user-serviceable parts inside. Leave all servicing to qualified service personnel. 4.CAUTION: This CD player uses invisible laser radiation and is equipped with safety switches to prevent radiation emission when unloading CDs. It is dangerous to defeat the safety switches. 5.CAUTION: Use of controls, adjustments or performance of procedures other than those specified herein may result in hazardous radiation exposure. Name/Rating plate Bottom panel of the main unit How to reset your unit Press and hold both the SEL (select) and (standby/on/attenuator) buttons at the same time for several seconds. This will reset the built-in microcomputer. Notes: ¥ Your preset adjustments Ñ such as preset channels or sound adjustments Ñ will also be erased. ¥ If a CD is in the unit, ÒPLEASEÓ and ÒEJECTÓ appear on the display alternately. In this case, press 0 to eject the CD. Pay attention not to drop the CD. * When you reset the unit with no CD loadedÉ After you open and close the control panel, nothing may be displayed although the unit is on. In this case, press to return to the normal state. SEL (select) (standby/on/attenuator) EN02-03.KD-S9R[E]f9/19/00, 9:21 AM 2
Page 2
3 ENGLISH BEFORE USE*For safety....¥ Do not raise the volume level too much, as this will block outside sounds, making driving dangerous. ¥ Stop the car before performing any complicated operations.* Temperature inside the car....If you have parked the car for a long time in hot or cold weather, wait until the temperature in the car becomes normal before operating the unit. Thank you for purchasing a JVC product. Please read all instructions carefully before operation, to ensure your complete understanding and to obtain the best possible performance from the unit. Note:For security reasons, a numbered ID card is provided with this unit, and the same ID number is imprinted on the unitÕs chassis. Keep the card in a safe place, as it will help the authorities to identify your unit if stolen. CONTENTS How to reset your unit ............................... 2 LOCATION OF THE BUTTONS ............ 4 Control panel ........................................... 4 BASIC OPERATIONS ...................... 5 Turning on the power ................................ 5 RADIO BASIC OPERATIONS ............. 6 Listening to the radio ................................ 6 Storing stations in memory ....................... 7 Tuning into a preset station ....................... 8 RDS OPERATIONS ........................ 9 What you can do with RDS EON .............. 9 Other convenient RDS functions and adjustments ........................................... 12 CD OPERATIONS .......................... 14 Playing a CD ............................................ 14 Locating a track or a particular portion on a CD ......................................................... 15 Selecting CD playback modes .................. 15 Playing a CD Text .................................... 16 Prohibiting CD ejection ............................. 16 SOUND ADJUSTMENTS .................. 17 Adjusting the sound ................................. 17 Using the sound control memory ............. 17 Storing your own sound adjustments ....... 18 OTHER MAIN FUNCTIONS ............... 19 Setting the clock ...................................... 19 Changing the general settings (PSM) ...... 19 Detaching the control panel ...................... 22 TROUBLESHOOTING ...................... 23 MAINTENANCE ............................ 24 Handling CDs .......................................... 24 SPECIFICATIONS .......................... 25 EN02-03.KD-S9R[E]f9/20/00, 9:06 AM 3
Page 37
8 SUOMI Esiasetus kŠsin Voit esiasettaa kŠsin enintŠŠn 6 asemaa kullakin taajuusalueella (FM1, FM2, FM3 ja AM). Esim.: 88â3 MHz:n FM-aseman tallennus FM1- taajuusalueen esiasetettuun numeroon 1 1 Valitse FM-taajuusalueen numero (FM1 Ð 3), johon haluat tallentaa FM-asemat (tŠssŠ esimerkissŠ FM1). ¥ Joka kerta kun nŠppŠintŠ painetaan, FM- kaista vaihtuu seuraavasti: 2 ViritŠ 88â3 MHz:n asemaan. 3 Paina numeronŠppŠintŠ (tŠssŠ esimerkissŠ numeroa 1) ja pidŠ sitŠ alhaalla yli 2 sekunnin ajan. 4 Toista yllŠ kuvattu toimenpide tallentaaksesi toisen aseman muihin esiasetusnumeroihin. Huom!¥ Aikaisemmin esiasetettu asema pyyhitŠŠn pois, kun uusi asema tallennetaan samaan esiasetetusnumeroon. ¥ Esiasetetut asemat pyyhitŠŠn pois, kun virtalŠhde muistipiiriin keskeytetŠŠn (esim. akun vaihdon aikana). Jos nŠin tapahtuu, esiaseta asemat uudelleen. Viritys esiasetetun aseman taajuudelle Voit virittŠŠ kŠtevŠsti esiasetetun aseman taajuudelle. Muistathan, ettŠ sinun tŠytyy tallentaa asemat ensin. Jos et ole tallentanut niitŠ vielŠ, katso ÒAsemien tallennus muistiinÓ sivuja 7. 1 Valitse kaista (AM, FM1 Ð 3). 2 Valitse haluamasi esiasetusaseman numero (1 Ð 6) haluamasi esiasetusaseman. AMFM F1(FM1) AM F2(FM2) F3(FM3) FM F1(FM1) F2(FM2) F3(FM3) Kaista/esiasetettu numero ja ÒMEMOÓ vilkkuvat vuorotelleen hetken aikaa. ViritŠ suurempitaajuuksisten asemien kohdalle painamalla ¢ -nŠppŠintŠ. ViritŠ pienempitaajuuksisten asemien kohdalle painamalla 4 -nŠppŠintŠ. FI06-08.KD-S9R[E]f9/18/00, 6:41 PM 8
Page 107
18 DEUTSCH ¥ Wenn die VerknŸpfungsanzeige im Display leuchtet (ãSCM LINKÒ ist auf ãLINK ONÒ gesetzt Ñ siehe Seite 21), kann der ausgewŠhlte Klangmodus fŸr die aktuelle Signalquelle gespeichert werden, und die Klangeinstellung bezieht sich nur auf die ausgewŠhlte Signalquelle.¥ Wenn die VerknŸpfungsanzeige im Display NICHT leuchtet (ãSCM LINKÒ ist auf ãLINK OFFÒ gesetzt), wird der ausgewŠhlte Klangmodus fŸr jede Signalquelle aktiviert. SCM Speichern Ihrer eigenen Klangeinstellungen Sie kšnnen die Klangbetriebsarten (BEAT, SOFT, POP) nach eigenem Geschmack anpassen und diese Einstellungen im Speicher sichern. ¥ Es besteht ein Zeitlimit fŸr die AusfŸhrung der folgenden Schritte. Wenn die Einstellung abgebrochen wird, bevor Sie sie fertiggestellt haben, beginnen Sie erneut mit Schritt 1. 1 Rufen Sie die Klangbetriebsart, die Sie einstellen mšchten, auf. ¥ Weitere Einzelheiten finden Sie in der linken Spalte. 2 ãBASÒ (Tiefen), ãTREÒ (Hšhen) oder ãLOUDÒ (LautstŠrkekontur) anwŠhlen. 3 Stellen Sie die Hšhen- und Tiefenregulierung ein oder stellen Sie die LautstŠrke-Funktion ON/OFF. ¥ Siehe Seite 17 fŸr Einzelheiten. 4 Wiederholen Sie Schritt 2 und 3, um weitere Optionen zu Šndern. 5 DrŸcken Sie die Taste SCM und halten Sie diese Taste gedrŸckt, bis der von Ihnen ausgewŠhlte Klangmodus auf dem Display erscheint. Die Anpassungen, die Sie fŸr die gewŠhlte Klangbetriebsart vorgenommen haben, werden im Speicher gesichert. 6 Wiederholen Sie dasselbe Verfahren, um andere Klangmodi zu speichern. So stellen Sie die Werkseinstellungen wieder her Wiederholen Sie dasselbe Verfahren, und weisen Sie die gespeicherten Werte wieder zu, die in der Tabelle in der linken Spalte aufgelistet sind. Anzeige FŸr: Voreingestellte Werte BAS TRE LOUD BEAT Rock- oder +02 00 ON Disko-Musik SOFT Ruhige +01 Ð03 OFF Hintergrunds- musik POP Leichte Musik +04 +01 OFF SCM OFF (lineares 00 00 ON Signal) Abrufen der Klangmodi WŠhlen Sie die Signalquelle aus, wŠhrend die VerknŸpfungsanzeige im Display leuchtet. Die VerknŸpfungsanzeige beginnt zu blinken, undder Klangmodus, der fŸr die ausgewŠhlte Signalquelleim Speicher gesichert wurde, wird abgerufen. Hinweise:¥ Sie kšnnen die vorgegebenen Klangbetriebsarten nach Ihren WŸnschen Šndern und im Speicher sichern. Wenn Sie eigene Klangeinstellungen Šndern und speichern wollen, finden Sie hierzu weitere Informationen unter ãSpeichern Ihrer eigenen KlangeinstellungenÒ in der rechten Spalte. ¥ Auf Seite 17 wird beschrieben, wie Sie die Ba§- und HšhenverstŠrkung anpassen oder die Loudness- Funktion ein- oder ausschalten kšnnen. (Die Einstellungen werden deaktiviert, wenn eine andere Signalquelle ausgewŠhlt wird.) AMFMCD Anzeige LOUD (LautstŠrkekontur)Klangmodusanzeige Die Entzerrungscharakteristik des ausgewŠhlten Klangmodus wird angezeigt. SCM GE17-18.KD-S9R[E]f9/19/00, 9:06 AM 18
Page 189
10 ESPA„OL El mismo programa puede ser recibido en frecuencias diferentes.Para desactivar el modo de espera de TA, pulse otra vez TP RDS. Recepci-n de espera de PTY Cuando usted pulsa PTY mientras est‡ escuchando una emisora FM, el indicador PTY se enciende durante la recepci-n de una emisora PTY y se activa el modo de espera de PTY. El nombre del PTY seleccionado almacenado en la p‡gina 11 destella durante 5 segundos. ¥ Cuando la emisora que est‡ siendo recibida no es PTY, el indicador PTY destella. Pulse ¢ o 4 para activar el modo de espera de PTY. Aparece ÒSEARCHÓ en la indicaci-n, y se inicia la bœsqueda de la emisora PTY. Cuando se sintoniza una emisora PTY, el indicador PTY se enciende. 7Si usted est‡ escuchando un CD y desea escuchar una emisora PTY, pulse PTY para entrar en el modo de espera de PTY. (El indicador PTY se enciende.) Si empieza a difundirse el programa PTY seleccionado mientras el modo de espera de PTY est‡ activado, aparece el nombre del PTY seleccionado y la fuente de reproducci-n cambia a la banda de FM. Se podr‡ escuchar el programa PTY seleccionado. Para desactivar el modo de espera PTY, pulse otra vez PTY. Selecci-n de su programa favorito con Recepci-n de espera de PTY Podr‡ seleccionar su programa favorito para Recepci-n de espera de PTY y almacenarlo en la memoria. La unidad se expide de f‡brica con el ajuste ÒNEWSÓ almacenado para la Recepci-n de espera de PTY. 1 Pulse y mantenga pulsado SEL (selecci-n) durante m‡s de 2 segundos para que aparezca uno de los temes de PSM en la indicaci-n. (PSM: consulte la p‡gina 20.) PTY Empleo de la recepci-n de espera La recepci-n de espera permite que la unidad cambie temporalmente a su programa favorito (PTY: tipo de programa) y anuncio de tr‡fico (TA) desde la fuente actual (otra estaci-n de FM y CD). ¥ La recepci-n de espera no funcionar‡ si est‡ escuchando una estaci-n AM. Recepci-n de espera de TA Cuando usted pulsa TP RDS mientras est‡ escuchando una emisora FM, el indicador TP se enciende mientras se recibe una emisora TP (Programa de Tr‡fico) y se activa el modo de espera de TA. ¥ Cuando la emisora que est‡ siendo recibida no es una emisora TP, el indicador TP destella. Pulse ¢ o 4 para actiar el modo de espera de TA. Aparece ÒSEARCHÓ en la indicaci-n, y se inicia la bœsqueda de la emisora TP. Cuando se sintoniza una emisora TP, el indicador TP se enciende. 7Si usted est‡ escuchando un CD y desea escuchar una emisora TP, pulse TP RDS para activar el modo de espera de TA. (El indicador TP se enciende.) Si empieza a difundirse un programa de tr‡fico mientras el modo de espera de TA est‡ activado, aparecer‡ ÒTRAFFICÓ y la fuente de reproducci-n cambiar‡ a la banda de FM. El volumen aumenta al nivel de TA preajustado (consulte la p‡gina 13) y se podr‡ escuchar el programa de tr‡fico. Programa 1 transmitiendo en frecuencia APrograma 1 transmitiendo en frecuencia E Programa 1 transmitiendo en frecuencia CPrograma 1 transmitiendo en frecuencia D Programa 1 transmitiendo en frecuencia B TPRDS SP09-13.KD-S9R[E]f9/18/00, 6:05 PM 10
Page 210
GET0007-002A [E] INSTRUCTIONS MANUAL DE INSTRUCCIONES ISTRUZIONI BRUKSANVISNING K€YTT…OHJE NEDERLANDS Para la instalaci-n y las conexiones, refiŽrase al manual separado. Per le istruzioni dÕinstallazione e di collegamento, vedere il manuale a parte. Se separat handbok fšr installation och anslutning. Katso asennus- ja liitŠntŠohjeet erillisestŠ ohjekirjasta. 45Wx4 TP DISP RPTSSM SCM MO RND 7 8 9 10 11 12PTY AMFMCD /IAT T/ RDS CD RECEIVER RECEPTOR CON CD SINTOAMPLIFICATORE CON RIPRODUTTORE DI CD CD-SPELARE MED MOTTAGARE CD-VASTAANOTIN KD-S9R ESPA„OL ITALIANO SUOMISVENSKA COVER.KD-S9R[E].002A9/28/00, 5:58 PM 3