Jvc JL A3 Service Manual

This is the 16 pages manual for Jvc JL A3 Service Manual.
Read or download the pdf for free. If you want to contribute, please upload pdfs to audioservicemanuals.wetransfer.com.

Page: 1 / 16
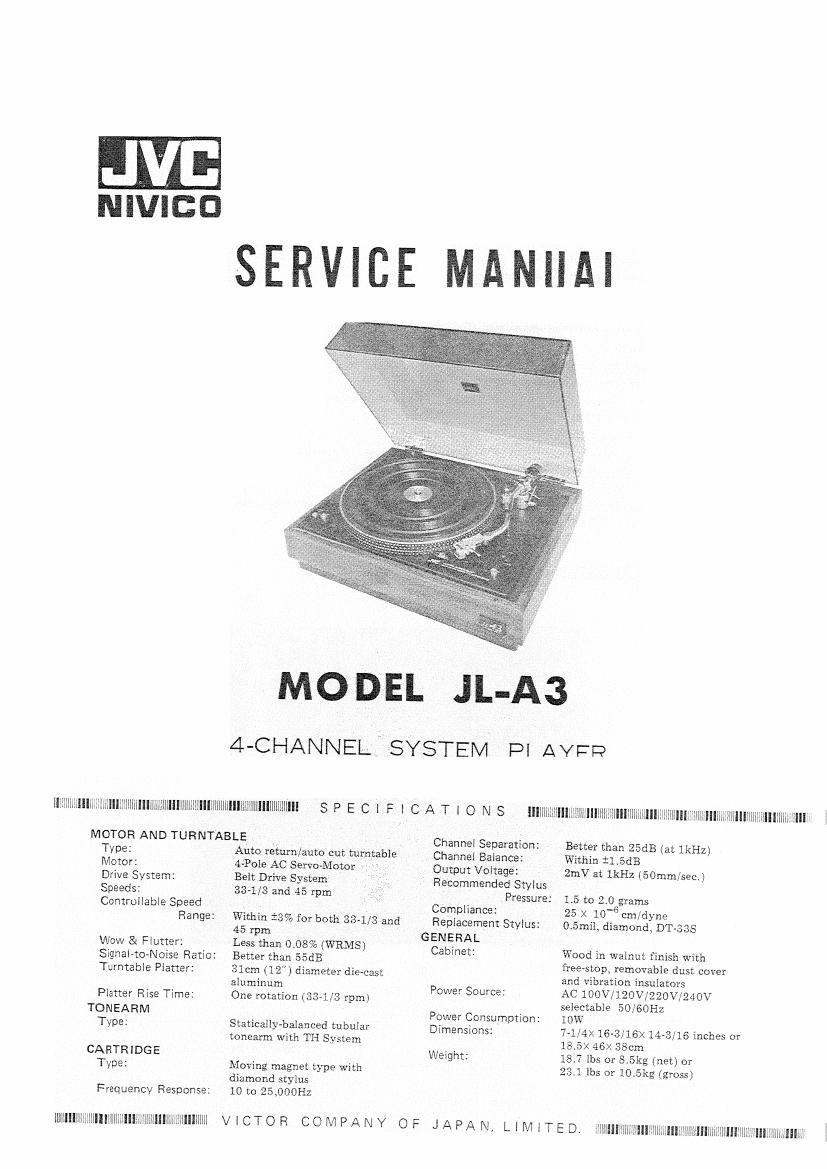
Jvc JL A3 Service Manual

Extracted text from Jvc JL A3 Service Manual (Ocr-read)


Page 5

Cue Control Ad'ustment 3

It will be necessary to adjust the cue control when the elevator height
must he changed because of a new cartridge, etc. The adjustment is
made by tightening or loosening the internal screw as shown. This
adjustment will seldom be necessary in normal service conditions, only
when the elevator height is changed.

cue SEESAW
Ad'ustment of Automechanisms SEESAW ARM

TRIP SLIDE

1. Auto-return Positioning (Leadvout Adjustment)
Make this adjustment when the pickup fails to return automatically

whendthe record has been played or it returns before the end of the ; 2 SWITCH AH M
recor .

Loosen the two screws on the feed arm as shown and adjust the .
distance between the trip slide and the feed arm. Decrease this Flg 13
distance if the pickup does not return automatically and increase it

if premature auto-return is the problem. Ideally the auto-return

should be activated when the stylus tip is 65mm away from the

center of the record, but this varies with different records.

TRIP SLIDE

GEAR STOPPER 0 MAIN GEAR

CONTROL SCREW

Fig. 14 Fig. 15

2. Gear Stop Adjustment
The position of the gear stop is determined by the gear stopper as illustrated. This adjustment is required when the
switch does not turn off despite normal operation of the auto-return mechanism.
1) Engage the turntable spindle gear with the main gear and let them make one rotation.
2) Place the turntable spindle gear projection as near to the main gear as possible and turn the gear stopper so that

the center of the main gear notch is aligned with the projection. This gear stopper turns eccentrically. Confirm
that the micro-switch is turned completely OFF in this position.

Note : In the JL-A3 the generator is built into the upper part of the motor, unlike in ordinary motors, and the
pulley constitutes parts of the generator rotor. Since servicing of the pulley alone is not possible, be
careful not to damage the pulley. Do not try to adjust the height of the pulley yourself. This is
because the current flowing through the generator varies with the height of the pulley and, if the current

becomes excessive, the generator may cease to work, motor vibrations may increase and the S/N may
deteriorate.

In the event of the pulley becoming unusable the whole motor assembly will have to be serviced.

_ 5 _ JL~A3

l
l
l

i