Jvc HRXV 38 SAG Service Manual

This is the 114 pages manual for Jvc HRXV 38 SAG Service Manual.
Read or download the pdf for free. If you want to contribute, please upload pdfs to audioservicemanuals.wetransfer.com.

Page: 1 / 114
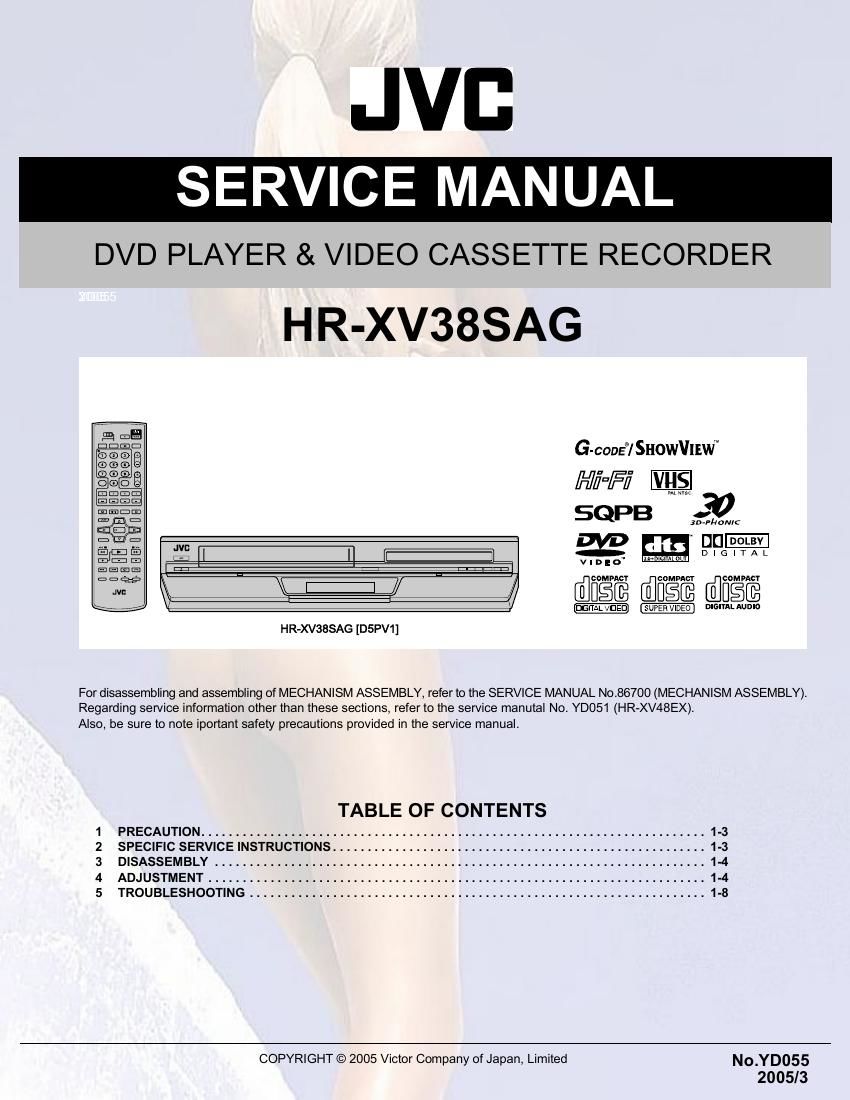
Jvc HRXV 38 SAG Service Manual

Extracted text from Jvc HRXV 38 SAG Service Manual (Ocr-read)


Page 1

JVB

SERVICE MANUAL

DVD PLAYER & VIDEO CASSETTE RECORDER

H R-XV38SAG

G-conéy SnowVIEw
Hqui
SQPB

'
ID-PLIONIC

[fin I fl? m? 996-??21

VIDEO

\. fl ./ @EEE wage [arse

_13TAL JUED _UPER VIDEO 3'5"- AUDIO

HR-XVSBSAG [D5PV1]

For disassembling and assembling of MECHANISM ASSEMBLY, refer to the SERVICE MANUAL Not86700 (MECHANISM ASSEMBLY)
Regarding service information other than these sections, referto the service manutal Not YDOSI (HR-XV48EX)t
Also, be sure to note iportant safety precautions provided in the sen/ice manualt

TABLE OF CONTENTS

1 PRECAUTION ......................................................................... 1-3
2 SPECIFIC SERVICE INSTRUCTIONS. . . . 1-3
3 DISASSEMBLY ................... . . 1-4
4 ADJUSTMENT .......... . . 1-4
5 TROUBLESHOOTING .................................................................. 1-8
COPYRIGHT © 2005 Victor Company of Japan, Limited N0_YD055

2005/3

Page 2

SPECIFICATION

GENERAL

Power requirement

AC 110 V - 240 V, 50 Hz/60 Hz

Power consumption

Power on 23 W
Power off 4.5 W
Temperature
Operating 5°C to 40°C
Storage -20°C to 60°C

Operating position

Horizontal only

Dimensions (W x H x D)

435 mm x 93 mm x 272 mm

Weight 4.2 Kg
Format VHS PAL/NTSC standard
Maximum recording time
(SP) 240 min. with E-240 video cassette(PAL/MESECAM)
160 min. with T-160 video cassette(NTSC)
(LP) 480 min. with E-240 video cassette(PAL/MESECAM)
(EP) 480 min. with T-160 video cassette(NTSC)

VIDEO/AUDIO (VHS deck)

Signal system

PAL-type colour signal and CClR monochrome signal, 625 lines/50 fields
NTSC colour and EIA monochrome signal, 525 lines/60 fields.

Recording system

DA4 (Double Azimuth) head helical scan system

Signal-to-noise ratio

45 dB

Horizontal resolution

250 lines (PAL/MESECAM), 220 lines (NTSC)

Frequency range

70 Hz to 10,000 Hz (Normal audio) 20 Hz to 20,000 Hz (Hi-Fi audio)

Input/Output

RCA connectors: lN X2, OUT x1

VIDEO/AUDIO (DVD deck)

Signal system

NTSC 3.58

Applicable disc

DVD (12 cm, 8 cm), CD (12 cm, 8 cm)

Audio characteristics

DVD:4 Hz - 22 KHZ

Frequency response

CD24 Hz - 20 KHZ

SIN Ratio 90 dB
Wow and flutter Below Measurable Level
Dynamic range 90 dB

Output

Component-Y

(RCA) 1.0 Vp-p/75 o

Component- PB IPR

(RCA) 0.7 Vp-p/75 s2

Audio

(RCA) 2 Vrms, 1 Kg

Digital Audio

-21 dBm to -15 dBm(peak)

TUNE RITI MER(VHS deck)

TV channel storage capacity

99 positions (+AUX position)

Tuning system

Frequency synthesized tuner

Channel coverage

VHF(Iow) : 42 MHz-175 MHz
VHF(high): 175 MHz-470 MHz
UHF : 47o MHz»87O MHz

Aerial output

UHF channels (Adjustable E28»E60)

Program capacity

1-year programmable timer / 8 programs

Memory backup time

Approx. 10 min.

ACCESSORIES

Provided accessories

RF cable, Infrared remote control unit, "R6" battery x 2

Specifications shown are for SP mode unless othenNise specified.
E.& O.E. Design and specifications subject to change without notice.

Manufactured under license from Dolby Laboratories. Dolby" and the double-D symbol are trademarks of Dolby Laboratories.

DTS and "DTSZ.O+ Digital Out" are trademarks of Digital Theater Systems, Inc.

G-CODE is a trademark of Gemstar Development Corporation and is registered in the following countries: Australia, China, Hong
Kong, Japan, South Korea, New ealand, and Taiwan. SHOWVIEW is a trademark of Gemstar Development Corporation and is reg-
istered in the following countries:Austria, Belgium, Czech Republic, Denmark, Finland, France, Germany, Hungary, Iceland, Italy,
Luxembourg, Netherlands, NonNay, Poland, Portugal, Russia, Slovakia, South Africa, Spain, Sweden and Switzerland. The G-

CODE/SHOWVIEW system is manufactured under license from Gemstar Development Corporation.

GvCODE and SHOWVIEW are different trademarks used to represent the same easy recording feature. However, for simplicity,
only the term G-CODE will be used in the instructions. If you use SHOWVIEW system, follow the same steps listed for the G-CODE

system.

1-2 (N0.YD055)

Page 25

16EN

INITIAL SETTINGS (cont)

language

0 Turn on the TV and select the video channel (or AV
mode).

0 Slide the TV/VCR/DVD switch on the remote
control to the right.

Slide to the
right.

T99

(DH

- DVD

AV


  • ENTER

    On-screen language Set (VHS deck)

    n Turn on the unit.

    Press (b/l,

    Select the VHS deck.

    On the unit
    Press VCR/DVD repeatedly so that the VCR indicator
    lights up.

    On the remote control
    Press VCR so that the VCR indicator lights up.

    Access the Main Menu screen.

    m Press SET UP.

    IE Press AV to move the
    highlight bar (pointer) to
    lNlTIAL SET, then press
    ENTER or l>.

    MAIN MENU

    FUNCTION SET
    TUNER SET

    lAV I-* [ENTER]
    [SET UP] : EXIT

    Select your country.

    Press AV to move the highlight bar (pointer) to
    LANGUAGE, then press ENTER or l>.

    Select the language.

    Press AV to move the

    highlight bar (pointer? to the LA-EDT
    language of your chOIce PYCCKVIIII
    (English, Russian or Arabic). u-JJ

    lAV l-* [ENTER]
    [SET UP] : EXIT

    a Return to the normal screen.
    Press SET UP.

  • Page 33

    24 EN

    OPERATIONS ON VH5 DECK (cont)

    Recording Features

    I Turn on the TV and select the video channel (or AV
    mode).

    0 Slide the TV/VCR/DVD switch on the remote
    control to the right.

    A.MONITOR

    Slide to the
    right.

    WET

    Record One Programme While
    Watching Another

    Once recording is in progress, all you need to do is to set

    the channel controls on the TV for the station you wish to

    view.

    I The programme selected with the TVs channel controls
    appears on the TV screen, while the one selected with the
    units PR buttons is recorded on the tape.

    NOTE:

    You can also use the DVD deck in the following cases. Before
    use, be sure to turn on the unit and select the DVD deck.

    0 During recording

    0 During timer recording

    0 During timer standby mode

    Instant Timer Recording (ITR)

    This easy method lets you record for =
    from 30 minutes to 6 hours (selectable in E]
    30-min. increments), and shuts the unit
    off after recording is finished.

    I Sth't recording.
    Press 0 on the unit. .

    2 Engage the ITR mode.

    Press 0 again. 0 blinks and 0:30 appears on the
    front display panel.

    3 Set the recording duration.

    If you want to record for more than 30 minutes, press 0
    to extend the time. Each press extends recording time by
    30 minutes.

    NOTES:

    0 You can only perform ITR using the 0 button on the units
    front panel.

    0 When the end of the tape is reached during Instant Timer
    Recording, the unit is turned off and O and D blink on
    the front display panel.

    0 When the end of the tape is reached during timer recording,
    the unit is turned off and O, "V and "9 blink on the front
    display panel.

    Elapsed Recording Time Indication
    I Set the counter display.

    Press - -:- - until a counter reading appears on the front
    display panel.

    :I-ZILI-IIIZ
    o I_'_l t-_U_l

    2 Reset the counter.

    Press 0000 before starting recording or playback.

    o The counter is reset to 0:00:00 and shows the exact elapsed
    time as the mpe runs. You can check the exact time of a
    recording or playback.

    Tape Remaining Time

    Press - -:- - until the time remaining on the tape

    appears.

    I The front display panel shows the tape remaining time with 2"
    displayed.

    //
    ~l\

    I 1-!
    O .1 LI
    // \\

    o By pressing the - -:- - button, you can change the display to
    show the channel position, clock time, counter reading, and
    tape remaining time.

    * The Channel pas/(ion is not displayed during playback.

    NOTES:

    0 When you press - -:- -, the on-screen display appears on the
    TV screen for 5 seconds.

    0 Depending on the type of tape being used, the tape remaining
    time reading may not appear right away, or is not correct.
    - -2- - may sometimes appear with z blinking, or the
    display may blink on occasion.

    Page 47

    38 EN

    Slide to the
    right.

    -L |- A.MONITOR

    WE

    - ANGLE

    AV
    ENTER

    [:1 :1 Cl [:1
    DVD PICTUREDJ flsouuo EFFECT

    Angle Selection

    IWD
    IllllEl]

    You can enjoy a variety of scene angles if the DVD VIDEO disc
    contains multi-angle parts, where multiple cameras were used
    to shoot the same scene from different angles.

    0 During playback

    T Access the menu.
    Press ANGLE.
    I The following pop-up window appears on the TV screen.

    Example: The first view angle is selected out of 3 View angles
    recorded.

    1: 841/3

    1
    -

    2 Select the view mgle.

    Press AV or ANGLE repeatedly to select the desired

    view angle.

    0 Each time you press the button, the angle of the scene
    changes.

    0 The pop-up window disappears if no operation is done for
    about 5 seconds.

    Example:
    1/3->2/3->3/3->(Back to the beginning)

    OPERATIONS ON DVD DECK (cont)
    Audio Language and Sound Selection

    IJIIIl Ililleu
    lllllEfl III]

    The audio selection setting allows you to change the audio
    language of a movie, or to listen to karaoke with or without the
    vocal.

    0 During playback

    1 Access the menu.
    Press A.MONITOR.

    o The following pop-up window appears on the TV screen.

    Example: lENGLISH is selected out of3 audio languages
    recorded during DVD VIDEO playback.

    CDT/3
    -
    ENGLISH
    -

    2 Select the audio setting.

    Press AV or A.MONITOR repeatedly to select the

    desired audio language.

    a Each time you press the button, the audio selection changes.

    0 The pop-up window disappears if no operation is done for
    about 5 seconds.

    DVD VIDEO (example)
    1/3 ENGLISH->2/3 FRENCH->3/3 SPANISH->(Back to the
    beginning)

    Video CD
    ST-vL->R->(Back to the beginning)

    ST: To listen to normal stereo playback.
    L: To listen to L (left) audio channel only.
    R: To listen to R (right) audio channel only.

    SVCD
    ST 1->ST 2->L1->R 1->L 2->R 2->(Back to the beginning)

    ST 1/ST 2:

    To listen to normal stereo playback of ST 1 or
    ST 2 channel.

    L l/L 2: To listen to the L (left) 1 or 2 audio channel.
    R 1/R 2: To listen to the R (right) I or 2 audio channel.
    NOTE:

    For DVD VIDEO discs, some audio languages are abbreviated in
    the pop-up window. See Language Code List (t? pg. 18).

    Page 57

    48 EN

    EDITING (DVD DECK)

    Digital Audio Dubbing

    0 Turn on the TV and select the video channel (or AV
    mode).

    0 Slide the TV/VCR/DVD switch on the remote
    control to the right.

    Recorder

    Digital audio device
    (MD deck etc.)

    Optical cable
    (not provided)

    DIGITAL AUDIO OUT

    Player
    ,@@0
    oool 9
    @@©@ 9

    4%.

    Note for connection:

    Remove the connector cover from
    the unit and remove the protection
    cap from the cable.

    You can dub selected audio from the DVD or Audio CD disc to
    an MD etc.
    However, it is not possible to dub copy-protected discs.

    Example: Dubbing to an MD

    n Make connections.

    Connect the optical cable between the unit and the
    digital audio device.

    Place a disc and load an MD.

    For the DVD deck

    m Press A on the DVD deck to open the disc tray.
    Place the disc in the disc tray.

    E Press A on the DVD deck to close the disc tray.

    For the digital audio device
    Insert an MD.

    Prepare the DVD deck for dubbing.

    m Press DVD and select the audio to be dubbed.

    Search for the point where you want to start dubbing
    by pressing >, » or « then press I.

    E Press « a little, then press > to start playback.

    I3 Press II to pause playback a little before the start
    point.

    Prepare the audio device for dubbing.

    Select the input mode.

    Start dubbing.

    m Press > (or press 0 on the unit) to start playback on
    the DVD deck.
    2I [Start recording on the audio device.

    a End dubbing.

    Stop recording on the audio device. Then press I to stop
    playback on the DVD deck.

    NOTES:

    0 There may be a discrepancy of several seconds between where
    you intend editing to start, and where it actually starts.

    0 You can also dub audio from a Video CD or SVCD. Set
    DIGITAL AUDIO OUTPUT to PCM ONLY. (G) pg. 57)

    Page 74

    m65

    Information on Multi-System Compatibility

    (VHS deck)
    Oil-Air Recording

    The built-in multi-system tuner is capable of receiving PAL B/G, l and D/K, and SECAM 8/6 and D/K broadcasts.

    TV System HR-XVSBSAG/ H R-XVSESAS Recorded tape
    I' - I
    l I-V PAL
    PAL 8/6, I, D/K -|->
    Multi-system tuner
    SECAM BIG, I 3/9 I, 0
    D/K (OIRT) -'- -l
    I M ESECAM
    |_ ________________
    NOTE:
    This model does not operate in BRAZIL (PAL-M) or ARGENTINA (PAL-N).
    Playbook
    This unit can play all 3 types of recorded tape.
    Recorded tape HR-XV3BSAG/H R-XV385AS
    I - -
    PAL . |
    I .
    I Playback CIrCUIt I Multi-system
    @ a _:_> PAL | | receiver
    I | I L, 7 , -,,,
    l |
    MESECAM : | I PAL
    I L Built-in I (B/G, D/K, I, H)
    I -l'> |
    ':l®> I MESECAM l : RF converter I FlF OUT NTSC
    | | | K, I, G,H I "7
    NTSC _I-I-> NTSC PAL I |
    l |
    : L L I
    @ a I NTSC 3.58 MHZ J J I
    I l l I I Multi-system
    - I l l | I monitor
    I Manual switching ' l | I
    Manual switching I l l l | | J T
    I l. l. I I PAL
    NTSC 4.43 MHz , , , ' SECAM
    I I I I I I VIDEO OUT NTSC 3.58
    I I I I I ' AUDIO OUT NTSC 4.43
    | L_I__|_L ______________ : _____ .> *777777/
    I
    |

    NOTES:

    When viewing NTSC tapes on a PAL TV set:
    C The picture may shrink vertically with black bars appearing at the top and bottom of the screen. This is not a malfunction on the part

    of the nor the TV.

    0 The picture may roll up or down. This can be corrected using the V-HOLD control found on some TVs. (This cannot be corrected if
    the TV does not have a V-HOLD control)
    0 During search, still, or frame-by-frame playback, the picture will be distorted, and there maybe a loss of colour.