Jvc HMHDS 1 U Service Manual 2

This is the 3 pages manual for Jvc HMHDS 1 U Service Manual 2.
Read or download the pdf for free. If you want to contribute, please upload pdfs to audioservicemanuals.wetransfer.com.

Page: 1 / 3
Jvc HMHDS 1 U Service Manual 2

Extracted text from Jvc HMHDS 1 U Service Manual 2 (Ocr-read)


Page 1

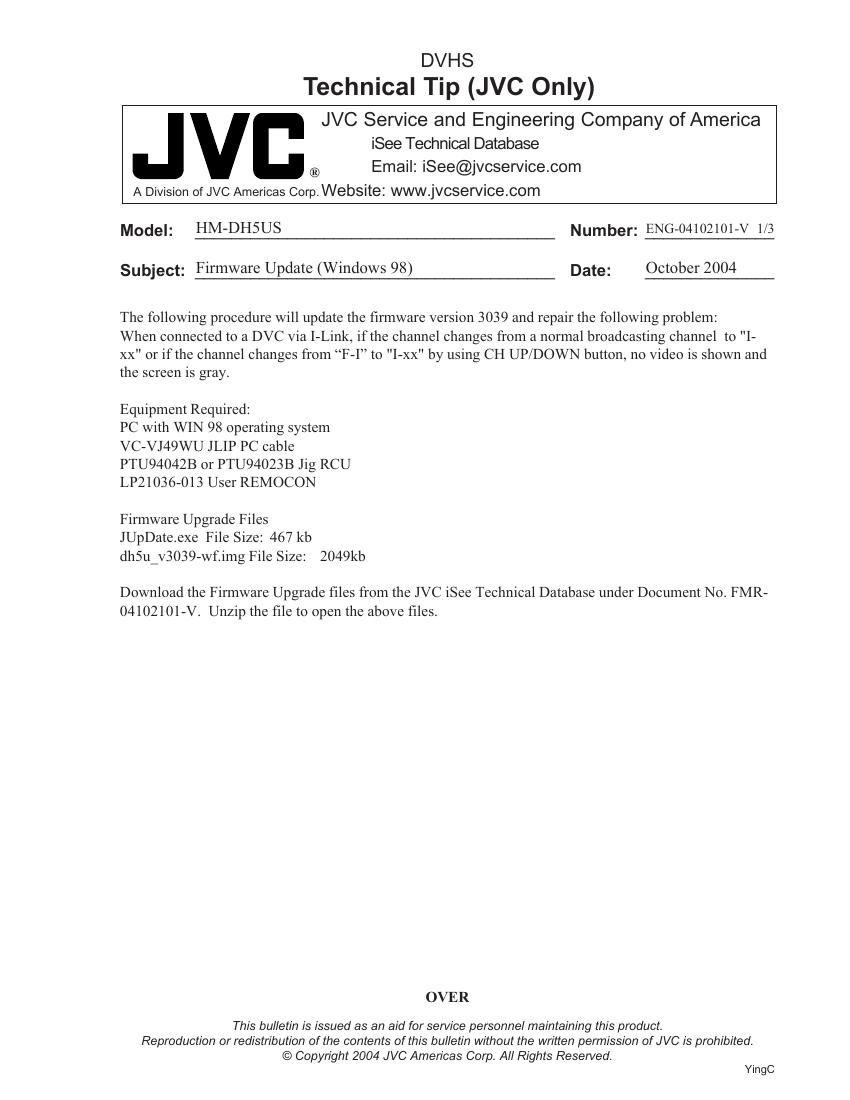
Firmware Upgade Procedure 1. Open the file JUpDate.exe on PC. The following window should appear. 2. Check the box next to -I-C-N--. Then click on the firmware browse button. A new window will pop up. Browse and select dh5u_ v3039-wf.img. Click the Open button after selecting the firmware upgrade file. 3. Select COM1 from the drop down list under the Select COM port section. 4. Select 115200bps from the drop down list under the Select Baud Rate section. 5. Set the DVHS to service mode. Press and hold the REC & PAUSE buttons while plugging in the AC power cord. Wait for the colon indicator on the FDP to start blinking. 6. Press the Power button after VCR indicator disappears. In service mode, change the input source to F-I. 7. Press the Power button to turn the power off. 8. Click the Update (W) in the application window. The firmware update will start. The VCR indicator on the FDP should be blinking during the update. It takes about 4 minutes to write the new firmware. When completed, a small window will appear notifying you that the firmware update is complete. Click OK. 9. Unplug the AC power cord of the unit and unplug the JLIP cable from the unit. 10. Plug the AC power cord back in and wait for the VCR indicator to disappear from the FDP. Then turn on the power. 11. Using the JIG RCU, send code 43-6F to the unit for factory reset and then exit JIG mode. Wait for the -:- display on the FDP to stop blinking. 12. Using the USER RCU, turn on/off the unit to make sure the unit goes back to USER mode. SEE NEXT PAGE ENG-04102101-V 2/3 Host CPU Browse Button Firmware Browse Button Select COM port Select Baud rate When upgrading firmware, check this box.

Page 2

Note: 1. If updating more than one unit, you can skip steps 1-4 and go directly to step 5 after the first unit is done updating.. 2. The first 3 updated units should be checked to confirm that the firmware was properly upgraded. Connect video out to TV monitor. After step 11 using the JIG RCU, transmit the 43-8b code to the unit to check that the update was successful. The date should be 2004/09/09 and SYSCON: 17 should appear in the VERSION INFO window on TV screen. Using the USER RCU send 5 to see the next page of information. The date should also read 2004/09/09. Press OK on USER RCU to exit the information window. Then continue on to step 12. Caution: 1. When you see VCR blinking on the FDP, please dont touch any keys on the front panel switch or AC plug. 2. While upgrading the firmware, you may encounter 2 serious problems. (Windows 98 users only) Case 1: PC progress bar stops for more than 2 minutes. This means that the update program might have froze. Close the program window and restart the update procedure from the beginning. Case 2: VCR does not disappear or continues blinking for more than 10 minutes. The unit has frozen. The final solution is to start from the beginning again. Please unplug the AC plug and leave the unit as is for at least 3 hours and then perform the update procedure from the beginning. In both cases, if the problem continues to persist after the second attempt, please contact the Engineering Department. ENG-04102101-V 3/3