Dual 721 Owners Manual

This is the 20 pages manual for Dual 721 Owners Manual.
Read or download the pdf for free. If you want to contribute, please upload pdfs to audioservicemanuals.wetransfer.com.

Page: 1 / 20
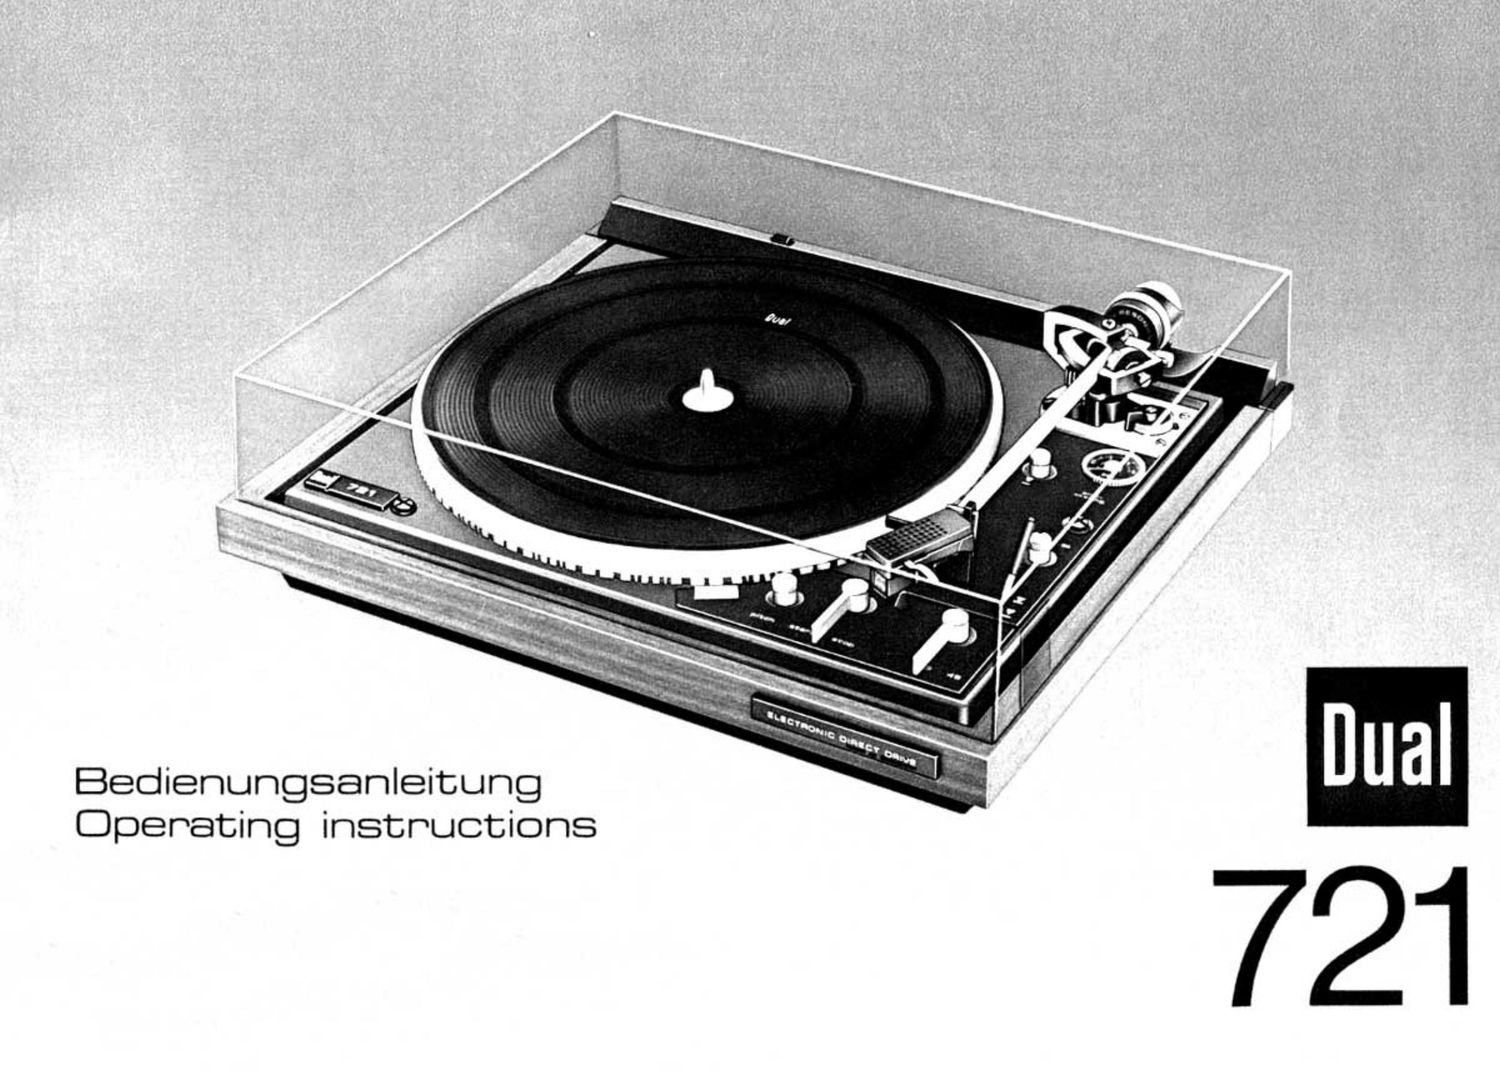
Dual 721 Owners Manual

Extracted text from Dual 721 Owners Manual (Ocr-read)


Page 1

edienungsanleitung
Debating instructions

Page 4

.06. 3.00

T

'3 'nA

Fig 4

Die Hcihe der Auflagekraft fur das in das Ge
rat bereits eingesetzte Tonabnehmersystem
entnehmen Sie bitte dern separaten Daten
blatt

Nehmen Sie jetzt den AnschlufS an den Wie-
dergabe-Verst'arker vor und verbinden Sue
das Netzkabei mit der Steckdose Beachten
Sie bitte hierzu die separaten Hmweise in
dieser Anleltung

Nechtriglicher Transport

Der Plattenteller liegt ohne zusatzliche Si
cherung auf dem Rotor des elektronischen
Zentralantriebs und ist unbedingt vor jedem
Transport abmnehmen Daruber hinaus sind
die Transportsicherungsschrauben entgegen
dem Uhrzeigersinn locker zu schrauben,
hoohzuziehen und durcn Waiterdrehen fest-
zuziehen lFig 2 Cl

Aehtungl Nach iedem Transport oder Einbau
soll das Gerat zur selbsttatigen Justierung
der Abstellautomatik bei verriegeltem Toni
arm einmal gestartet werden Zur automa-
tischen Einleitung der "Start" bzw "Stop"
Funktion ust die Steuertaste (19) in jeder
Richtung stets bis zum Anschlag zu drucken

Anschluls an das Wechselstromnetz

Bel Komblriationsqeraten beachten Sue bitte auch
d-e Hinweise in der ieweil-gen Bodienungsanleitung.

Das Gerat kann an Wechselstrom 50 oder 60
Hz. 110 - 125 V oder 220 - 240 V ange-
schlossen werden und ist lm Normalfall auf
220 Volt eingestellt.

lm Gegensatz zu herkommlichen Flatten-
spielermotoren lWechselstrom Motoren)
handelt es sich beim Antrieb dieses Gerates
urn einen elektronlschen Motor. dessen Dreh-
zahl von der Netzfrequenz unabhangig ist
Dieser Plattenspieler kann daher an Netzfre-
quenzen von 50 oder 60 Hz ohne Umstellung
des Motors betrieben warden.

Die Ummllung der Neuspennung blelbt
omndsitzlich dam Feehhindler odor other
mtorisierten Dual-Kundondlenmeritstitte
vorbehllten.

Now connect the phone cables to the ampliv
liar and connect the line oord either to the
convenience outlet on the back of the am-
plifier or directly to the house current.
Please read the separate instructions given
for this phase of installation

Later Transport

Important the platter simply rests on the
rotor of the electronic direct drive and must
be removed prior to any transport in addi-
tion. the chassis must be seCured to the base
with the transport safety screws Loosen the
screws by turning them cOunter clockwise.
then Dull them up and tighten again by con-
tinuing to turn them (Fig 2 Cl

Attention: After each transport or mstalla
tion. the unit must be started onec with the
tonearm in locked position for automatir
adjustment of the shut off mechanism, To
initiate the automatic "Start" or "Stoo'
function. press the start switch (19) all the
way in each direction

Connection to AC Power Line

ll you have a combination unit. please read its in
structions in addition to these

The unit can he operated from alternating
current at 50 or 60 Hz, 110 - 125 Volts or
220 - 240 Volts. It is normally Supplied
ready for use on 220 V current

Unlike the conventional record player motors
(AC motorsl. the motor is electronically re-
gulated; its speed is independent of the no
war line frequency This turntable can, the
refore. be operated on line frequencies of 50
or 60 Hz lcpsl without any adjustment er
change of motor

Only your Dual dealer or other authorized
Dual personnel should perform the conver-
tion.