Cambridgeaudio azur 340 a service manual

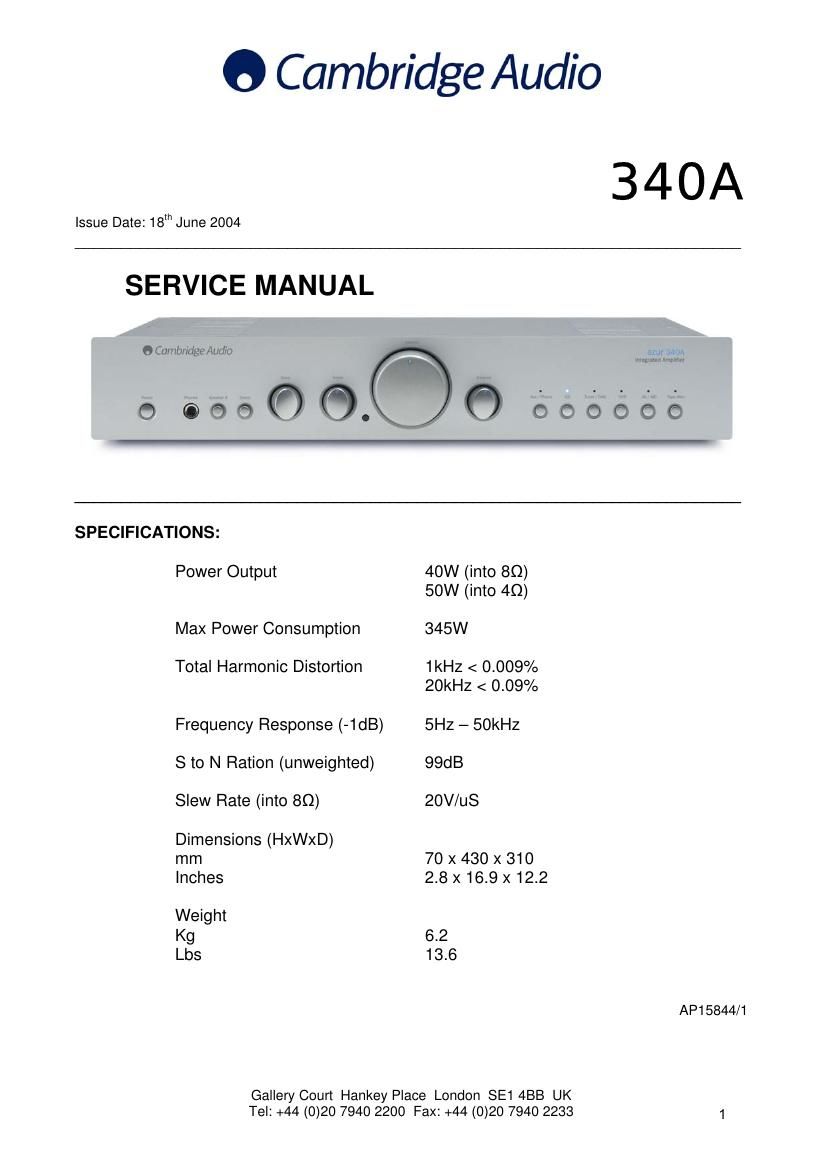
This is the 21 pages manual for cambridgeaudio azur 340 a service manual.
Read or download the pdf for free. If you want to contribute, please upload pdfs to audioservicemanuals.wetransfer.com.

Page: 1 / 21
cambridgeaudio azur 340 a service manual

Extracted text from cambridgeaudio azur 340 a service manual (Ocr-read)


Page 1

340A SERVICE MANUAL TABLE OF CONTENTS Safety Precautions & Important Notes 3 Main Assembly BOM 4/5 Micro controller PCB Schematic (PICs/Switches/LEDs) 6 Micro controller PCB Layout (Top Side) 7 Micro controller PCB Layout (Bottom Side) 8 Front Panel PCB Assembly BOM 9 Main PCB Schematic (Input Select) 10 Main PCB Schematic (Power Amplifiers) 11 Main PCB Schematic (Power Supplies) 12 Main PCB Schematic (Tone Control) 13 Main PCB Layout (Top Side) 14 Main PCB Layout (Bottom Side) 15 Main PCB BOM 16-18 IC Pin Layout Details 19/20 Silver – Black Differences BOM 21 2

Page 2

SAFETY PRECAUTIONS & IMPORTANT NOTES 1. Check that the rear of the product indicates the correct supply voltage for you area. 2. The lighting flash with the arrowhead within an equilateral triangle is intended to alert the user or service agent to the presence of dangerous voltages within the product enclosure that may be of sufficient magnitude to constitute a risk of electric shock to persons. 3. The exclamation point within an equilateral triangle is intended to alert the user or service agent to the presence of important operating and maintenanc e (Servicing) instructions in the literature acco mpanying the appliance. 4. This product complies with EEC Low Voltage (73/23/EEC) and Electromagnetic Compatibility (89/ 336/EEC) Directives when used and serviced in accordance with this manual. For continued compliance all components marked safety and EMC critical must only be replaced by Cambridge Audio approved parts. 5. Any unauthorised design alterations or additions will void the manufacturers warranty; furthermore the manufacturer cannot accept responsibility for personal injury or property damage resulting therefrom. 6. When servicing, care should be taken to observe the original routing \ and dressing of the leads and it should be confirmed that they have been returned to normal after re-assembly. Notes on chip component replacement Never reuse a component that has been removed from a PCB Notice that the minus side of a t antalum capacitor may be damaged by heat COPYRIGHT NOTICE. © 2005 Audio Partnership PLC. All rights reserved. Cambridge Audio and Azur are registered trademarks of Audio Partnership \ PLC. This document may not be reproduced, distributed, transmitted, displayed, published, or broadcast without the express written prior permission of Audio Partnership PLC. Alteration or removal of any trademark, copyright, or other notice from this content is prohibited. Information provided in this document is provided solely for the use of official service agents in repairing and servicing Audio Partnership PLC products. 3