Bose virtallyinvisible 791 owners guide

This is the 17 pages manual for bose virtallyinvisible 791 owners guide.
Read or download the pdf for free. If you want to contribute, please upload pdfs to audioservicemanuals.wetransfer.com.

Page: 1 / 17
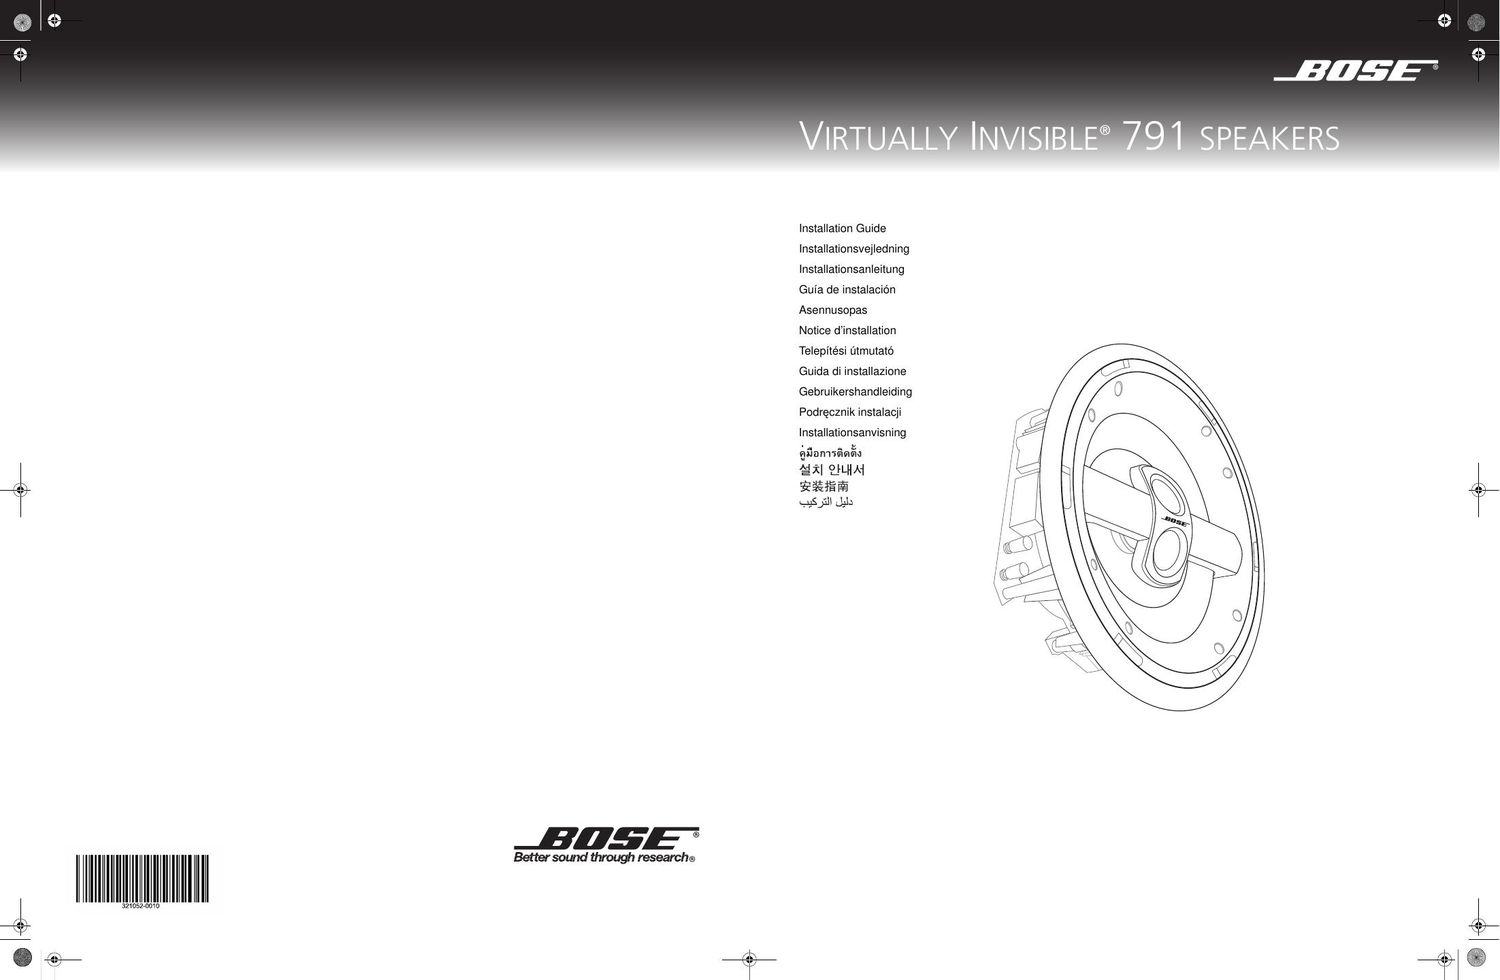
bose virtallyinvisible 791 owners guide

Extracted text from bose virtallyinvisible 791 owners guide (Ocr-read)


Page 1

ii English S AFETY I NFORMATION Important words of caution Please read this owners guide completely before you start. Then carefully consider your experience using the tools and taking the precautions referred to here. If you have doubts about doing this installation, you should contact either the dealer you purchased the product from, an electrician, or a professional audio/video installer. You can describe the job and request a cost estimate before committing to installation service. WARNING: Installation shall be in accordance with the applicable section of the National Electrical Code, ANSI/NFPA 70, and/or the National Fire Alarm Code, ANSI/NFPA 72, as applicable. The wiring method and compartment shall be such as not to interfere with the operation of the speaker. CAUTIONS: - Failure to follow the instructions in this owners guide voids all warranties on your speakers. These speakers are not designed or recommended for installation in walls, in ceilings of masonry, or in drop ceilings. This product is not intended for use in Air-Handling Plenum Spaces. Consult local building codes be fore you get started with this installation. See product enclosures for safety-related markings. Make no modifications to th e speakers or accessories. Unauthorized alterations may compromise safety, regulatory compliance, and system performance. Be sure to keep all insulation away from speakers in accordance with the installation instructions in this guide. Mount these speakers in wood frame or similar construction only Each speaker requires a round space of 8 5/8 in. (21.9 cm) diameter, plus a minimum of 4 1/8 in. (10.5 cm) of depth behind wallboard that is a maximum of 3/4 in. (1.9 cm) thick. Bose recommends installing thes e speakers only in wood frame or similar ceiling construction wi th adequately spaced studs, as found in 2 x 6 construction. These installation guide instructions are specific to this type of installation only. Important safety instructions 1. Read these instructions – for all components before using this product. 2. Keep these instructions – for future reference. 3. Heed all warnings – on the product and in the owners guide. 4. Follow all instructions. 5. Install in accordance with the manufacturers instructions. 6. Only use attachments/accessories specified by the manufacturer. For your records Serial numbers are located on the rear of each of your Virtually Invisible ® 791 speakers. Serial numbers: _____________________ ____________________ _____________________ ____________________ _____________________ ____________________ Dealer name: ___________________________________________ Dealer phone: ___________________________________________ Purchase date: ___________________________________________ We suggest you keep your sales receipt and warranty card together with this owners guide. VIRTUALLY INVISIBLE is a registered trademark of Bose Corporation in the U.S. and other countries.

Page 2

iii English O VERVIEW AND C ONTENTS Basic steps to installation The instructions on the pages that follow will help you complete each of the steps below. Step 1: Choose approximate locations for each speaker. Step 2: Observe the cautions and use the template for precise placement. Step 3: Cut the hole for each speaker. Step 4: Wire each speaker. Step 5: Insert and secure the speaker in the ceiling. Step 6: Test each speaker to make sure it works. PREPARATION 2 Before you begin... . . . . . . . . . . . . . . . . . . . . . . . . 2 Unpacking . . . . . . . . . . . . . . . . . . . . . . . . . . . . . 2 Other equipment you will need . . . . . . . . . . . . . 2If painting is in your plan . . . . . . . . . . . . . . . . . 2 Selecting speaker cable . . . . . . . . . . . . . . . . . . 3 Preparing the cable wires . . . . . . . . . . . . . . . . 3 Placement guidelines . . . . . . . . . . . . . . . . . . . . . . 4 Using the arrow as a guide . . . . . . . . . . . . . . . . 4 Placing speakers for stereo sound . . . . . . . . . . 4 Placing speakers for home theater . . . . . . . . . . 5 Other considerations . . . . . . . . . . . . . . . . . . . . . 5 INSTALLATION 6 Preparing the ceiling . . . . . . . . . . . . . . . . . . . . . . 6Using the template . . . . . . . . . . . . . . . . . . . . . . 6 Drilling a pilot hole . . . . . . . . . . . . . . . . . . . . . . . 6 Cutting the speaker hole . . . . . . . . . . . . . . . . . . 7 Getting the wire ready . . . . . . . . . . . . . . . . . . . . 7 Connecting the speaker . . . . . . . . . . . . . . . . . . . . 8 Finishing the installation . . . . . . . . . . . . . . . . . . . 8 Securing the speaker . . . . . . . . . . . . . . . . . . . . 8 Testing each speaker . . . . . . . . . . . . . . . . . . . . 10 Attaching the grille . . . . . . . . . . . . . . . . . . . . . . 10 REFERENCE 11 Painting the exterior parts . . . . . . . . . . . . . . . . . . 11 Painting the grille . . . . . . . . . . . . . . . . . . . . . . . 11 Painting the frame . . . . . . . . . . . . . . . . . . . . . . . 12 Troubleshooting . . . . . . . . . . . . . . . . . . . . . . . . . . 13 Customer service . . . . . . . . . . . . . . . . . . . . . . . . . 14 Limited warranty . . . . . . . . . . . . . . . . . . . . . . . . . . 14 Accessories . . . . . . . . . . . . . . . . . . . . . . . . . . . . . 14 Technical information . . . . . . . . . . . . . . . . . . . . . 14