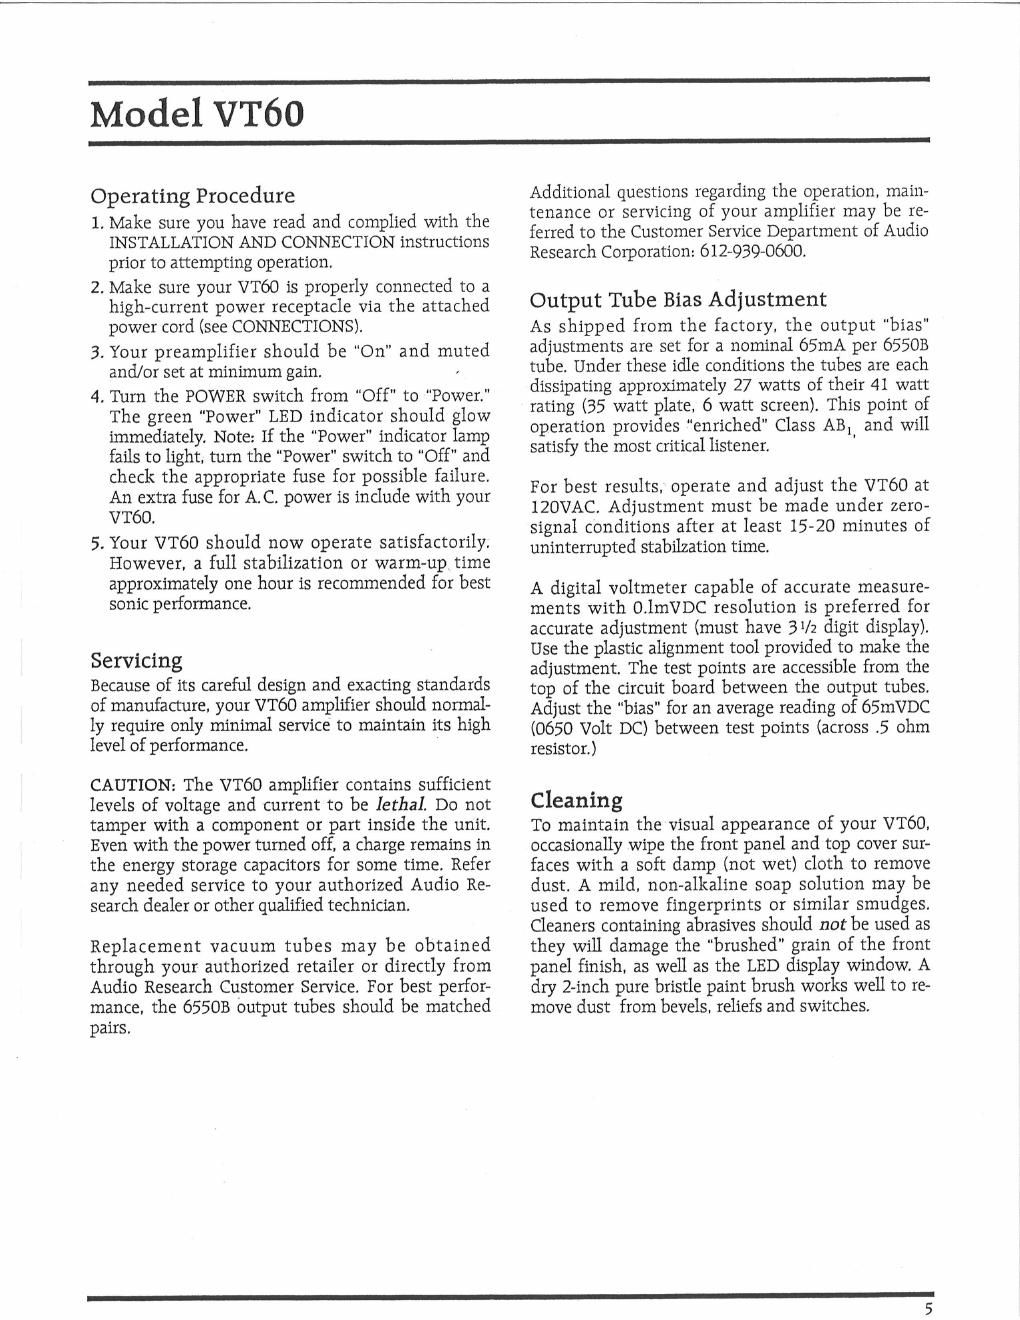
Audio research vt 60 pwr bias adjustment
This is the 2 pages manual for audio research vt 60 pwr bias adjustment.
Read or download the pdf for free. If you want to contribute, please upload pdfs to audioservicemanuals.wetransfer.com.
Extracted text from audio research vt 60 pwr bias adjustment (Ocr-read)
Page 1
Model VT60
Operating Procedure
1. Make sure you have read and complied with the
INSTALLATION AND CONNECTION instructions
prior to attempting operation.
2. Make sure your VT60 is properly connected to a
high-current power receptacle via the attached
power cord (see CONNECTIONS).
3. Your preamplifier should be "On" and muted
and/or set at minimum gain. ,
4. Turn the POWER switch from Off" to "Power."
The green Power" LED indicator should glow
immediately. Note: if the Power" indicator lamp
fails to light. turn the Power" switch to Off" and
check the appropriate fuse for possible failure.
An extra fuse for A. C. power is include with your
VT60.
5. Your VT60 should now operate satisfactorily,
However, a full stabilization or warm-up time
approximately one hour is recommended for best
sonic performance.
Servicing
Because of its careful design and exacting standards
of manufacture. your VT60 amplifier should normal-
ly require only minimal service to maintain its high
level of performance.
CAUTION: The VT60 amplifier contains sufficient
levels of voltage and current to be Ietbal. Do not
tamper with a component or part inside the unit.
Even with the power turned off, a charge remains in
the energy storage capacitors for some time. Refer
any needed service to your authorized Audio Re-
search dealer or other qualified technician.
Replacement vacuum tubes may be obtained
through your authorized retailer or directly from
Audio Research Customer Service. For best perfor-
mance, the 655013 Output tubes should be matched
pairs.
Additional questions regarding the operation. main-
tenance or servicing of your amplifier may be re-
ferred to the Customer Service Department of Audio
Research Corporation: 612939-0600.
Output Tube Bias Adjustment
As shipped from the factory, the output bias"
adjustments are set for a nominal 65mA per 65503
tube. Under these idle conditions the tubes are each
dissipating approximately 27 watts of their 41 watt
rating (35 watt plate. 6 watt screen). This point of
operation provides enriched" Class ABl and will
satisfy the most critical listener. '
For best results, operate and adjust the VT60 at
120VAC. Adjustment must be made under zero-
signal conditions after at least 15-20 minutes of
uninterrupted stabilzation time.
A digital voltmeter capable of accurate measure-
ments with O.lmVDC resolution is preferred for
accurate adjustment (must have 31/2 digit display).
Use the plastic alignment tool provided to make the
adjustment. The test points are accessible from the
top of the circuit board between the output tubes.
Adjust the bias" for an average reading of 65mVDC
(0650 Volt DC) between test points (across .5 ohm
resistor.)
Cleaning
To maintain the visual appearance of your VT60.
occasionally wipe the front panel and top cover sur-
faces with a soft damp (not wet) cloth to remove
dust. A mild, non-alkaline soap solution may be
used to remove fingerprints or similar smudges.
Cleaners containing abrasives should not be used as
they will damage the "brushed" grain of the front
panel finish. as well as the LED display window. A
dry 2-inch pure bristle paint brush works well to re-
move dust from bevels. reliefs and switches.
Page 2
(Q:
v
#3:?
RUDIO RESERRCH FVBAHB :1994
BIAS ADJUSTMENT - Connect vo1tmeter probes across and in each channe1.(E1'ther end of R18),-
Adjust-to a meter reading 65m after amplifier is quy warmed. (About 20 minutes)